Organic Design (blog)
Frame completed![edit] |
| Posted by Nad on 23 February 2016 at 22:00 |
|---|
This post has the following tags: Our forth year on the land
|
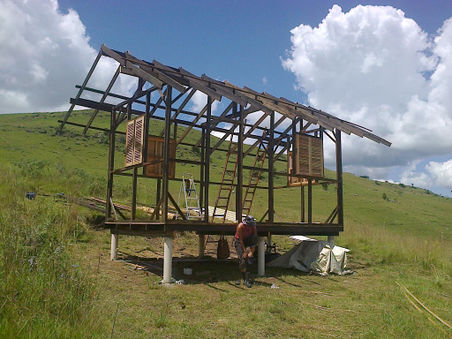
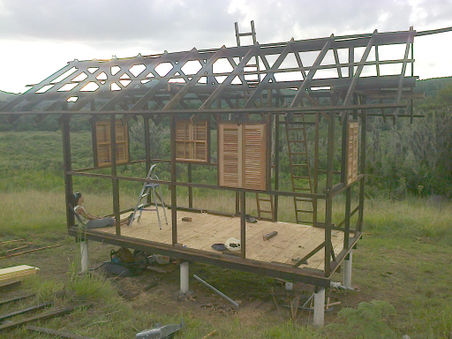
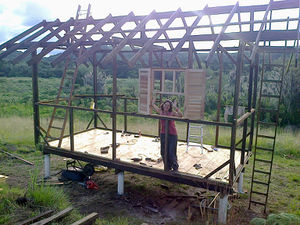
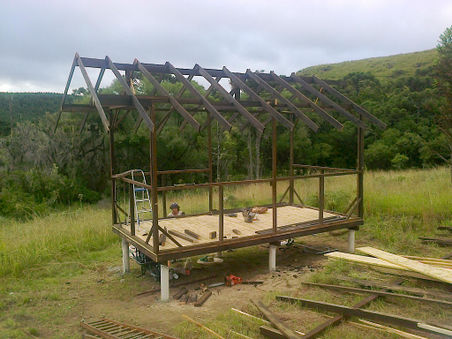
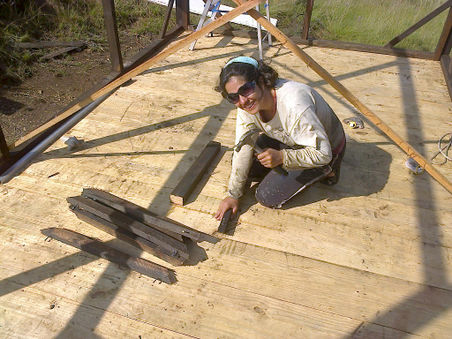
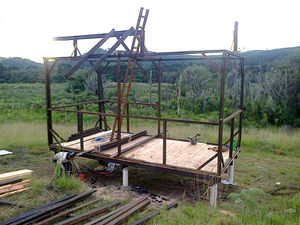
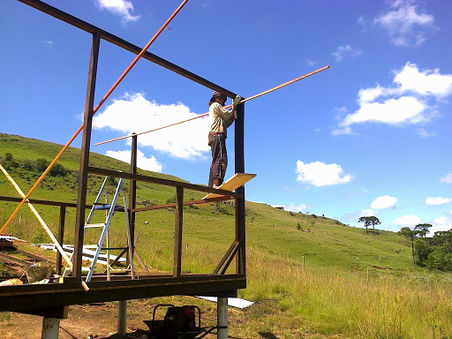
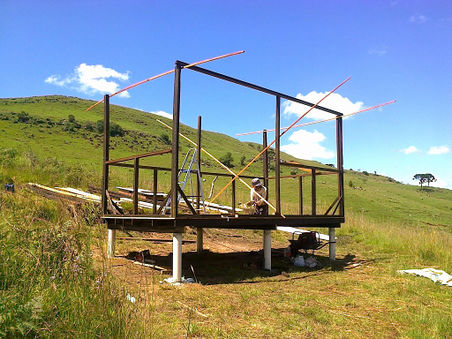
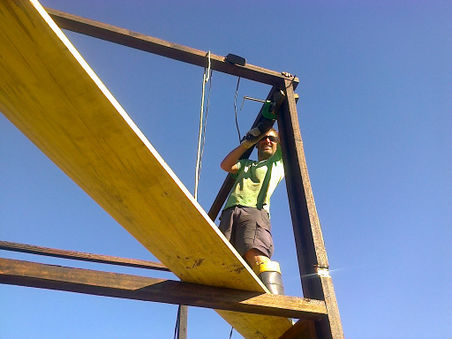
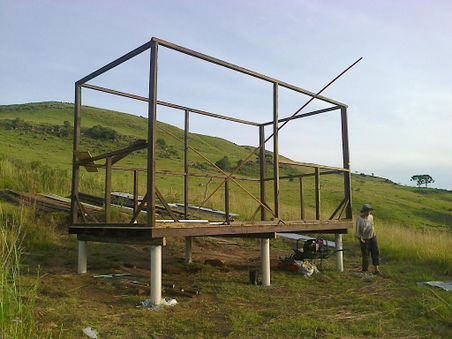
| Today is day 8, the first day of the second week. In the morning I put the second two windows in while Beth measured and cut the surrounding frame pieces. Then in the afternoon we finally got the last three perlins in place which means the frame is totally completed now and tomorrow we move on to the final phase - roofing panels and walls! As you can see by the dim light and the state of Beth collapsed in the corner, it was a long day and motivation's wearing thin - hopefully moving on to walls and roof tomorrow will get us fired up for the last little bit! |
The first window![edit] |
| Posted by Nad on 22 February 2016 at 22:54 |
|---|
This post has the following tags: Our forth year on the land
|
| Today we finished off the extensions, and finished all the not-scassors then got the first two perlins on. We then did the door frame and window frames and got one window in place! The window might be slightly premature, but we saw some bugs had started eating them and decided they would be safer getting rained on than staying with all the bugs! We'll put some termite poison on them tomorrow. |
Day six on the construction site[edit] |
| Posted by Nad on 21 February 2016 at 22:09 |
|---|
This post has the following tags: Our forth year on the land
|
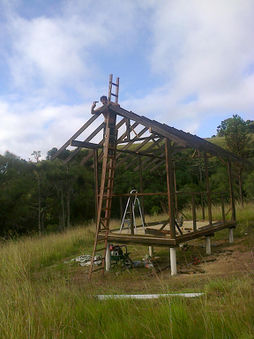
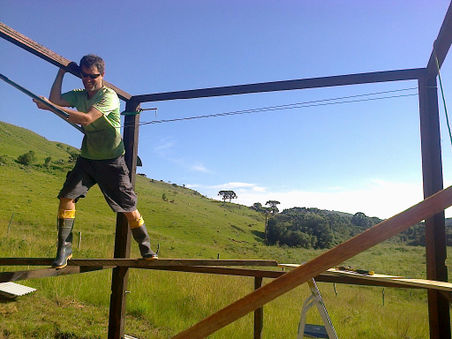
| Today we first got the other 3.7 metre half of the thick 12.5x5 up and joined to make the main 7.4m roof support. And then we got all the roof frame done for the main house area. The whole rest of the day was spent getting the one metre extended bit one the west end done!
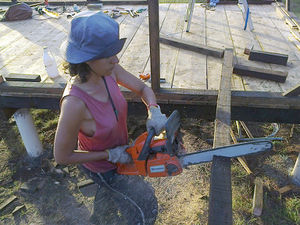
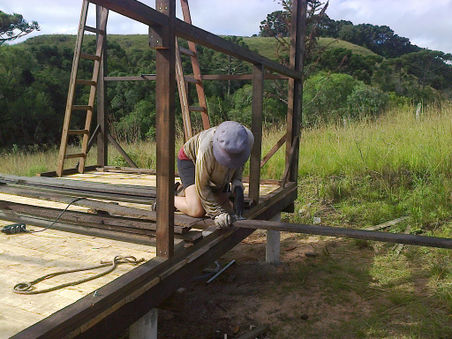
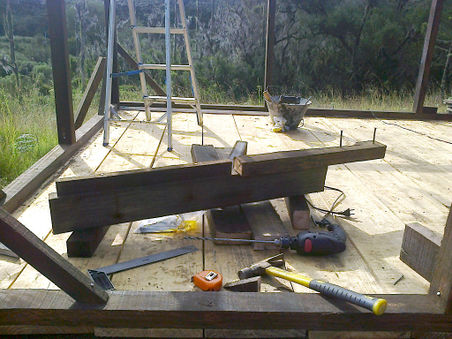
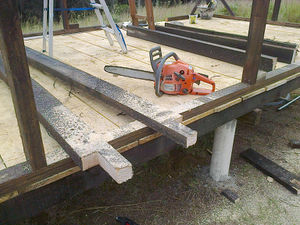
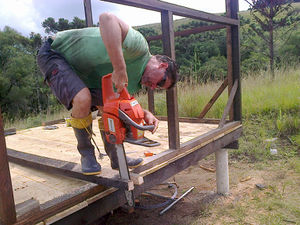
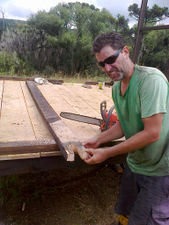
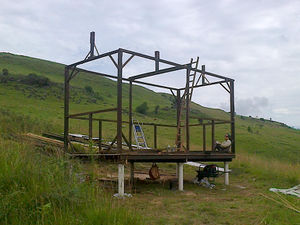
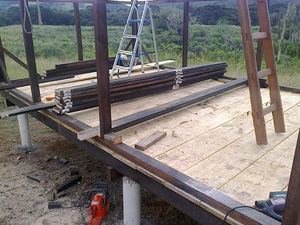
It was really tricky as it's up very high and the extension frame pieces are really heavy - but they need to be really strong since we wanted to avoid having to use ugly external 45's there, we assembled the extension bits as much as possible before putting them up, you can see one of these assembled bit in the middle photo below (they'll be bolted later after we get some more nuts!). The other photos show Beth cutting the notches in the frame pieces while I hammer them up.
|
Roof frame started on day five[edit] |
| Posted by Nad on 20 February 2016 at 23:28 |
|---|
This post has the following tags: Our forth year on the land
|
| Today the first thing we did was to get eight more 45's made up and positioned around the top of the frame to make it stronger for all the roof frame activity that will be the main focus for the next couple of days. Then the final part of the main frame was put into place, the big 12.5x5 across the middle which keeps the two middle verticals the right distance apart and takes a lot of the weight of the roof.
Then it was time to start the roof frame! Normally this would involve making a whole lot of so-called "scissors", but when we were staying in Pirenópolis I noticed they had used a slightly different method which I quite liked the look of, because it seemed like it would be less work and also uses the space more optimally. The idea is to have a large solid piece all the way along the apex and then have just single pieces of 12.5x2.5 supported by this large piece. This large piece in our situation needs to be 7.4 metres long, 5.4 for the house and a metre extra at each end for the roof. Since our wood is only 5.4 metres long we decided to use two pieces of 3.7m and join them in the middle. We're also connecting the middle down to the other large piece the joins the two verticals which required a bit of dodgy "chainsaw art" :-) This all resulted in the slightly strange looking state shown in the first photo below, three vertical pieces positioned ready to support the large apex frame pieces. We got just one of the 3.7m apex pieces in position first and then decided we better give it some strength by adding a few of the not-scissors pieces (whatever they're called), even though this large centre piece is very strong in a vertical direction, it relies on the other surrounding pieces for its strength in the other planes. These not-scissors pieces need to have bits cut out of them so they can sit nicely on the apex and sides, so we made a few getting the angle of the cuts a bit better each time, then when we had a pretty good one, we used it as a template to cut all the rest we'll be needing for that side of the house. |
The bent chickens come home to roost[edit] |
| Posted by Nad on 19 February 2016 at 22:22 |
|---|
This post has the following tags: Our forth year on the land
|
| Today is the forth day building (not counting pouring the cement and waiting for it to dry). We made good progress in the first half of the day getting all the eight lower 45's and the two long 5.4 metre 5x8's along the sides at the top in place.
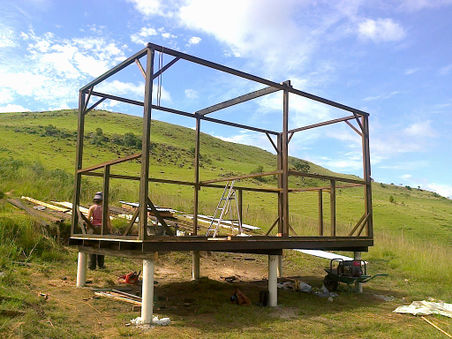
Things got a bit tricky in the afternoon though, the whole second half of the day was spent just getting the final two top 2.7 metre 8x5's on! It seems like all the pent up energy created by the cunning placement of all the other pieces to compensate for each other's bending was all focussed into these two final pieces! We had to use G-clamps to get the tops of the vertical L's lined up and then get them bolted, and one of the L-pairs were bent outwards with such force I needed to pull them together with fencing and a long metal pole (the trusty post hole borer) as a lever. But we got them in place in the end, and the whole thing's looking reasonably square considering the state of the wood - it's hard to tell in the pictures due to the curvature of the lens! |
Frame underway[edit] |
| Posted by Nad on 18 February 2016 at 20:51 |
|---|
This post has the following tags: Our forth year on the land
|
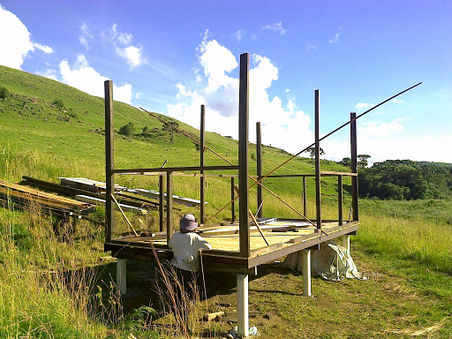
| Today we got started early and went straight to work on the frame, we started by getting the two vertical 8x5's in the middle done and got the mid height horizontal 8x5's in place that will support the windows - except for the section where the door way will go. It's a whole other level of logistics to think about when you have to construct in a way that compensates for the bent wood! It hasn't worked out too badly so far, but the big test will be tomorrow when we get the top of the frame done - if all goes well, those top parts will straighten up all the verticals! |
Foundation and floor finished[edit] |
| Posted by Nad on 17 February 2016 at 20:27 |
|---|
This post has the following tags: Our forth year on the land
|
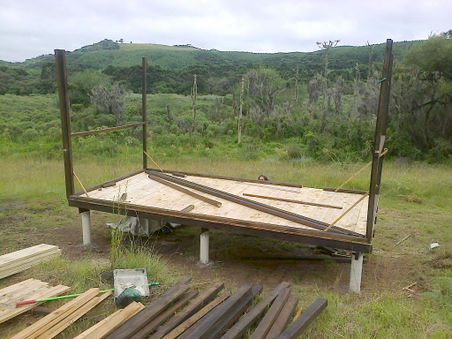
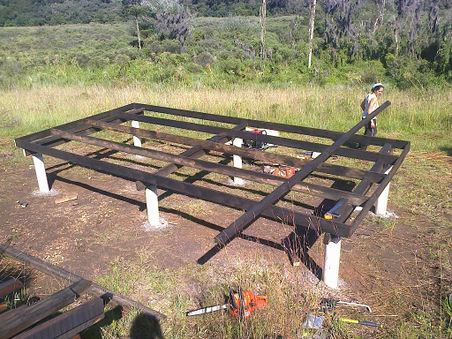
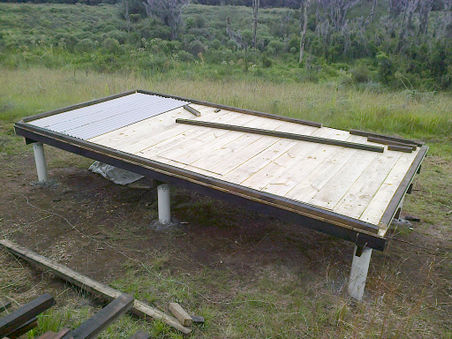
| Today we got up early and got started while it was still cool, and we made some really good progress - we got the foundation finished and then got all the floor boards down as well! Then we got the base pieces for the frame bolted into place ready to start the frame proper tomorrow :-) |
Building started[edit] |
| Posted by Nad on 16 February 2016 at 19:53 |
|---|
This post has the following tags: Our forth year on the land
|
| The concrete has only been drying for four days, but we figured as long as were careful it should be ok! So we cut three 2.7m pieces of 5x12.5 (eucalyptus comes in 5.4m lengths instead of the usual 2.7m) and drilled the holes to bolt them on. Even though I made a guide (I drilled a hole through a thick piece of wood with the drill press) to try and ensure the holes were vertical, it wasn't very accurate because the wood isn't cut very well - not only is it really bent, but it's not very square either! We had to stop early though because it started raining during our picnic break! - the house was already able to shelter us from the rain though by putting a few roofing panels over one end of the foundation :-)
We took the generator with us to the work area in a wheelbarrow so we can use power tools for cutting and drilling, but it's only powerful enough to run a jig-saw not a circular saw (although we have to test that as a lot of people think that it should run one no problem). Unfortunately the jig-saw isn't strong enough to cut the thick pieces of eucalyptus, so we have to use the slightly less accurate chain-saw for those cuts! |
Foundation poles complete[edit] |
| Posted by Nad on 12 February 2016 at 21:57 |
|---|
This post has the following tags: Our forth year on the land
|
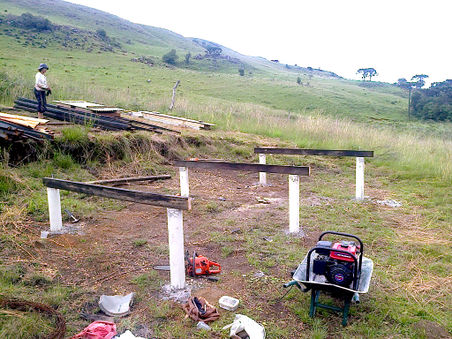
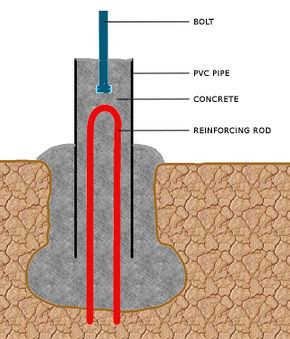
| We completed the foundations poles today, our third day back at the land. We wanted to get these done really early since we have to leave them for a week so the concrete is hard enough before we start putting heavy wood on top of them and hammering it. We made six foundations poles using PVC pipe filled with concrete as shown in the first image below.
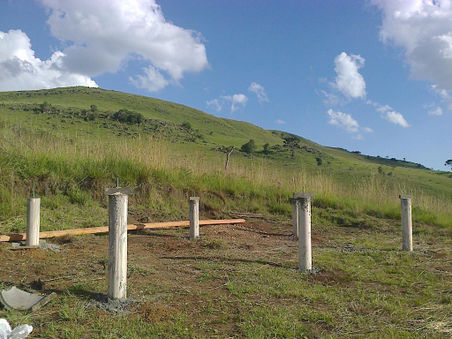
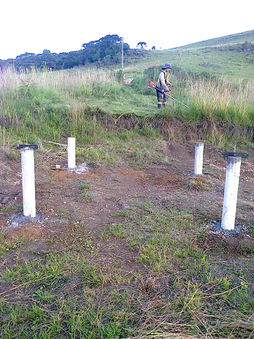
Unfortunately the south-east (closest to Vladimirs place) and the north-west poles have no reinforcing - because we completely forgot about it! And the middle pipe on the south side goes all the way to the bottom of the hole, but apart from those problems all went well. We used 75Kg of cement, 150kg of sand and an extra 50kg of large stones. The cement is pretty bad quality as it's a couple of years old, and the sand too is from the river containing a fair bit of mud, so this concrete wouldn't be suitable for structure, but hopefully it'll be fine for foundations where the force is almost all downwards and it's contained within the PVC pipe to prevent it from bending if any cracks were to form in it. Here's a picture of the completed foundation pipes and one of Beth clearing a path through the overgrown bracken from the newly delivered materials to the work area. If you click on the picture to get a bigger view you can just make out the wood and the new power pole in the distance at the end of the cleared path. |
Wood arrived for our second house[edit] |
| Posted by Nad on 11 February 2016 at 21:40 |
|---|
This post has the following tags: Our forth year on the land
|
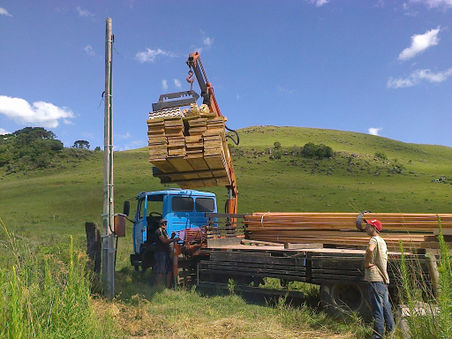
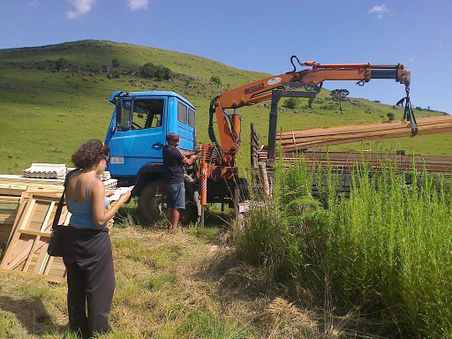
| We took the hire car back to Canela today and then paid for all the materials for the new house which came to R$3,500 (about NZ$1,300), most of the wood is eucalyptus this time rather than pine as it's stronger and more resistant to bugs. Delivery was only about R$150 which is a really awesome price, normally it's 2-3 times more than that, but since this wood place has it's own trucks they can do a better deal. We got a ride back to the land in the truck with them. |
