Difference between revisions of "Sourdough bread"
m |
m |
||
| (One intermediate revision by the same user not shown) | |||
| Line 6: | Line 6: | ||
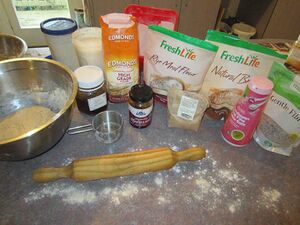
This shows different ingredients that can be used in the sourdough bread. | This shows different ingredients that can be used in the sourdough bread. | ||
| − | [[File:All ingredients.jpg|300px | + | [[File:All ingredients.jpg|300px]] |
| − | |||
| − | |||
== Step 1 == | == Step 1 == | ||
Latest revision as of 06:04, 5 August 2019
Sour Dough Bread is classed as a fermented food because of the long proving time and is suitable for gluten sensitive people (not gluten intolerant). It also tastes wonderful and is marvellous when toasted Below is the recipe and the average weight is 1200-1500grams
This shows different ingredients that can be used in the sourdough bread.
Step 1
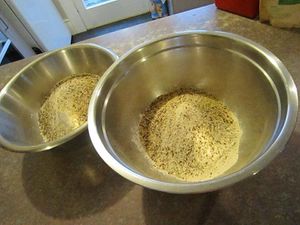
Different flours mixed ready for bread dough.
Recipe: 5 -6 cups of flour. Always use at least 1 cup of white flour and then you may use a mixture of other flours if you want. You can also add linseeds, sunflower seeds, pepitas, nuts or raisins. IT will work with any mixture you want.
Also will need to add 2 good teaspoons of salt. This can be added now or left until the dough has been rising for about 1 hour. In my cooler climate of NZ it is best added after about 1 hour.as the salt slows the yeast down a bit.
Use 1 cup hot water to dissolve the treacle or honey etc and then stir and put 1 cup of cold water in before adding the 1 1/2cup starter
Step 2
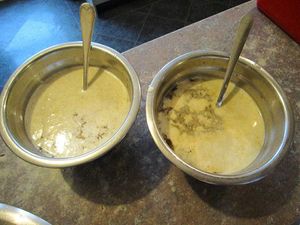
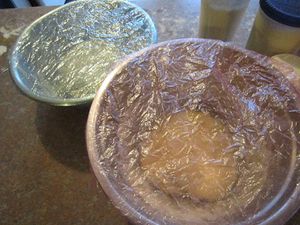
This is the sour dough starter mixed in water. Left bowl has 1 tablespoon of honey and right bowl has 1 tablespoon of molasses added. Honey and molasses is optional.
Recipe; 2 cups water with 1 tablespoon of honey, molasses or treacle added to it and dissolved and then 1 and I/2 cups of starter mixed into it.
Make sure you feed your starter with 1 cup of water and 1 cup of flour after you have taken the 1 and 1/2 cups off for your bread. If you are not making your bread for a week or two then make sure you take 1 or 2 cups of your starter out of the jar and then feed your starter as above. You can use the 1 -2 cups to begin another starter for a friend. Feed that also before you give it to your friend.
Step 3
All ingredients mixed into a shaggy dough and then left to rise. 10 - 24 hours depending on the temperature.
The water starter mixture is mixed into the flours until a dough is formed that is not dry but more on the sticky side but not too wet. Add a little more water if necessary to get the texture right but be careful - it is easy to add too much extra and get your dough too wet!
Step 4
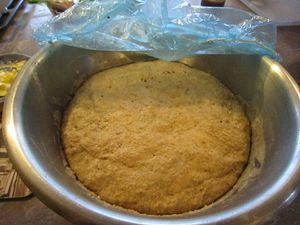
Dough is well risen after about 10 hours. Don't let it over rise to the point it drops back down or you will not have a successful 2nd rise. If you think you will not have time to cook it and it is getting well risen, then put it into the fridge to slow it down until you have the time to complete it.
Step 5
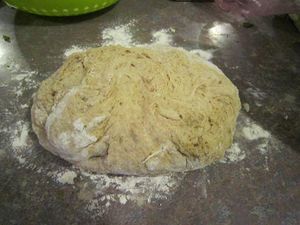
Dough ready to be shaped ready for final rising. Push the dough down and fold in all 4 sides to the middle, turn and do it again several times incorporating extra flour as needed until the dough is smooth, elastic and not sticky.
Step 6
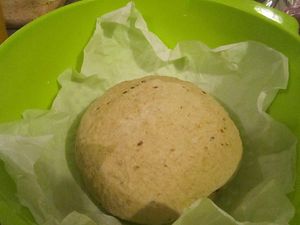
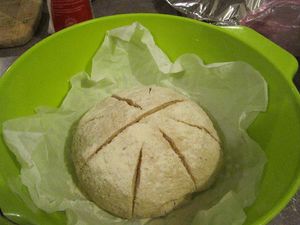
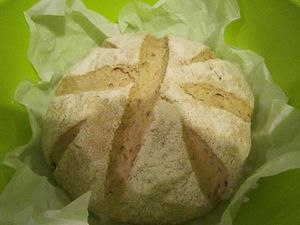
Shaped and placed into bowl for 2nd rising. Dough is then slashed to allow room for spreading and to prevent dough cracking all around the sides when it cooks. Dough is well risen (look at the slashes) after about 30 minutes.
Step 7
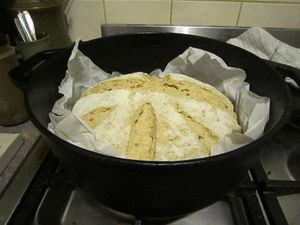
Well risen dough is transferred to the hot cast iron pan. Cook in a very hot oven (220 C - 250C ) for 35 minutes, then remove lid from pot and reduce heat to about 180C and cook for a further 10 mins until the crust is crisp and browned.
Step 8
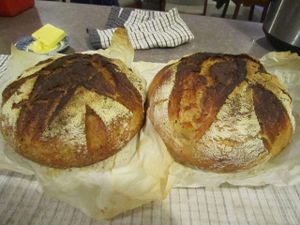
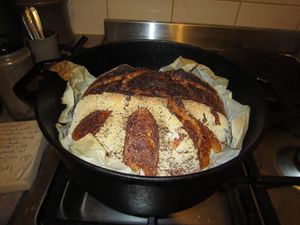
Beautifully risen and cooked to perfection. Remove from pot immediately and leave to cool before cutting.
