Our first year on the land
| 1. Moving from Curitiba to Canela | Our power project | |
| 2. Moving on to our land | Our rural net connection | |
| Year on the land: 1 | 2 | 3 | 4 | 5 | 6 | Our first house | |
| Our second house | ||
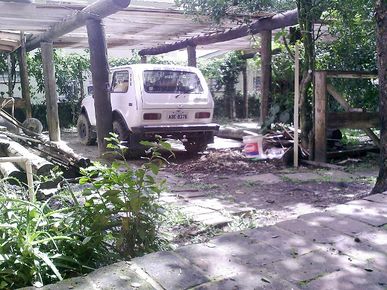
| Lada Niva |
Now that we've moved from Curitiba to Canela and moved on to our land, we need to get the net and power working and get the garden producing enough food that we can stay on the land full time, rather than having to return to Canela every week to get work don on the net and buy groceries. This blog is the ongoing documentation of what is involved in getting to that stage. It starts with the sixteenth week after initially setting up our tent in the "island" which was when we'd got the house to a complete enough stage to move into it out of the tent.
Contents
- 1 Week sixteen
- 2 Week seventeen
- 3 Week eighteen
- 4 Week nineteen
- 5 Week twenty
- 6 Week twenty one
- 7 Week twenty two
- 8 Week twenty three
- 9 Week twenty four
- 10 Week twenty five
- 11 Week twenty six
- 12 Week twenty seven
- 13 Week twenty eight
- 14 Week twenty nine
- 15 Week thirty
- 16 Week thirty one
- 17 Week thirty two
- 18 Week thirty three - holiday in Curitiba
- 19 Week thirty six
- 20 Week thirty seven
- 21 Week thirty eight
- 22 Week thirty nine
- 23 Week forty
- 24 Week forty one
- 25 Week forty two
- 26 Week forty three
- 27 Week forty six
- 28 Week forty seven
- 29 Week forty eight
- 30 Week forty nine
- 31 Week fifty
- 32 Week fifty one
- 33 Week fifty two
- 34 Next: Our second year on the land
- 35 See also
Week sixteen
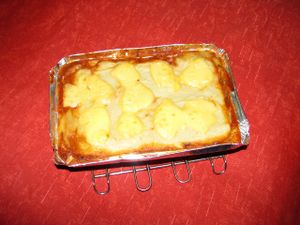
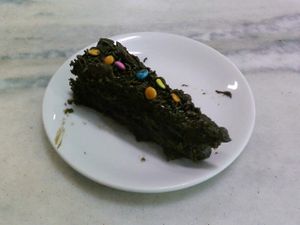
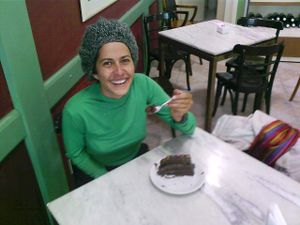
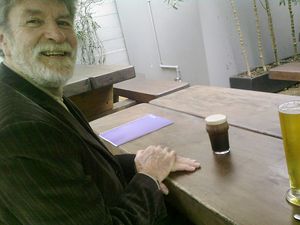
We made you an awesome potato pie for your birthday present and ate it for you too :-) Here's a picture of your pie - and of Beth eating your birthday cake for you! The last photo is from the last time we were at the pub which must be almost two years ago by now - you only had a tiny beer as you had to go to info centre shortly after :)
|
|
|
|
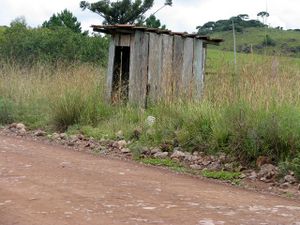
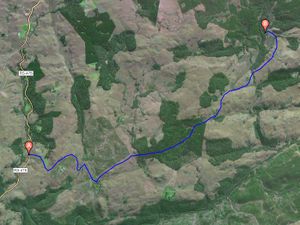
This week the weather was pretty bad on Friday so we delayed heading back to the land until Saturday since we wanted to catch the bus to an even closer bus stop than the church and then walk the rest of they way - about 8km I think. This bus stop (shown below) is at the start of the route to our land that we went on one time with the car (the one we all agreed we'd never drive on again!), but for walking it's the best option we know of so far. It took about two hours, but we were going quite slow due to carrying a lot of things - such as 100 meters or fencing wire round my neck and 100 meters of power cable on my head!
|
|
|
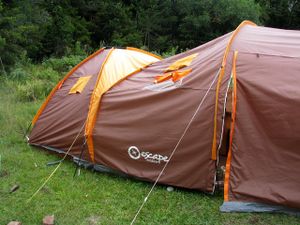
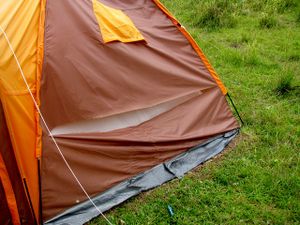
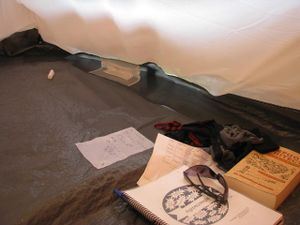
It's lucky we moved in to the house last weekend and didn't delay another week, because when we arrived this time, the tent had finally given up the ghost - as well as all the usual problems of broken poles and snapped ropes, it had a large rip in the side and what had been our bedroom had a small lake in it!
|
|
|
On Sunday I got the cable for the second half of our net connection in place. The distance to cover for the second half was about 100 meters which is longer than expected - I think due to making an error in the original distance calculation; I said that it was 160m on the map, but that it should be less than that in reality since its a hill and we'd be stretching the wire straight - but the 160m map length is already the straight length and in reality we can't stretch it completely straight, so its longer than 160m.
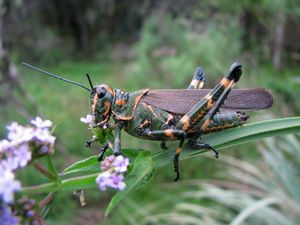
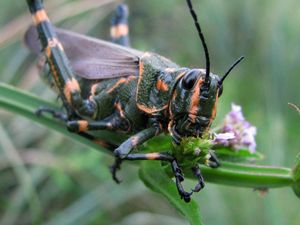
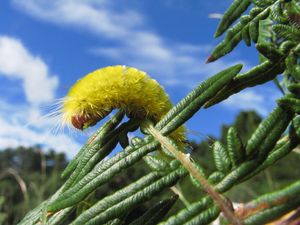
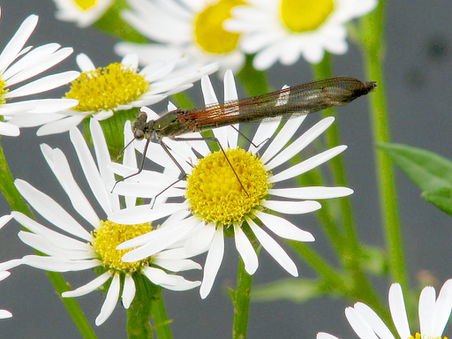
I got some good macro shots of a grasshopper eating a flower and of one of the odd looking yellow test-tube-cleaner caterpillars :-)
|
|
|
I only stayed for one day this time as I had to be back on Sunday night as usual to be in contact for work on Monday morning, but Beth wanted to stay longer, and since it's a lot safer now that we're in the house she decided to stay a few more days by herself :-) I walked back the same way we came to catch the bus back, but I had to wait over an hour at the bus stop because I only took an hour twenty five to walk back, and the bus was later than we estimated.
Week seventeen
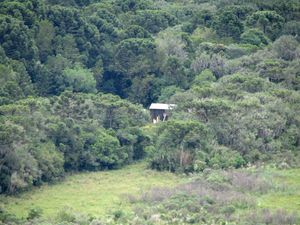
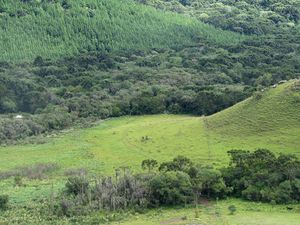
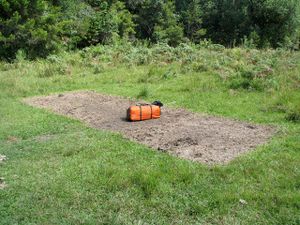
I cycled there on Thursday afternoon with a heavy backpack full of fruit and veges - I found it pretty hard, but I think I'll get used to it after a few more times :-) On the way in to the land I took some photos of our place from up high on the hill, the second photo shows the entire length of the cable for net connection, but you'll need to click on the image to get enough detail to see it. When I arrived our "island" looked quite empty as Beth had packed up the marquis and tent.
|
|
|
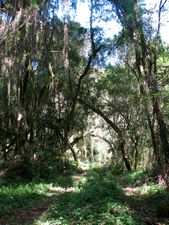
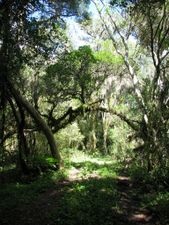
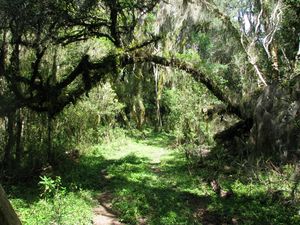
I also took some nice pictures of the entrance way to the bush surrounding our "island" (the small clearing within the bush where our house and garden are situated). The entrance way is a natural arch formed by a tree which was left after we chopped a whole lot of branches out of the way to get the car and trailer through.
|
|
|
Beth was very happy after spending over a week at the land in peace and quiet - and also happy because many of the vegetables in our garden have finally started to grow - especially the pumpkin which has really gone crazy. Here's some pictures showing the pumpkin, kumara and radish, but also doing very well are lettuce, spring onion, turnip, capsicum, mint and aubergine.
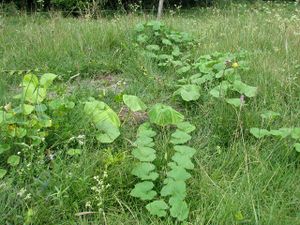 Pumpkin |
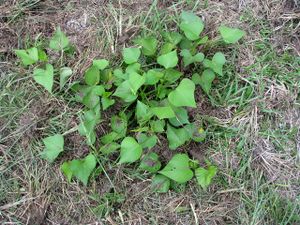 Kumara |
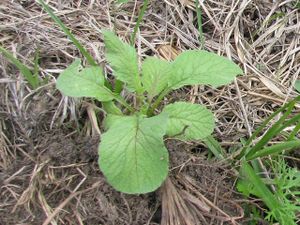 Radish |
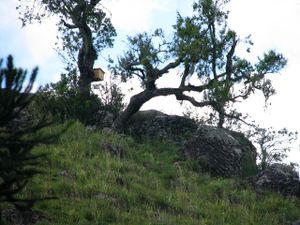
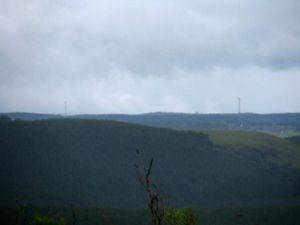
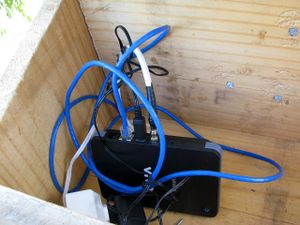
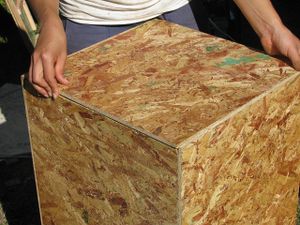
On Saturday I made another wooden box to house the equipment for the net connection at the top of our local hill. I made this box a bit bigger so that it can fit a router, a signal amplifier and any other equipment or tools that may be useful at the remote end. I also took some photos of the cell tower we'll be connecting to (there's actually two, a VIVO and a Claro) so I could figure out exactly where they are to get the angle of the antenna right. I used this excellent site which pinpoints all the cell towers in Rio Grande do Sul. Our towers are about 9km away, quite close to the dam, which is a fair bit further than I'd thought, but a good connection should still be available at that distance with a decent antenna and signal amplifier. Next week it'll finally be time to test the cables and connection!
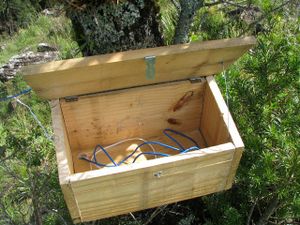
|
|
|

| ||
On Sunday afternoon we both walked back to the bus stop which is a really nice walk. We were a bit stressed when there was no sign of the bus after an hour of waiting though! we started off down the road preparing for four or five hours of walking, but luckily after half an hour we got a ride in the back of a pick up squashed in between a bunch of pumpkins and milk bottles! when we finally got to Canela, we decided to pop in to the bus station to find out what had happened to the bus. It turns out that our bus was pulling in just as we got there - it was an hour later due to daylight savings! that'll teach us for being such isolated hermits! but not really - we'll be back in the loop once the net's up and running :-)
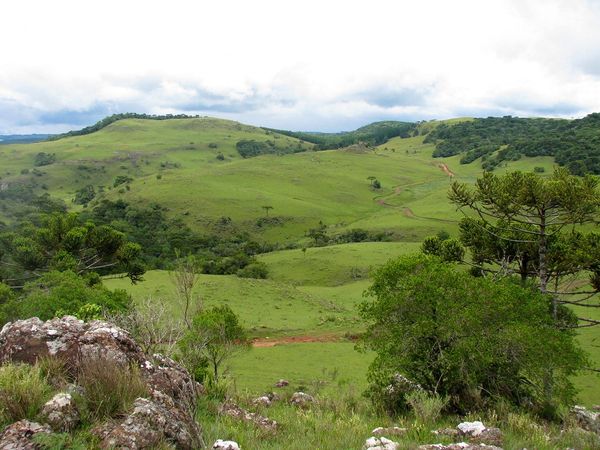 The start of the 8km road to the bus stop |
Week eighteen
I've just got back from another weekend at the land for another week of work. Beth's staying there for the week again so she can put more solid time into the plants which have been demanding more than just weekend attention! But it's paying off, we had our first salad made from the plants on our land today - it was a pretty modest salad, but it's a start :-)
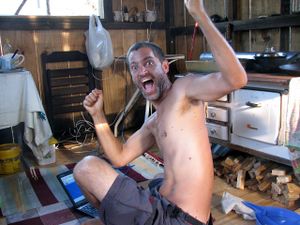
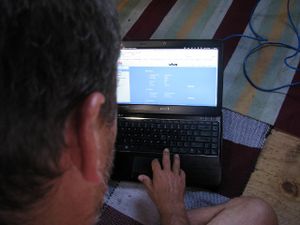
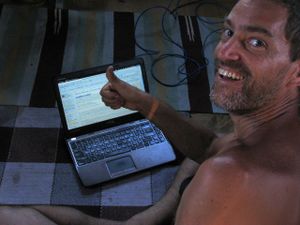
I made some excellent progress on the net connection this weekend too. First I got both segments of power cable tested which was the easy part, then I tested each segment of the LAN cable by plugging the router into the power and LAN at one end and checking if I could reach it with my laptop at the other end. All the cable segments tested fine, so the next was the big test - put the router at the far end up the hill (on top of the box since there's no antenna yet), plug the hub into the power in the middle box and both LAN cables into it, then see if we have net!
|
|
|
The first picture above was me after first establishing a connection with the router at the top of the hill, the second shows the router's web interface after having made contact with the Vivo tower, and the third is me making our very first wiki edit from the house which was the following message:
I'm writing this from our house with the router at the end of the cable up the hill!
This is great progress, but there's still a lot to do before I can work from the land. The next thing necessary is the antenna which I started on Sunday, but didn't have time to finish it - I was also disappointed with the inaccuracy of my drill holes which may cause it not to be tuned close enough to 850MHz to have a useful amount of gain. I really need a proper workshop environment to work on things like this with a vice and drill press. But then even after getting the antenna sorted out we still need to set up a power solution too - all these tests have been done using the generator which we only like to use for very short bursts of time as it uses a lot of petrol. I'll probably start by getting a battery and assembling our 150W solar panel which should be enough for running the computers and our LED lights bulbs.
Week nineteen
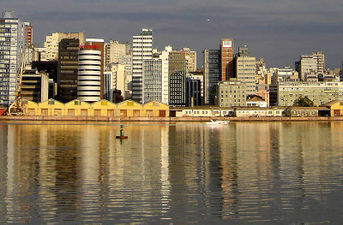
We didn't spend the weekend at the land this week, instead of me going to the land on Friday to meet Beth, she cycled back from there to Canela to meet me and we caught the bus to Porto Alegre. We've been wanting to go there for a while, because being a large city there's a lot more specialised items we can find there that aren't available in Canela or Gramado. Beth wanted to get some special rice and some Granola at a good price, and I needed to find a place that sells electronic components so I can start experimenting with some earth energy devices.
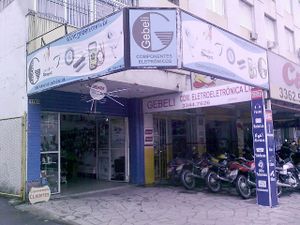
The first shop we went to was Severo Roth which is conveniently located only a few minutes away from the bus terminal, it's a huge place packed with people and has every possible thing you'd need from germanium diodes to microwave oven motor replacements - and you can order over the net too. The prices were pretty steep though, but it's still a very useful resource to know about. My favourite place we found though was a little shop called Gebeli which is situated just around the corner from Beth's friend's apartment where we were staying, it has all the commonly needed components at very reasonable prices and was a much calmer environment with nice helpful staff - you can also order over the net from them too :-)
|
|
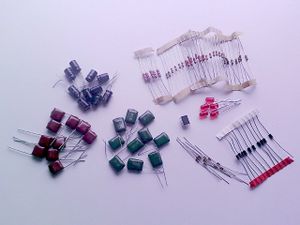
|
We've also been looking for a battery suitable for using with our solar panel (which I need to construct from 36 individual solar cells I bought in Curitiba) and charge controller so we have power for our net connection and LED light bulbs, but we've had a lot of trouble finding anything for a practical price. Then when we were going to a cafe to meet one of Beth's friends we saw a small battery shop on the other side of the road, so we decided to pop in and ask if they had anything, or if not, if they knew of anywhere we could go. Well it turned out that the place was actually very large inside and had a huge range of batteries including the exact kind we were looking for at a good price :-) and better still it turns out that the owner travels to Canela each weekend and said he can drop it off at the Pensão for us! This was really good luck because it weights over 27Kg and batteries require a special expensive courier service to transport. We got a 115Ah Freedom DF2000 battery for R$440.
We've had a bit of time to look around the city when going to meet various different old friends of Beth's. We paid a visit to her favourite Indian restaurant which was very nice. They have no menu there, everyone has the same meal that they've prepared for the day, which means there's no difficult decisions to make and you can't eat too much!
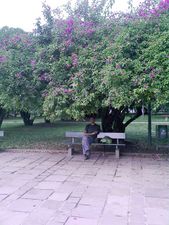
|
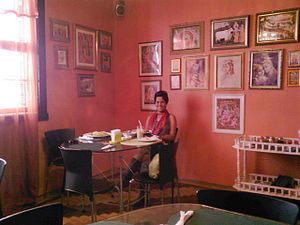
|
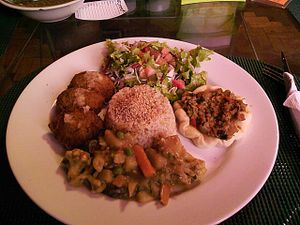
|
Week twenty
It's been a difficult week this week :-( we haven't been to the land since before we went to Porto Alegre. We've been moving out of the pensão and into a flat because the people who run the pensão were just too crazy for us to handle any more! On our last day there the owner and her husband got drunk in a bar and had a huge argument, she arrived home later sobbing and wailing for her mother, and the mother then proceeded to scream at her eighteen year old grand-daughter shouting that it's her fault that her mother's an alcoholic!
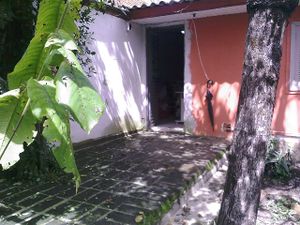
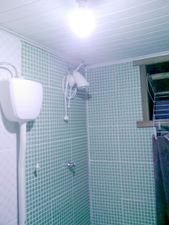
The new place is a single small room plus a bathroom for about the same price (R$350/month, or in NZ terms about $50/week) and more conveniently located closer to the main centre, but it's a bit dark and damp and we had to get a bunch of things like shelves, cutlery, plates etc. It does have a nice bathroom and a good hot shower with reasonable pressure though, which is very hard to find in Brazil - this evening I had the first decent shower I've had since we were at Beth's parent's place in Brasília over a year ago!
|
|
|
|
|
|
|
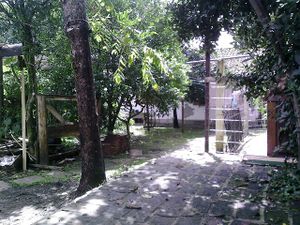
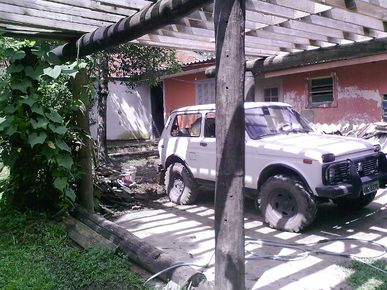
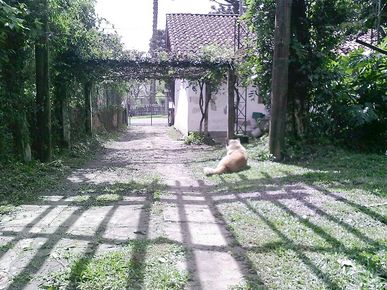
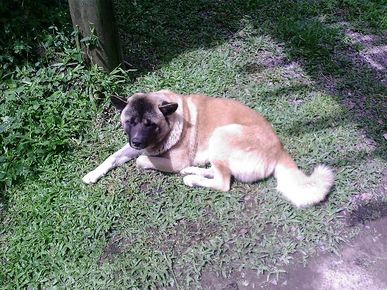
The dog's name is Tutu and he's a really good dog, not like the five crazy yapping pooing little monsters at the pensão! It's not the best place, but it makes a very good temporary place to have available when we need to come in to Canela and stay a few nights and it has a good off-road safe area to keep the car as long as we need to. Also we should need to stay in Canela much less as we get the house on the land sorted out more.
We'll hopefully be heading back to the land this weekend after the solar battery arrives. I've bought some copper tube and some very thick single-core copper wire so I can experiment with a Tesla antenna and I can also use this to make an 850MHz Yagi antenna if it turns out to be too difficult to solder the aluminium pieces I cut last time I was there (apparently you can solder aluminium by spraying WD40 or similar on to it then scraping the oxidation layer off under it).
The rejection notice for my residency was published in the Diário Oficial da União today (Friday, March 15th), so we'll be going to Caxias early next week to find out what the next hoops to jump through are!
And today (Saturday, March 16th) our solar battery was delivered - so hopefully we can order the batons for the house and head back to the land on Tuesday after we get back from Caxias :-)
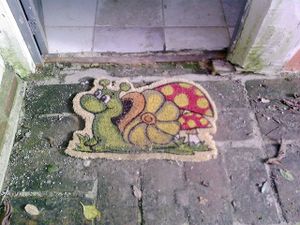
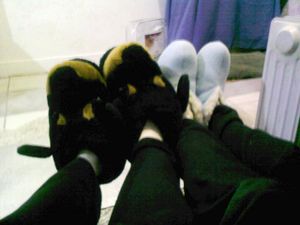
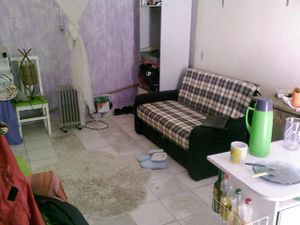
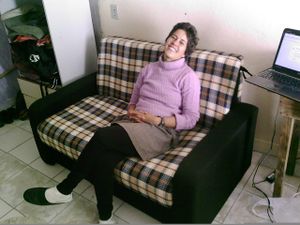
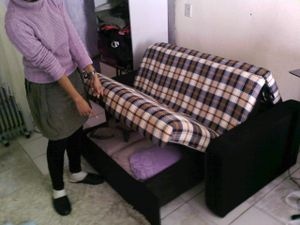
On Sunday, we bought a few things to make the new flat a little more cosy - the main thing, apart from a cute snail doormat that Beth loved and some slippers for me (Beth loved my blue slippers though, so she's inherited those now and I now have some big furry dog slippers instead!), was a small couch that opens out into a bed with a single simple sliding action. This will be very useful to have at the land as a guest bed after we don't need the flat here in Canela any more. It's very economical on space and has a big drawer under it to put blankets and pillows in when it's not being used as a bed.
|
|
|
|
|
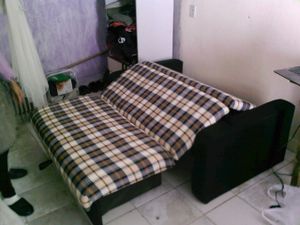
|
Week twenty one
We got up at six thirty on Monday morning so we could catch an early bus to Caxias and get the residency bureaucracy out of the way - or so we hoped - but unfortunately the process there is just absolute insanity!
The room is filled with stressed shouting and crying people, only five people per day are processed, and they need to have obtained (in person) a password to get service, and due to the massive demand for these passwords, you need to be there as early as 2am! Even if you do arrive at that time, you're still quite likely to miss out, so if you're from another city you're out of luck, you need to find accommodation close to the federal police and keep trying until you get a password. When you do finally get a password you need to wait most of the day in the crowded room for your number to show - because if you're not there when your password is called, you have to go through it all over again! If you do manage to finally get processed then you're effectively under house arrest until they come to check on you and your partner because if they show up and either of you are not there (perhaps at work, shopping or going for a short walk) then you'll fail and have to go through the whole process again!!!
The process is worst in the small cities (and I suspect in the large crowded cities too), so my advice is that if you're planning to go through this process, settle down for at least six months in a medium sized, well organised city such as Brasília or Curitiba as the federal police in those cities are more organised and helpful - although they'll still fail you if you're not there when they arrive. We've decided to put our process on hold because we'll be going to Brasília reasonably soon to visit Beth's parents, so our plan is to stay a little longer than originally intended and get this process sorted out there instead.
Week twenty two
At last we got back to the land after more than a month! The first thing we noticed on arrival was that our new access road had been made :-) the neighbour Maneco had told us a couple of months ago that the council would be coming to fix up the road in the area and that if we wanted to we could go halves together (for about R$800 each) to pay them to extend the road through his land to ours as he also wanted that part of his land accessible. They've also fixed up a lot of the road leading up to our land and it now looks like it would be accessible in a normal car, at least when its dry. here's some pictures of the new road, the photo at the bottom shows with green dots where it is on the satellite view, the red dots are the route we used to take before the new road was made (the western end of the red dots are where our bridge is) and the yellow dots are the unchanged route.
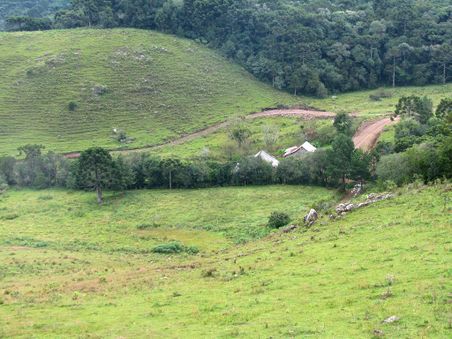
|
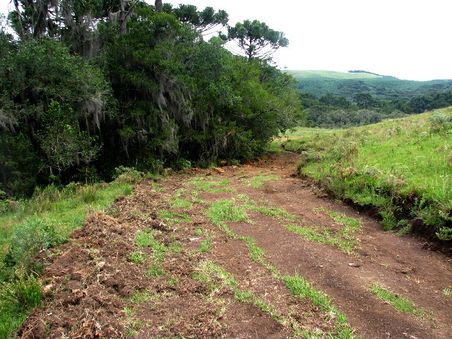
|
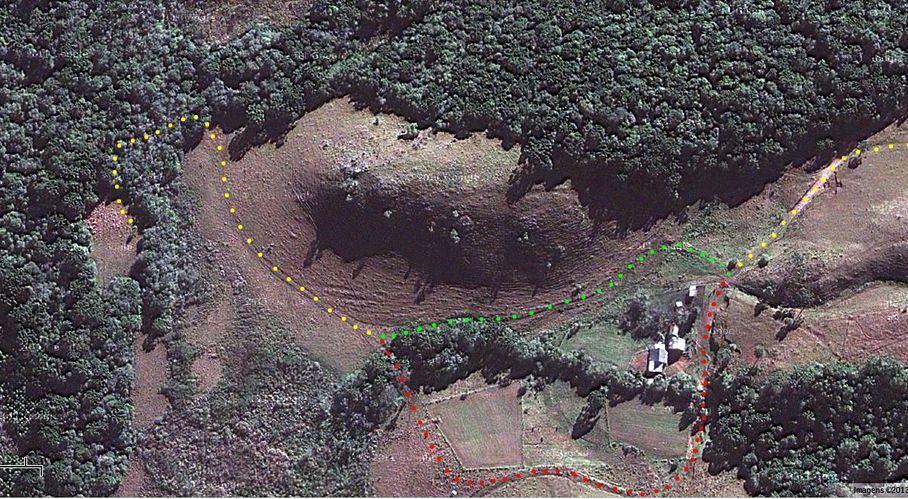
| |
The most urgent project for this time at the land was to get the batons on to cover the gaps between the wall boards as winter's approaching fast and the wind is getting very chilly! We needed to have all the batons chopped in half so that we could bring them in the car because we still haven't got things prepared for bringing the trailer through the forest. Having them chopped in half meant that we had to nail them in positions that had no frame wood behind to nail them into, so we had to add small pieces and put the sledge hammer behind them to hold them firm while hammering the batons in. But it turns out that this probably would have been a good idea even if the batons weren't chopped in half because it's made the wall boards much flatter and stronger.
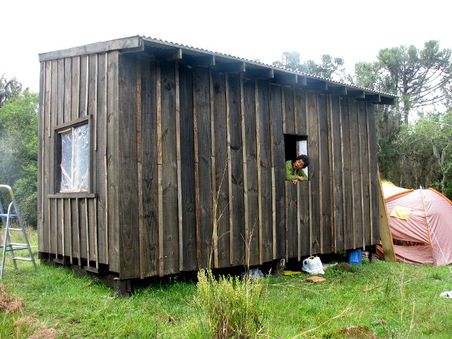
|
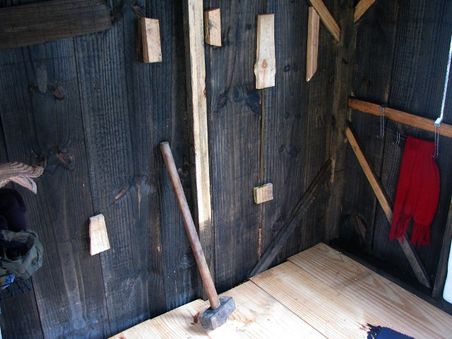
|
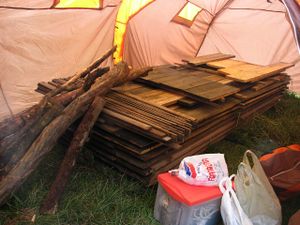
The next important task was to start getting a supply of firewood chopped up and collected and stored under cover. First we chopped up so much wood that the chain came off! Then we put the tent up again to keep it all in until we've created a more permanent place for it (probably the new greenhouse we're planning on adding to the north side of the house).
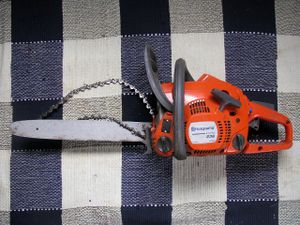
|
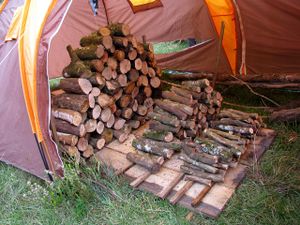
|
|
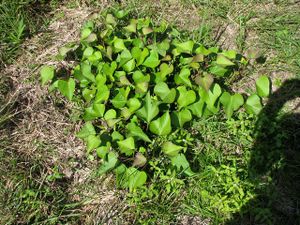
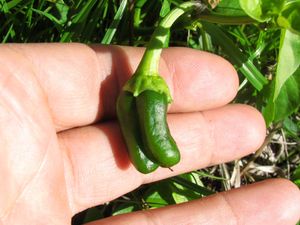
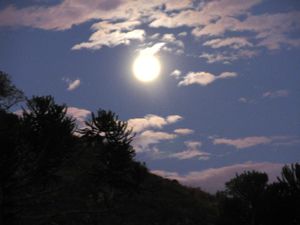
In the vege patch our Kumara has got a lot bigger and a tiny capsicum has started to grow. The last photo is a slow exposure of the moon rising above our local hill.
|
|
|
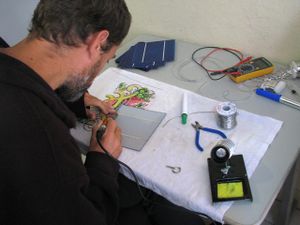
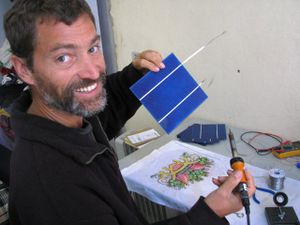
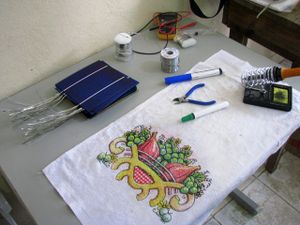
This week ended with my first session constructing our 150W solar panel. In Brazil solar panels are extremely expensive - around three to four times the price we can get them in western countries (if you buy from low-cost Chinese sources like PWG that is). But we found this place that supplies the cells separately as a kit which brings the price down to a more practical level (I also found this one which is a bit cheaper). I watched this video to learn how to assemble the cells into a functional panel. The first step is to solder the tabbing wire onto the backs of all the cells; each cell is 0.5 volts with the backs positive and the fronts negative, so the idea is to wire all forty cells in series which makes a panel with a maximum output of 20 volts and a nominal output of around 16 volts. This output is then feed into the charge controller which adjusts it to suit the battery and load state.
|
|
|
Week twenty three
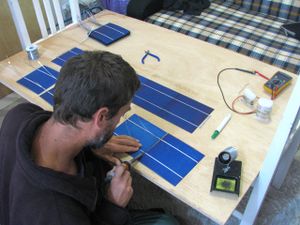
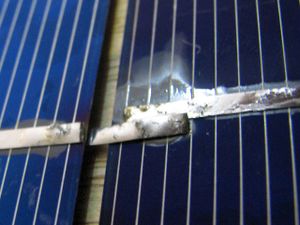
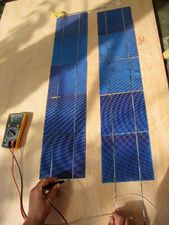
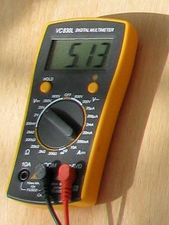
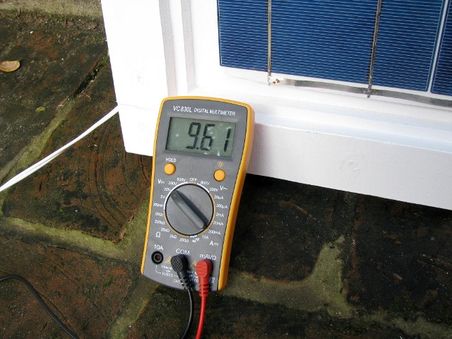
This week started with more work on the solar panels. First I got a large sheet of weather-proof ply wood and got it chopped into four equal pieces of 80cm by 120cm which is enough for four panels (I only have enough cells for two panels so far though). Next I started soldering the cells together into groups of five in series by attaching the tabbing wire that had previously been soldered to the backs to the fronts. One problem that came up with this procedure was that I discovered that I actually have three different types of panels! they're all the same size, but there's two slightly different widths between the connection strips, which meant I had to do some dodgy connecting of some of the cells as shown in the second picture below. The final pictures show a voltage measurement on a series of ten cells which is reading correctly at just over 5 volts.
|
|
|
|
I've now got all four rows of five cells soldered together to make the first panel. I temporarily joined them to test the voltage and it's looking good at 10.59 volts :-) The cells are incredibly fragile and I've broken some small bits of some and have some cracks in others, it's like trying to solder together slim potato chips! Not all cells are quite as fragile as this though, one of the three types I've got feels a lot sturdier, so I hope that
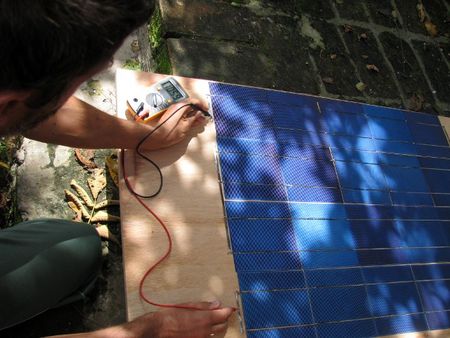
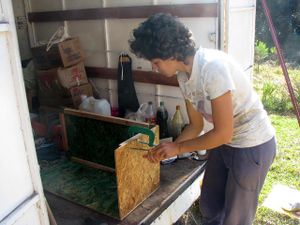
the next set of forty I purchase will all be the same and of the more sturdy type. Here's a photo of the measuring of all the cells and another of Beth painting the wood ready for final assembly!
|
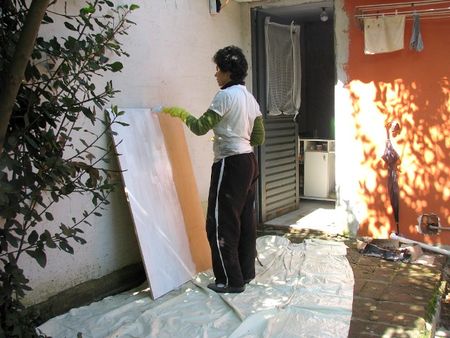
|
Week twenty four
Whenever we go to the organic store to buy something like bread, Beth always ends up getting five other things and spending three times as much! And the same happens with me when we go to the hardware store - this week we went to buy some nails and came back with this awesome drill press on special for only R$276!
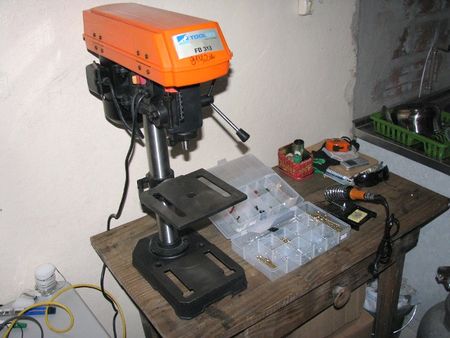
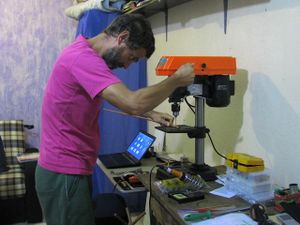
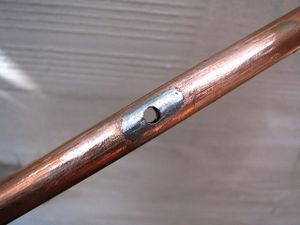
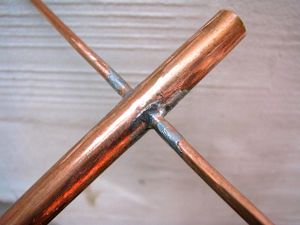
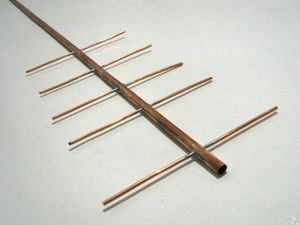
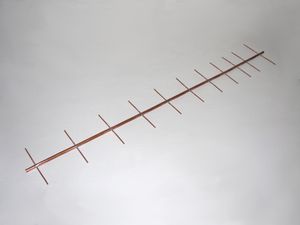
The first thing I did with the new drill press was to make a start on the net antenna by drilling the holes for the wave-guides and soldering in the first one. It's quite difficult to solder such large areas of metal because it acts as a heat sink, so I first tinned the areas (added solder and filed flat again) to be soldered and then redrilled them before soldering each wave-guide into place.
|
|
|
|
|

|
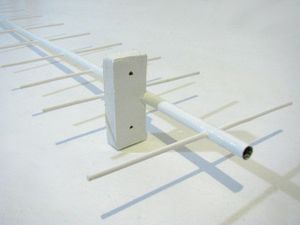
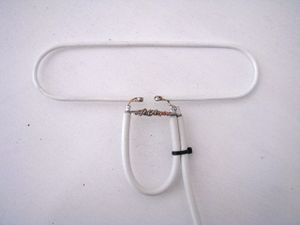
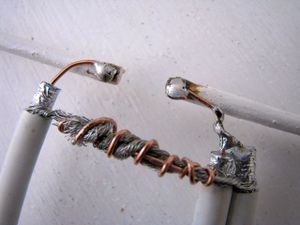
The position and lengths of the wave-guides looks kind of haphazard and random, but actually they're very precise to within a fraction of a millimetre so that the antenna is perfectly tuned to 850MHz to match the 2G signal coming from our local tower. I used John Drew's Yagi Calculator which allows you to calculate the exact positions and lengths of your elements by entering the details of the materials you're using and the desired frequency and gain of the final unit. The folded dipole (last picture above) was the most difficult bit to get right, the inner radius of the curves needed to be 35mm and the total width 173mm with the small gap in the exact centre. I got it pretty close to sub-mm accuracy.
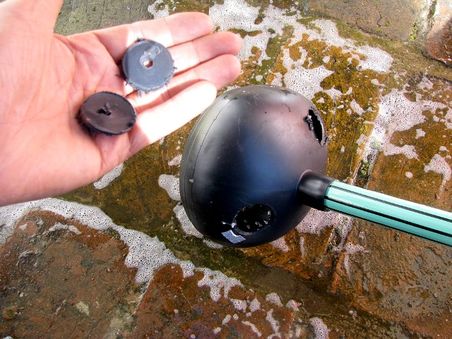
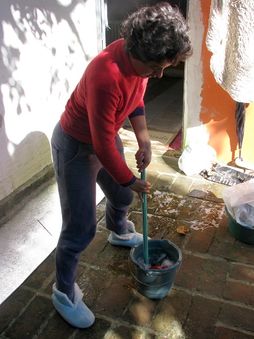
We've been wondering what to do about washing at the land using very little or no power but more effective than hand washing. Then today (Sunday) Beth came up with an ingenious idea, she drilled some big holes in a toilet plunger turning it into an excellent manual clothes washer!
|
|
Week twenty five
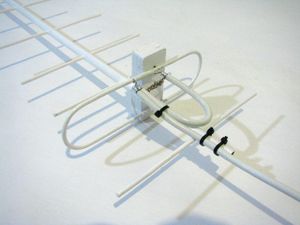
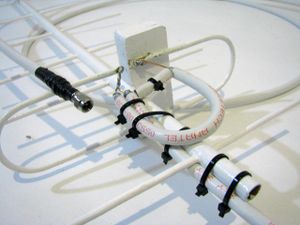
This week I finally finished off the antenna which involved putting about six coats of paint on it to make it look nice and to protect it from corrosion, and then glueing a piece of wood to the side to support the folded dipole in exactly the right position (centred and 101mm from the end). And then the balun had to be attached which is just a U-shaped piece of the RG-6 coax cable of exactly the right length connected to the folded dipole.
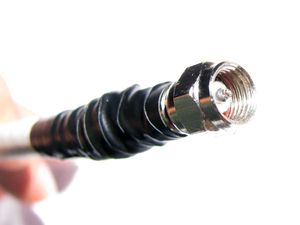
I had to do a little bit of gambiarra to get the plug on the end because firstly the router uses a Reverse polarity SMA connector (RP-SMA) but my connector is normal polarity, and secondly the RG-6 coax cable I've used is too thick for SMA connectors. Luckily I was able to solder the cable to the plug and poke some excess of the solid core through and solder the end to make the required sticking-out bit that a female RP-SMA plug should have. I then covered up the horrible mess with tape ;-) I'll still need to finalise it by putting some silicone or epoxy over the exposed wire parts to protect it from the weather, but I'll wait until after it's working before doing that.

| ||
|
|
|
|
|
|
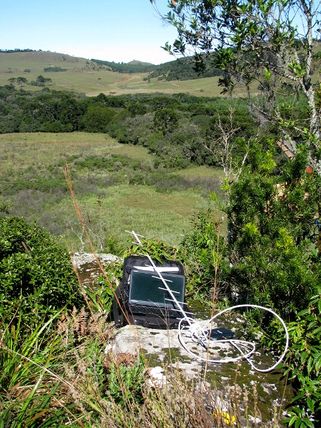
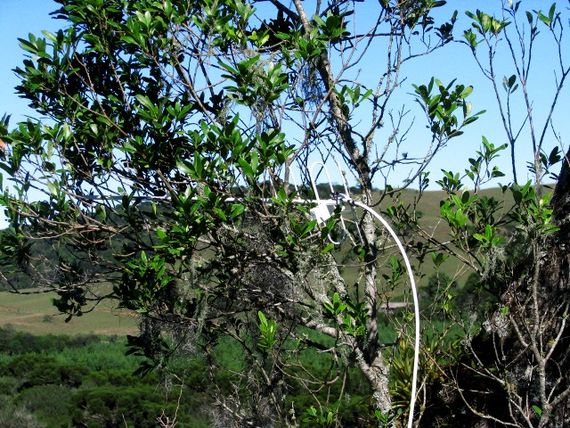
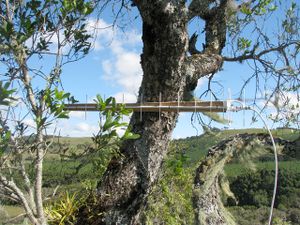
In the weekend we went to the land with the antenna ready for testing on the hill! I took the antenna, router and laptop up the hill so that I could look at the signal strength while adjusting the position of the antenna. First using only the router's internal antenna I got a usable connection with one bar signal strength. Then I plugged the antenna in and it dropped down to zero connection, but then when I put the antenna in the branches of a nearby bush so that it was pointing in approximately the right direction, the connection went up to two bars, and then a few seconds later after I started loading some pages, the connection went up to a full five bars and stayed there persistently!
This result was better than I had dared to hope for! it looks like being a perfectionist and making everything to sub-millimetre accuracy and smoothing off all the rough bits of metal really paid off :-) But it gets even better! it turns out that the rural VIVO towers do actually have 3G capability, but since the towers have to cater for mainly long-distance users they provide it over the 850MHz band instead of the usual 2.1GHz - and my connection was now good enough for the "w850" option to become available! When I selected this the connection changed from EDGE to WCDMA and the signal dropped down from five bars to only two bars, but the connection was still very responsive and usable - and more importantly was working about five times faster than the five-bar 2G signal! I did a speed test and was getting a consistent one megabit connection - a far better result than I could possibly have hoped for!
|
|
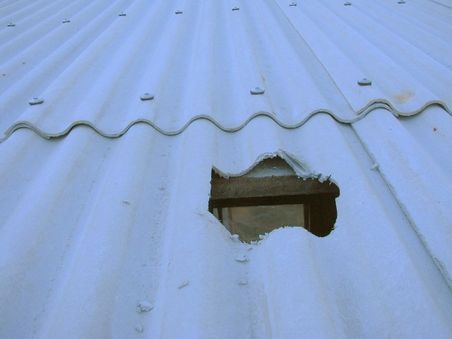
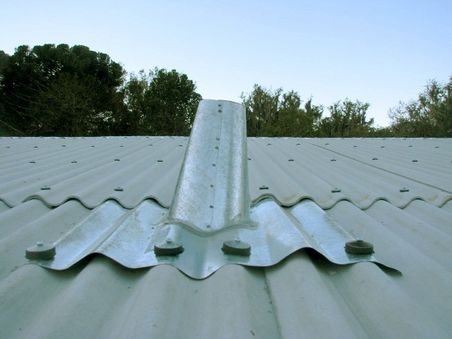
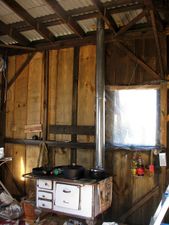
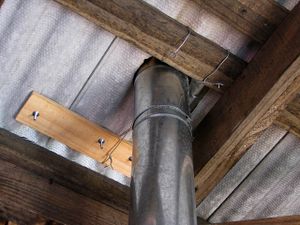
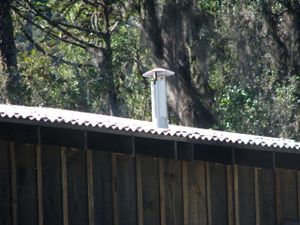
The next project we wanted to sort out in the weekend was the chimney. I thought this would be quite simple, but it turned out to be a bit more complex than I thought - the main problem was that I didn't know what the proper method was of attaching the top tube to the covering piece and also it was extremely difficult to reach and work on as the ladder is too short to rest on the edge of the roof overhang. I worked out a gambiarra method of attaching the top with some fencing wire which should be good enough to withstand strong winds pulling at the chimney top.
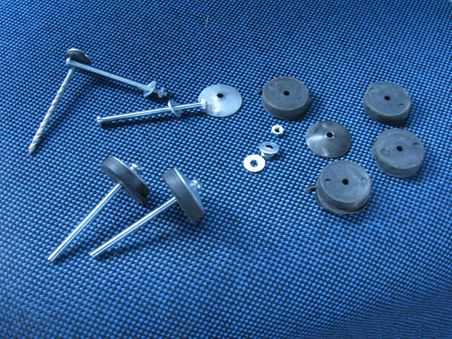
First was the easy bit - cut the hole through the corrugated roofing panels, loosen some of the nails, slide the top side chimney cover piece under them, hammer them back down and bolt the bottom side of the cover piece. I couldn't get any roofing bolts, so I bought some normal bolts and converted some roofing nails - bolts were necessary for this because there's no perlin on the inside to nail them into.
|
|
|
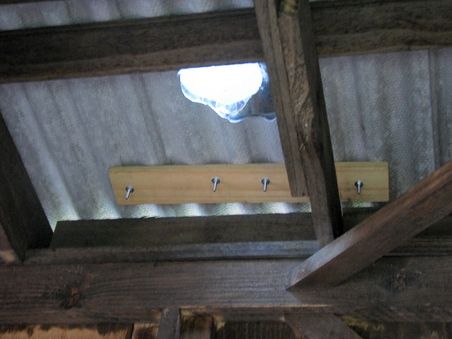
|
Unfortunately the cover piece wasn't made very well and its corrugations didn't match those of the roof so we'll need to put some of the silver weather-proof tape over this as well! Next was the difficult gambiarra bit, I attached a loop of fencing wire around each of the three attachments of the top dome piece and fed them down the cover piece to the inside where I could attach them to the roof perlins and twist them tight with pliers. This way any force exerted on the chimney top by strong wind won't be able to lift any part of it away from the roof.
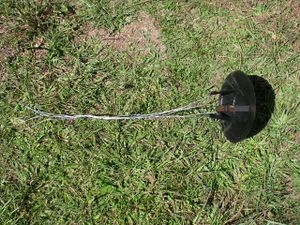
|
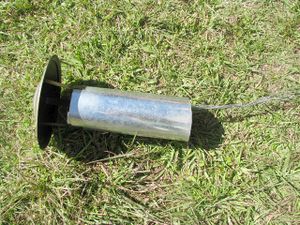
|
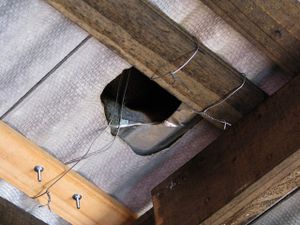
|
And finally, I could then cut a small section of the pipe to extend the main pipe to the right length to connect the 'coski to the new hole and cover piece!
|
|
|
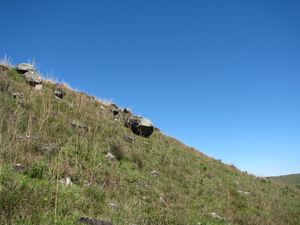
And then all of a sudden it was Monday and time to head back :-( I went for a walk in the morning and sun-bathed for half an hour on my "morning rock", and then we set off down "Crystal Road" to get our bikes which we'd locked up in the forest and head back, the Crystals are most dense at the last point where you can still see our local hill (shown in the photo below). As we were cycling over the bridge at Parque da Cachoeira on the way back a cute Quati ran across before us :-)
|
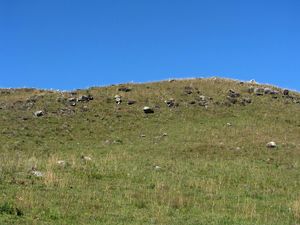
|
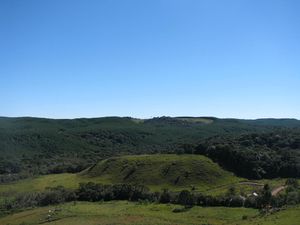
|
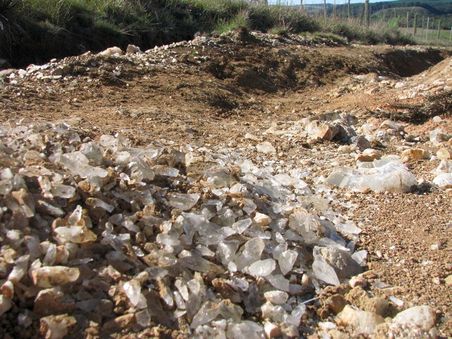
|
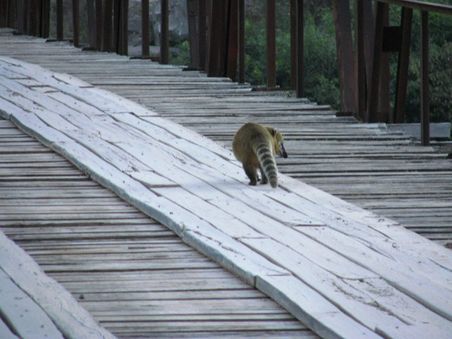
|
Week twenty six
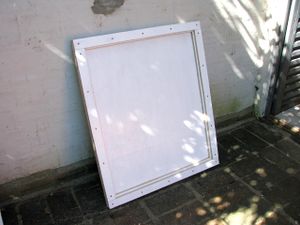
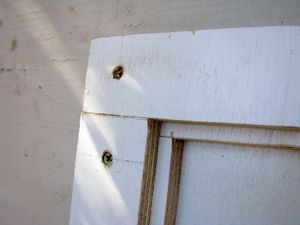
Back onto the solar panels again now that the antenna is finished, tested and working perfectly! The first step this week was to cut four long pieces of the ply 6cm wide and another four pieces 5cm wide to form a frame for the glass to sit in. I used a G-clamp to hold the frame pieces in position while drilling the screw holes, and to hold it together tightly while putting each screw in to help ensure that its water-tight, and then Beth put silicone sealant into the remaining cracks before painting it.
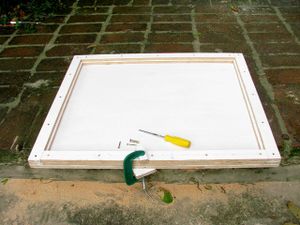
|
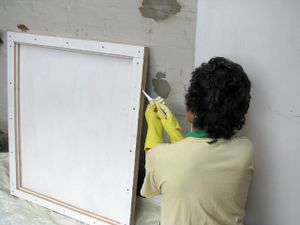
|
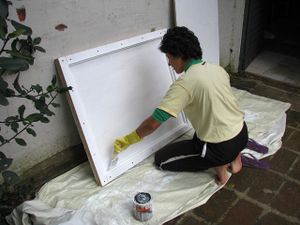
|
The first panel frame is all painted and ready for installation of the cells, and the second frame is ready for puttying and painting. I've made the counter-sinking a bit deeper on the second panel so that I can make the screw holes invisible and water-tight with some putty.
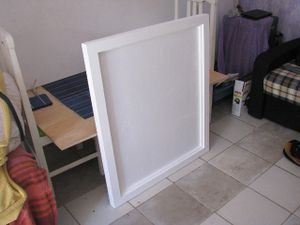
|
|
|
Week twenty seven
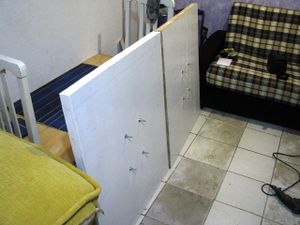
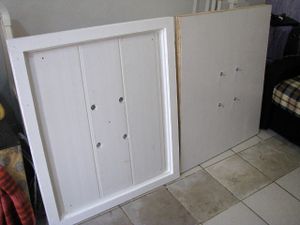
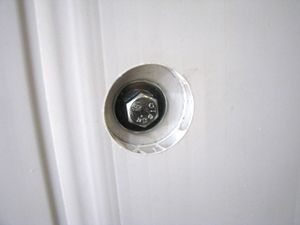
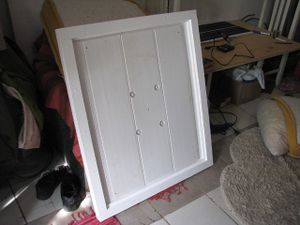
This week started with some good progress on the solar panels - I got all the cells installed into the first panel and wired it up! I started by drilling four holes into each panel and putting some sturdy bolts through so we have a good strong means of mounting them later. Then I screwed a plastic base onto the frame of the first panel with holes drilled into it to make way for the bolts. The plastic is to avoid the cells being directly on the wood which may get moisture on it and can bend or expand and contract in differing weather conditions. The plastic was also useful for raising the surface so the cells aren't in contact with the bolts.
|
|
|
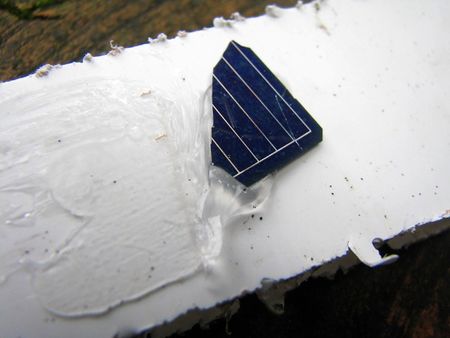
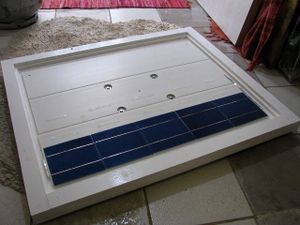
And finally, the process of actually getting the cells into the frame. Before actually bonding the cells to the plastic, I thought it would be best to test that the silicone we're using would bind well to them both, so I took a small piece of cell that had broken off one of the corners when I was soldering them together and did a test.
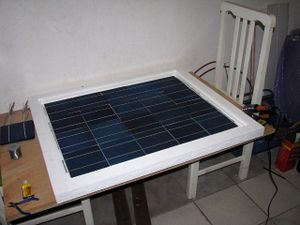
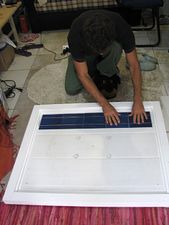
After the test dried, it was successfully bonded very strongly but with a little elasticity which is perfect for such fragile things. So I then marked with a pencil on the plastic base a grid so I could position each row of cells accurately, and then put a couple of lines of the silicone on it for each of the five cells in the first row. I then picked up a row of five that had been soldered together a few weeks ago and carefully placed it in position and slowly moved it in a small circular motion pressing very gently on each cell to get the silicone bonding nicely with both the plastic surface and the cells.
|
|
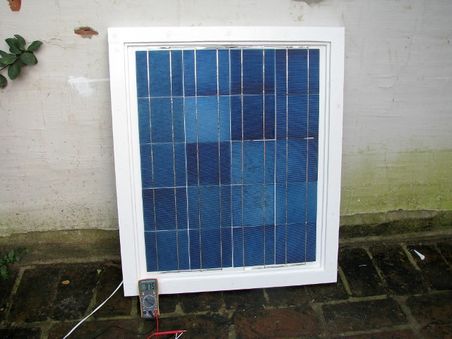
Here's the first panel all wired up and the voltage tested and showing at a little under 10 volts - which is right for a fairly overcast grey day :-)
|
|
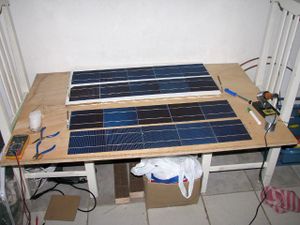
And then the same process for the second panel...
|
|
|
And then we do some final tests to ensure they're both working correctly before calling the glass guy :-) here's both panels wired together in series with the voltage showing as 17.88 which is very good since they're in the shade with no direct sun light on them anywhere.
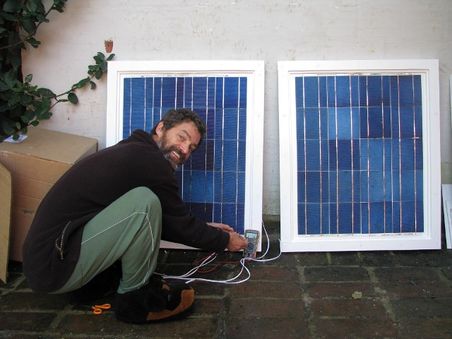
|
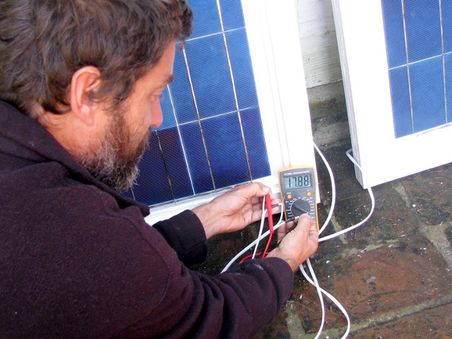
|
And finally putting the glass in! it only cost an extra R$5 for the glass guys to come over and measure everything and then bring the glass here to us, and then they install it for free so we decided we may as well let them do it :-)
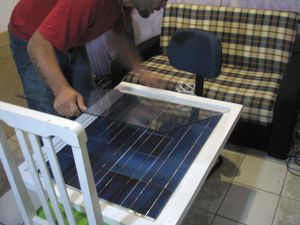
|
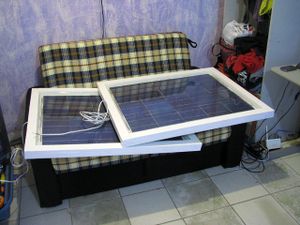
|
Week twenty eight
This week started at the land instead of back in Canela - that's because in the weekend we took the completed solar panels to the land and have successfully installed them! I first made a temporary support for them so that they could easily be brought inside if the cows came to investigate or it started raining (I'm not quite ready to put them to the weather test yet :-/), and so we can easily position them towards the sun.
Next I connected up the battery, charge controller and inverter and tested the voltages, and then connected up a 5W LED light bulb to ensure everything was going as it should. Everything was working fine, but unfortunately one of the panels did suffer a little damage during the trip - it's difficult to pack such a heavy but fragile thing well enough to handle 20km of extreme roads :-( also I noticed that both of them have moisture inside, so we'll need to think of a way to deal with that - perhaps by making a tubular silica moisture absorber and poking it in through a small hole in the back?
After everything looked good, I connected up a light socket in the centre of our only room and a switch by the door, so that evening we had proper light for the first time! it wasn't all that bright as we only have a single 5 watt LED bulb here at the moment, but it did the trick and was running for four or five hours no problem :-)
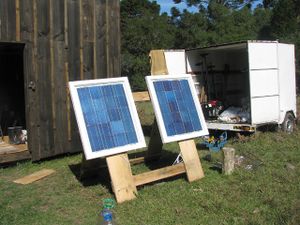
|
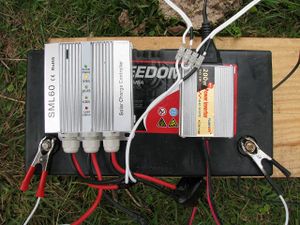
|
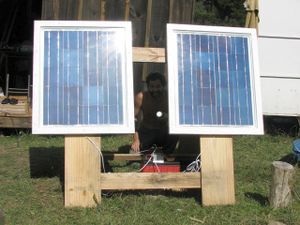
|
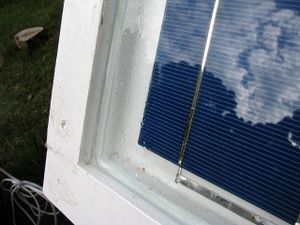
|
|
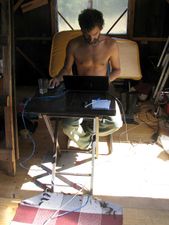
Ok so getting the panels and our house light going was actually week twenty seven as it was on Sunday - the first thing this week was to get the antenna installed in its permanent position and hook the router and laptop up to the inverter! Once that was done the first thing to do was to start writing this blog update :-)
|
|
|
Candido, his wife Celia and some of their friends came to visit on Sunday as well (ok it should be in week twenty seven too, but too bad, I'm here in twenty eight now). After some coffee they went into our small forest to collect Pinhão from the Araucária trees which are very common around here. The Pinhão nut is very similar to a Chestnut in texture and flavour. The way to get them is to climb up the tree with a long stick and prod all the fruits that are ready so that they break open and all the nuts (often a hundred in each fruit) pour to the ground. The trees are very tall and have no branches for the first ten metres or so and the trunks are too wide to reach around, so the climber uses a rope and special boots to climb the tree as shown below.
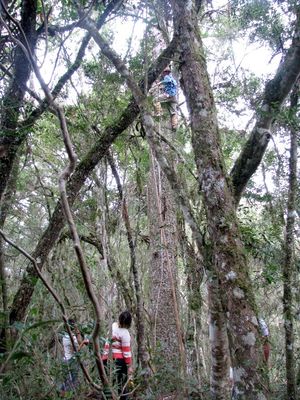
|
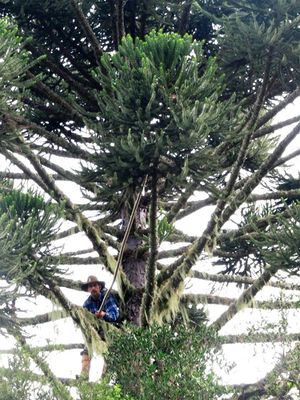
|
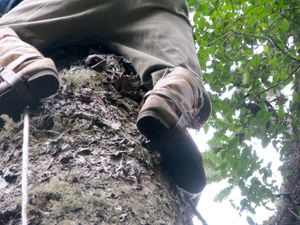
|
Here's Beth making mud cement to block up holes to prevent our local mouse from coming in and annoying us at night, and holding up some pumpkins which she found by complete surprise in the vege patch and another two showed up an hour or so later :-)
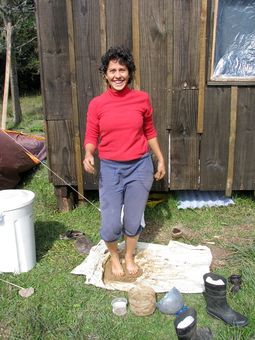
|
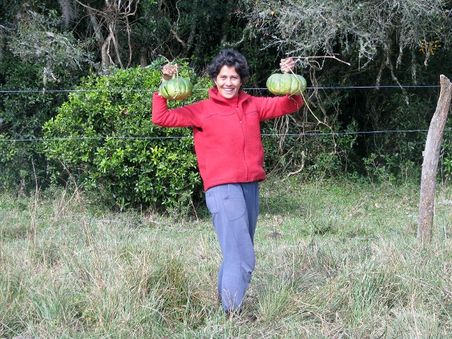
|
Last night we put some of the Pinhão in the fire that Candido and the others had left for us. After a minute or so they pop and the outside cracks indicating that it's ready to take out and eat :-) They're very similar to pine nuts, in fact many people don't know the difference, for example the English wikipedia article for pine nut links to the Pinhão article in the Portguese Wikipedia. The normal pine nut is called "Pinha" which comes from a pine tree (Pinheiro), and "hão" on the end of words means "big", so Pinhãos are big pine nuts :)
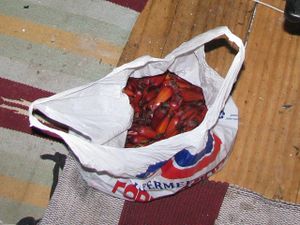
|
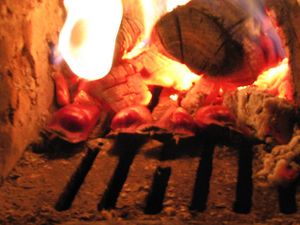
|
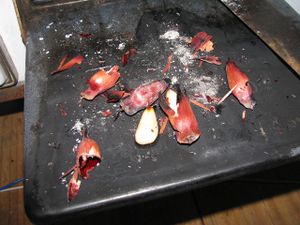
|
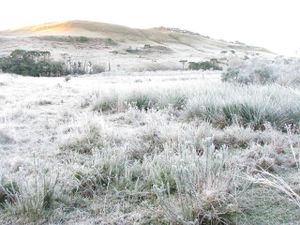
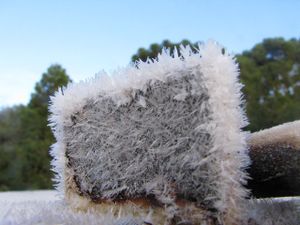
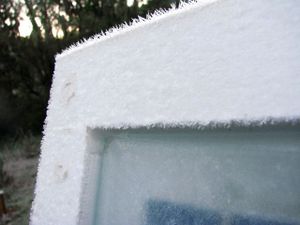
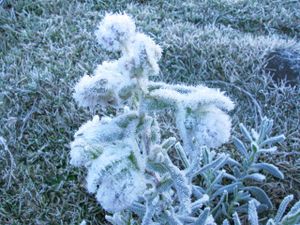
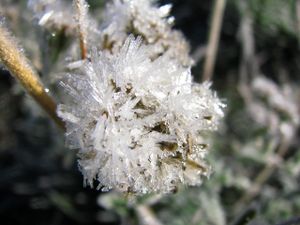
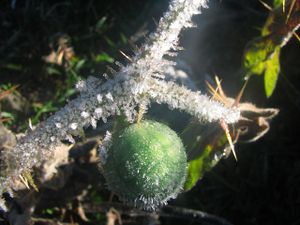
Winter's on the way now, it's still quite hot during the day in the sun, but it gets really cold at night and there's quite a frost starting to appear in the mornings now.
|
|
|
|
|
|
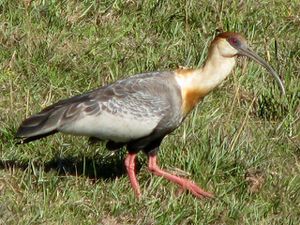
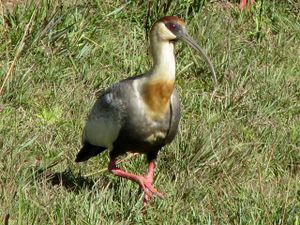
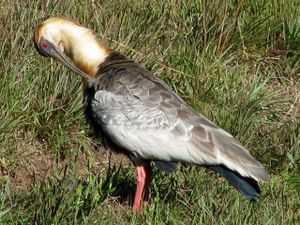
Some good shots of our local swamp birds :) these birds are really similar to our Oyster-catchers in Devonport, they're a similar shape and have the same long beaks, sound the same and have similar mannerisms, but they're not black and they eat swamp bugs instead of oysters.
|
|
|
Week twenty nine
oops need to get this done sometime...
Week thirty
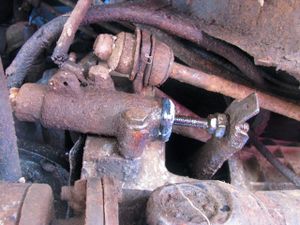
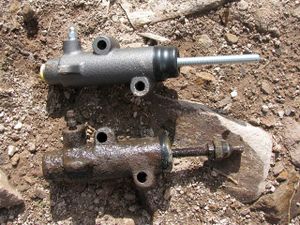
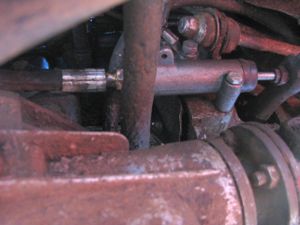
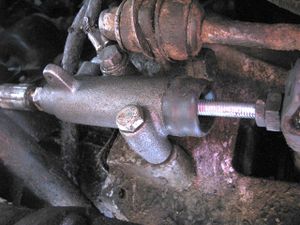
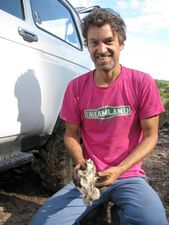
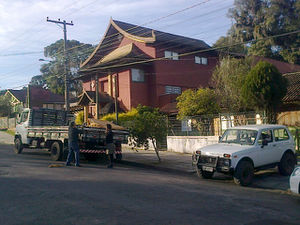
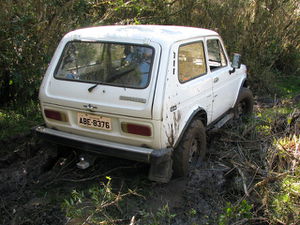
This week we ordered the plywood for the walls and ceiling, and got a whole bunch of other bits and pieces for the house such as light switches and power sockets. Also our slave clutch cylinder barrel arrived which we were going to take to the mechanic to install, but as we were leaving the land to go back to Canela the old cylinder barrel finally failed! so we had to leave the Niva in the neighbour's property where it had broken down and walk 8km to the bus stop and catch the bus back instead. It also meant that I'd have to attempt the replacement of the clutch cylinder myself!
|
|
|
|
|
|
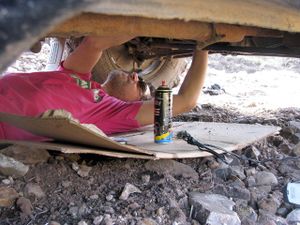
Well the procedure wasn't too bad, first I familiarised myself with the parts involved by checking some of our Niva manuals, and watched a couple of videos on Youtube about replacing cylinder barrels (I couldn't find any specifically for Lada Niva, but the general procedure's the same for most cars). Then I did the procedure, it looks to me like there was actually nothing wrong with the old one, it was just installed badly making the movement of the arm force the rubber grommet to slide away from its proper position on the cylinder piston onto the thread allowing the fluid to leak. I put the new one in with the position of the arm slightly closer to avoid the same thing occurring again.
Week thirty one
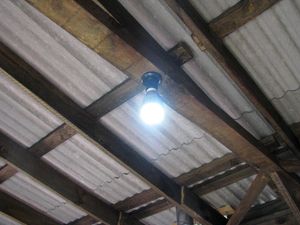
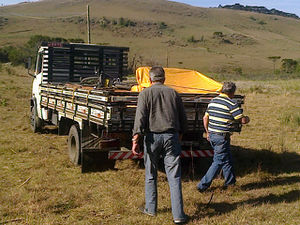
This has probably been the most frustrating week we've had so far. On the day we were going to come back to the land the car had a flat tyre, so I put the spare on but then it wouldn't start! we decided to get a truck to deliver all the stuff we'd bought instead of taking the car as we needed to pay for the wood to be delivered anyway. We'd ordered 24 sheets of 8mm ply for the inside walls and ceiling and some extras to make some shelves out of. Also we got some polystyrene panels and 200m of PVC pipe for protecting the net cables which were starting to perish and wear.
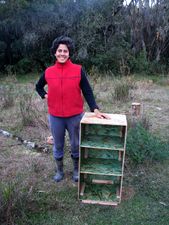
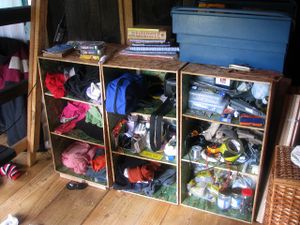
When we got there Beth got started on her shelf compartments and I got started on the cable protection. We've both been getting more and more frustrated with everything being piled into the trailer where it's extremely hard to find and get at, so Beth decided to make a whole lot of boxes each divided into three by two shelves. Here's some pictures of the first three which have already made things a lot more accessible :-)
|
|
|
|
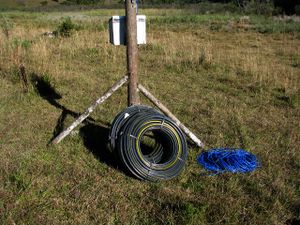
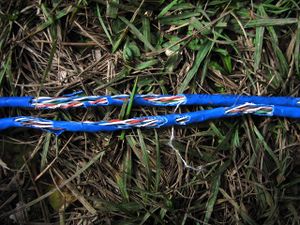
The cables had got much more badly damaged since last time I checked and the net wasn't working, and unfortunately the job of getting the cables through the PVC pipe was far more difficult than expected :-( my plan was to use a weight tied to string to use gravity to pull string through and then pull the cables through with the string.
|
|
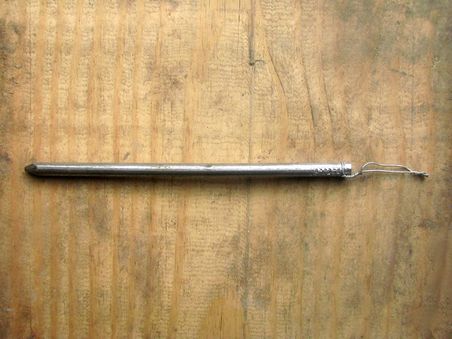
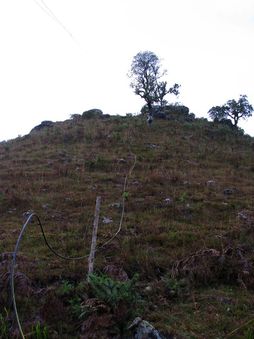
A thin cylindrical lead fishing sinker would be ideal, but I didn't have anything like that, so instead I made a weight using a six inch nail with the end chopped off. The first problem we encountered was that just lifting segments of the pipe to create a locallised incline for the weight to slide down didn't provide enough force to pull the string after about twenty metres, but we found that laying the pipe down the side of the hill solved this problem very well and the weight could be coaxed through quite easily.
|
|
Unfortunately the next problem wasn't so easily solved; the string wasn't strong enough to pull the cables through. The cables have quite a bit of resistance and as the distance gets longer the resistance multiplies. After about thirty metres the force required to pull the cables was more than the string could bear and it broke! We tried various other approaches such as putting the string through again and then using it to pull fencing wire through which would in turn be used to pull the cables through, but everything we tried failed in one way or another.
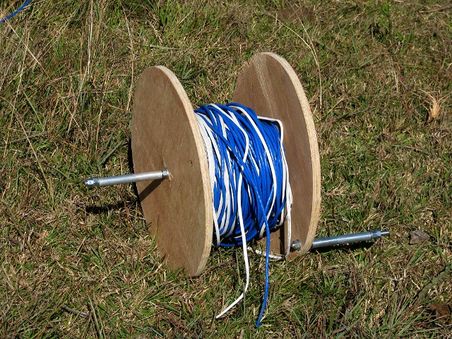
And to make matters worse I was getting badly behind on work without having net and there were no buses back until the weekend, so I had to set up a temporary method of getting net access which was to create a windable reel out of some plywood and other bits and bobs we had around and reel the cables out from the house to the pole each day. They have to be reeled in at night as the cows are often walking in the trees and could drag them along with their hooves or chew them.
Beth's off to Canela today (Saturday) to get some strong fishing line which should be even easier to get through the pipe than the string, yet strong enough to pull the cables through directly without requiring the intermediate step of putting fencing wire through first. She left at 7am to catch the 9am bus and then will catch the 2pm bus back again.
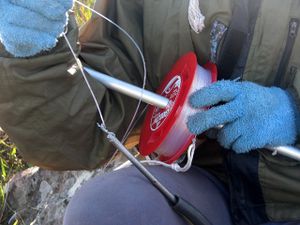
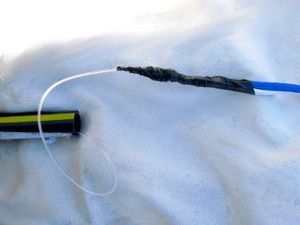
It's Sunday afternoon now and we've finally completed getting the first 100m segment of cable into its PVC pipe! Beth arrived back yesterday evening with some strong fishing line made for reeling in thrashing 55Kg fishes and also some thick nylon string as a backup measure. Both of them were so strong that I was unable to break them while wearing thick leather gloves. We got up early and had some breakfast and lemon tea and then both went up the hill about 9am to try the process again. The nail went through quite easily with the fishing line, and then I attached it at the bottom to the cables. We needed to ensure that the connection was extremely strong since a lot of force would be required to pull the cables through. I put a double knot on every pair of the LAN cable and knotted the power cable in two places then knotted the fishing line through all these other knots. I then put insulating tape around it all to ensure there were no rough edges to cause unwanted friction.
|
|
|
The force required to pull cables through was extreme, it was much more than when we were pulling them through last time with the fencing wire. I'm pretty sure the problem is due to the cables being coiled and uncoiled over the last couple of days which has made them much less straight and therefore causes much more friction. It took about two hours to pull them through and it was incredibly tiring, each strong pull would bring in only 10 or 20cm and it would have to be held firm before the next pull otherwise it would recoil back in again! but it did finally get through at last! I've learned a few important lessons about this process:
- Don't use a pipe that's only just big enough, allow a bit of extra space as it will save a lot of energy even though it costs a bit more.
- Try and keep your cables straight and avoid tight coils to reduce friction.
- Use very strong string even if you don't think you'll need it.
- Don't just lay the string on the ground when you're pulling the cables through, wind it onto a spindle in case you need to do it again!
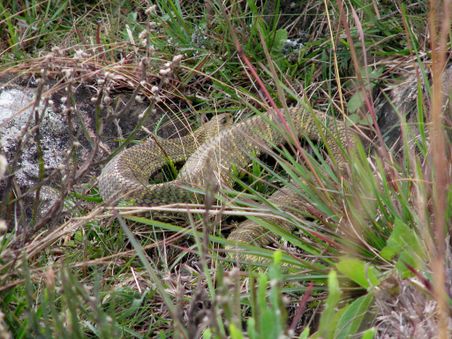
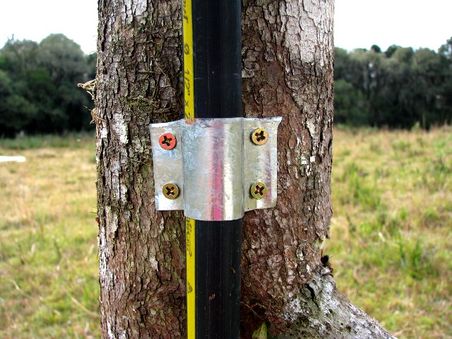
Just as I was about to come down from the hill after I'd finished pulling the cables through I stepped next to a rock and a large snake sprang into the air in front of me! I jumped back and it lay still, I tried banging some things to scare it away but it just stayed perfectly still, so I kept packing my things up keeping a wary eye on it and then came down - not before getting a good photo of it though ;-) this is the second snake I've seen here, but I didn't get a photo last time.
|
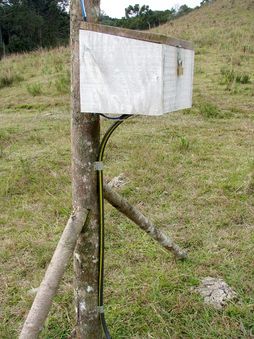
I then attached the cables into the pole and laid the PVC pipe through the swamp to our house for testing. As you can see by me typing this, it's working! (whew!). One last finishing touch for today was to whip up a couple of metal braces from some roofing iron scraps to fasten the pipe firmly to the pole. I'll also need to peg it to the ground to prevent cows tripping on it, but that'll have to wait as I'm too tired for that today!
|
|
Week thirty two
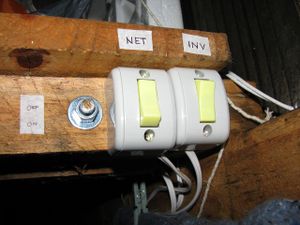
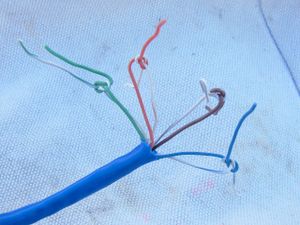
I decided to start this week by doing some more finishing touches to the net connection, getting the pipe installed nicely into the house and attaching some permenant cabling and switches for turning the inverter and router on and off :-) Of course nothing works simply these days - today's lesson is; if you chop LAN cables to use them to connect to your other cabling, don't assume that they use the proper TIA/EIA-568 standard for having the colours assigned to the correct pins! I spent hours testing and replacing cable segments before I finally realised that the colours were essentially randomly ordered in many of my LAN cables!!!
It seems like there's some kind of IT curse on me at the moment, I was finally back on line and able to start getting work rolling again when my hard drive that I only bought six months ago died! it started complaining of bad sectors and wouldn't boot and when I booted in on a USB stick to check the disk and map out the bad blocks the disk was in too bad a state for the test to even complete! I'm kicking myself that I decided on another mechanical disk again after the last one went down, I almost went for a 256GB solid-state drive, but felt that it wasn't enough space :-(
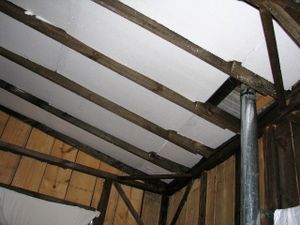
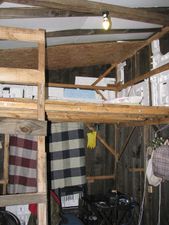
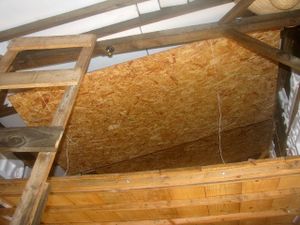
Meanwhile Beth made excellent progress and got the polystryrene insulation into the ceiling and we've now begun nailing the ceiling boards up :-) We bought 23 boards of 1.2m x 2.4m x 8mm plywood for the inside walls, ceiling and some cupboards which cost R$23 each and were delivered at the start of the month. The truck was able to get right up to the other side of the swamp around about where the net pole is now that the road has been improved so much.
|
|
|
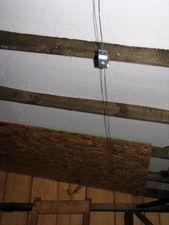
They're a bit too heavy to hold in place and hammer even with both of us so we worked out a method of hammering some nails into the sides of the structural roofing beams and using them to support the main weight of the board via a couple of lengths of string tied around them which you can faintly see in the third picture above.
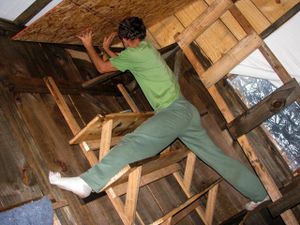
Installing the boards on the other side of the house was a little more difficult as there's no loft to help us get it into position, so instead of string, we created two strong supports from fencing wire and a wire tightener, but it still took some intense yoga exercises to get the corner one into place!
|
|
Week thirty three - holiday in Curitiba
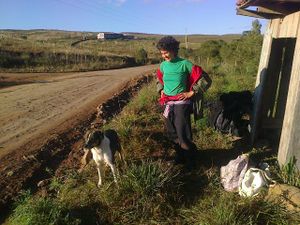
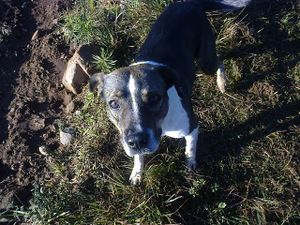
This week we left for Curitiba for a short holiday to catch up with some friends and visit some of our favourite places there that we've missed since moving to Canela. About a couple of kilometres into the walk to the bus stop a small dog which we called "Mini" accompanied us all the way there - about 6km!
|
|
After getting the 9am bus to Canela, we then got the 2pm bus to Caxias where we waited in our favourite cafe there until about 9:30pm to catch the 10pm bus to Curitiba. We arrived in Curitiba about 7am the next morning and then got some more buses to our friend's Elder and Del's place where we'll be staying while we're here.
|
|
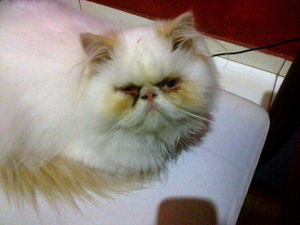
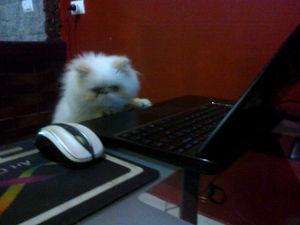
Our friends have three cats, a small black one and two fluffy white ones with grumpy flat faces, I call them Silly Flat Face after the Silly Catface youtube cartoon :-)
|
|

|
On our second night in Curitiba Beth made Manioc soup using hollowed out round loaves of bread for the bowls. Manoic root, also known as Cassava, is very popular in here in South America, but it's the first time I've had it. It tastes a lot like potato, but has a more rubbery consistency. It's often ground up and made into Tapioca.
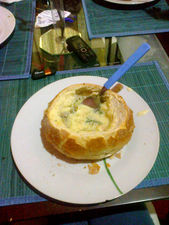
|
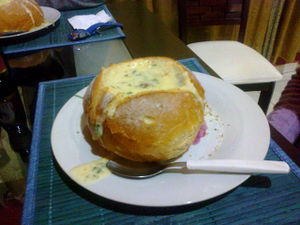
|
We've been visiting one of our favourite cafes, The Brooklyn coffee shop (first picture below) most days wince we've been here, and today we had lunch at our favourite restaurante, Formosa, which is a vegetarian buffet with really nice atmosphere and excellent prices.
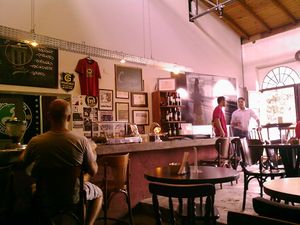
|
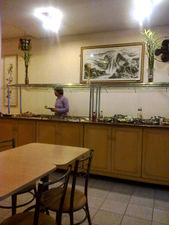
|
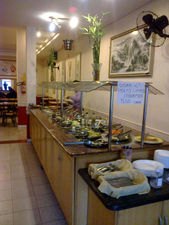
|
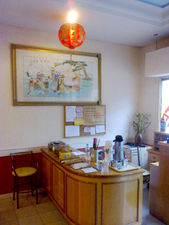
|
Week thirty six
After 13 hours of bus ride and five hours of cycling we're finally settled back at the land again! we had a couple of nice sunny days to relax after being worn out from traveling, but now it's started raining a lot. It rained so much during the night that the river has come up higher than we've ever seen it and our beach is completely submerged! Here's a picture of what it was was like before and now.
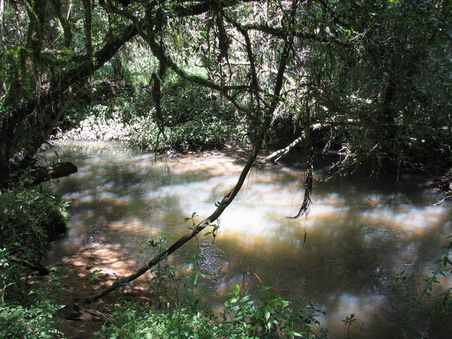
|
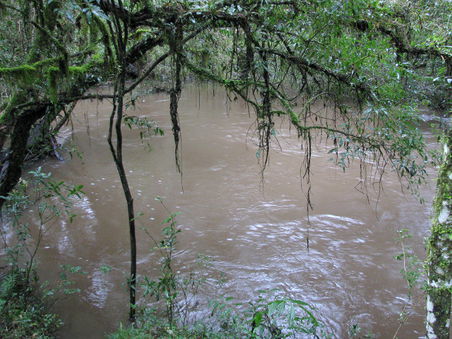
|
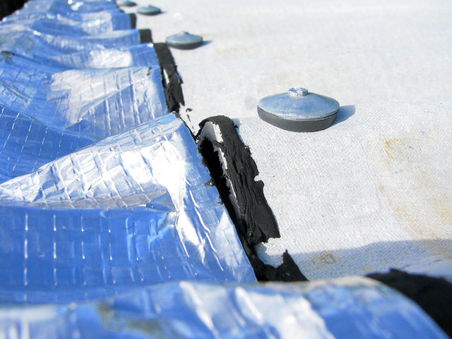
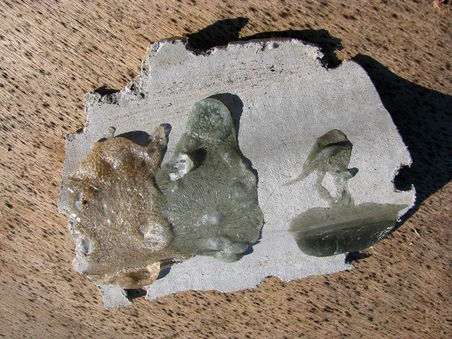
During the night when it was raining heavily we found that we have quite a few leaks! I marked the positions of the leaks with a pencil and then the next day went up the ladder to see if I could see if I could find the problems. Luckily it was very obvious and easy to fix - and in fact I'm quite surprised we didn't have even more leaks than we did have! my gambiarra job that I'd done with the tape had begun to fail and the tape had torn in many places. The tape was only meant to be very temporary while we ordered some proper metal capping, but since it seemed to be working fine we had kept putting the capping off :-( A couple of the smaller leaks were not coming from the back though so they must be some roofing nails that have come a bit loose. We learned an excellent gambiarra tip from the builder who's doing some work at our Canela flat who showed us that mixing petrol with polystyrene makes a really good eater proof glue which is perfect for putting over dodgy roofing nails. It just so happens we have a fair bit of spare polystyrene lying round (like about enough to make 500 barrels of glue!) and quite a few different types of petrol, so we did some tests and it definitely is really good stuff, it's very water proof and went really hard and tough after a day in the sun :-)
|
|
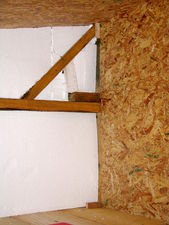
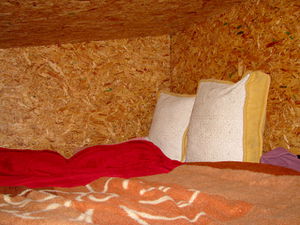
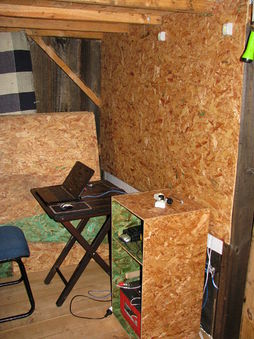
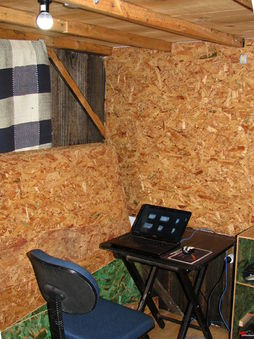
Progress has been very slow getting things done on the house as we've been so busy with other projects and moving all over the place in the last few months, but hopefully we'll be staying more solidly here at the land from a while now. This week we started getting things moving again and got the insulation and inside wall panels in place in the loft. It feels really nice and cozy in there now!
|
|
|
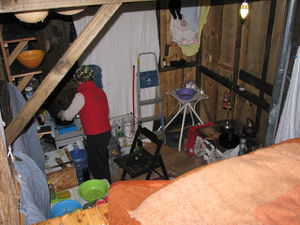
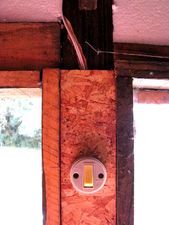
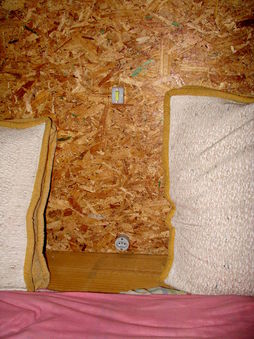
On Saturday morning Beth left early to go into Canela for the day to stock up on groceries and get some supplies from the hardware store. I spent the day doing the most complicated section of insulation and ply wall panel which is the area under the loft on the door side. This area is the most complex because there's a lot of wiring behind it for the net and inverter switches and solar cells. Tracks had to be into the wood so that the wires don't prevent the ply panels from sitting flat against the frame. I've also made a second inverter switch in the loft so that we can power everything down at night without having to climb down the ladder.
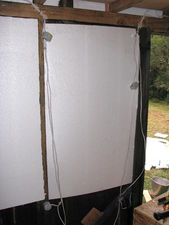
|
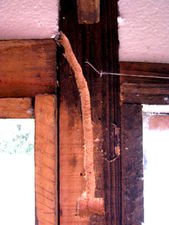
|
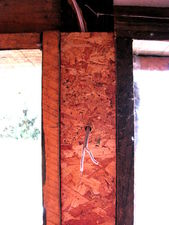
|
|
Now the switches are looking much more permanent and tidy :-) I also installed a power point up in the loft for using computers and things up there more easily. In the office (the area below the loft) I've put in a light so it's easier to use the computer at night. Our main light is a 4.2W warm yellow LED light which puts out 400 lumens (this one). That's a about equivalent in brightness to a 35W tungsten bulb which is pretty efficient, and it lights up our small place well enough, but it's still quite dark under the loft and is a bit of a strain on the eyes to use the keyboard. The new LED bulb I've installed for the office is the most efficient we have yet, it's this one which is only 4W but puts out 770 lumens. It's a more pure white colour which isn't as cozy as the main light, but is good for office-type activities :-)
|
|
|
Week thirty seven
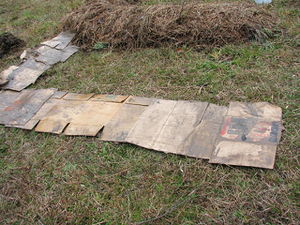
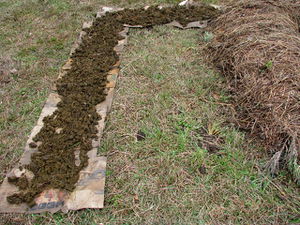
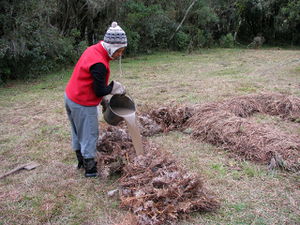
This week went by pretty fast, we spent most of the time working on various jobs around the house and garden like making a storage area for firewood, putting in the final polystyrene panels for the wall insulation and getting a few more ply wall panels up. Beth's started working on Vege patch 3.0 which is based on some basic permaculture design principles for optimising the nutrients and water available to the plants by having carbon and compost layers below the raised garden beds.
|
|
|
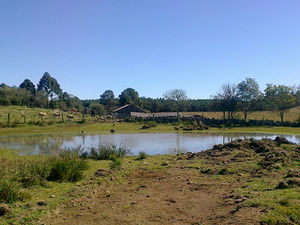
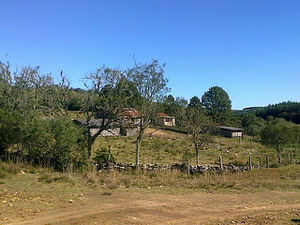
On Friday we decided to visit our neighbour Antonio since they visited us a few weeks ago but we've never gone over to see them. We ended up going to the wrong house though and visiting an old women named Ziza. She was very happy to have some visitors to talked to though and gave us coffee and biscuits :-) she's eighty years old and has lived in that house for fifty six years with her husband who passed on recently. We were really amazed that her house was completely uninsulated, had no inner walls at all and not even any batons on the outside! There was also no ceiling, just naked corrugated iron roof. The wood was all just random types that had been found around the place and patched on over the years as prior pieces needed to be replaced. The place was still quite warm though as she had a very hot wood stove that burns most of the time.
|
|
It was quite a lesson for us about the difference between city and country attitudes towards living. The country folk around here told us that building with cheap pine would be no problem and everyone does it, but when we mention this to city folk they're shocked and shake their heads as if we're very irresponsible and our house will fall down in a year or two from rot or termites. But the difference is that the city folk hire someone to build everything for them and they expect the work to last for many many years without requiring any attention which requires strict standards and hardy materials. The country folk do everything themselves and don't care if they have to replace bits every few years, so we're feeling a lot more comfortable about they way we've built our place now - in fact I think the neighbours all think we're quite posh and eccentric with our insulation, ceiling and batons!
After our fortunate mistake we went to the correct house to visit Antonio. His wife lives in the city, but he loves the land here and lives here with his mother who's also about eighty and she's lived here on this land her entire life! Her and her sister (Candido's mother) were born here and raised in the place that is now Maneco's barn next to our land. It was really good to connect with some of the neighbours and start to feel like we're fitting in around here more :-)
Week thirty eight
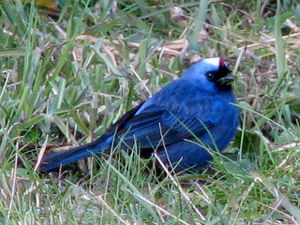
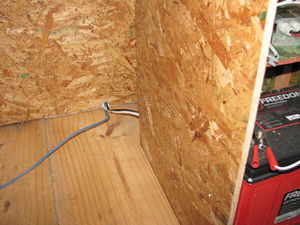
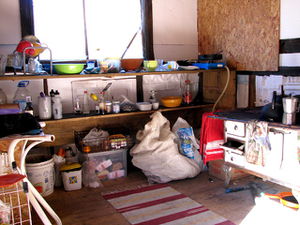
This was another quiet week - our third consecutive week at the land, which is the longest we've stayed here so far. There's not many animals or insects around to take pictures of at this time of year, but we do have a couple of nice looking blue birds that do the rounds every morning, but I've only managed to get a few lon-distance shots of them so far. I put up another few ply panels on the wall, including the most difficult ones covering all the wires which look nice and tidy now :) and Beth did more work on Vege patch 3.0 and made a big bench and shelf for the kitchen.
|
|
|
We had about a week of very overcast days and eventually ran out of power, but luckily it was a Sunday and I didn't need to do anything work-wise, and by Monday it had cleared up. It's Thursday as I write this and we've had perfect weather all weak - very cold, but perfectly clear. It's been getting down to minus two or three degrees at night and only up to about six degrees in the afternoon even though it's perfectly clear sky. In fact it's such nice weather that I decided to take my desk outside and work there :-) and of course it wasn't long before the cows came to see what was going on!
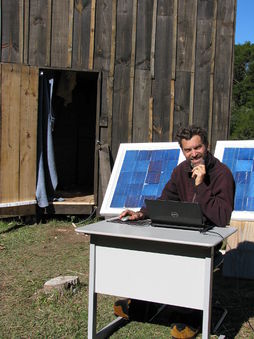
|
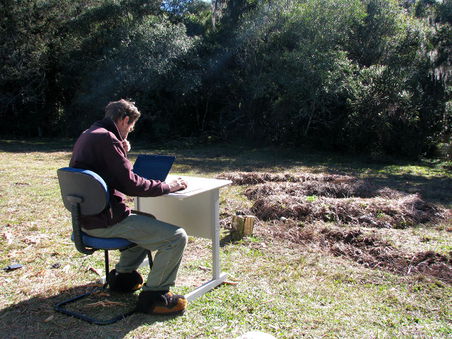
|
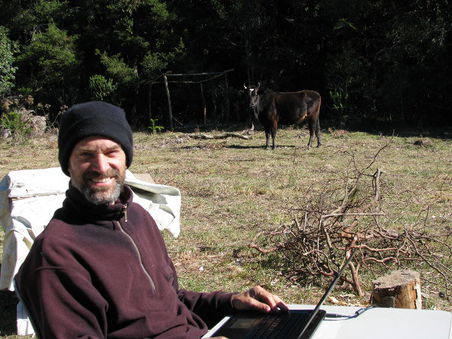
|
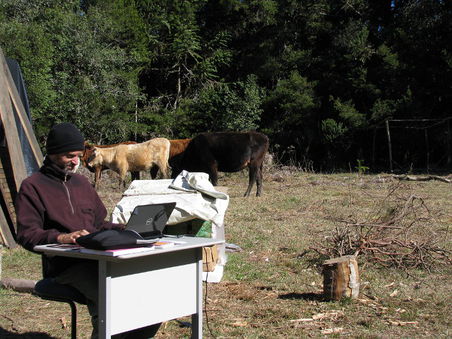
|
Week thirty nine
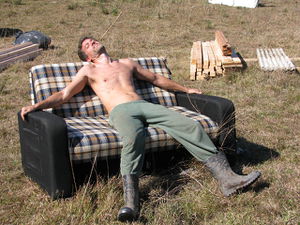
Most of this week was spent back in Canela as we needed to stock up on supplies and arrange with Tonho to come back with us in his truck to deliver some of the heavy things like more wood (for building a garage and greenhouse), our new big ladder that can reach seven meters high, some two metre pieces of metal for the roof capping (so we can finally replace the gambiarra tape!) and our couch/bed so that guests can come and stay - and also so we could take turns resting while we were unloading all the supplies :-)
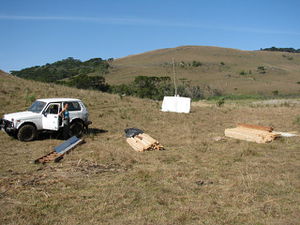
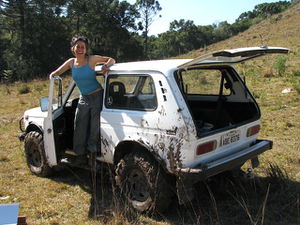
We came back to the land in the Niva after getting the tyre fixed - Beth also decided to get one of the other tyres checked too as it's been loosing pressure a lot quicker than the others, and it turned out it had a huge six inch nail stuck in it! We then used the Niva to transport the heavy things through the new swamp path to our house.
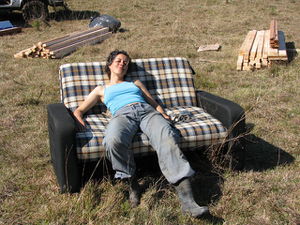
Here's some pictures starting with the early morning when the truck had just finished being loaded and we were ready to leave, and ending with the last photo of the couch in it's new position in the house with Beth relaxing on it in front of the fire :-)
|
|
|
|
|
|
|
|
|
Beth's started having a go at preserving vegetables so we can then use our vegetables all year round when they're out of season and also so we can buy larger quantities of the vegetables we don't grow ourselves so we don't need to go into Canela for supplies so often. Here's her first experimental batch of two small bottles done in olive oil and three with vinegar, water and salt from this Jamie Oliver recipe that Mum found. Jamie Oliver recommended leaving them for two weeks, but Beth thought that was a bit too long to wait and tested some out after one day! they're already pretty good though :-)
 |
|
Week forty
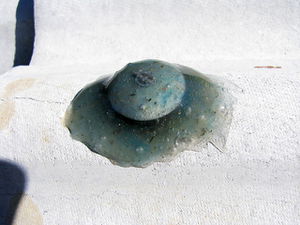
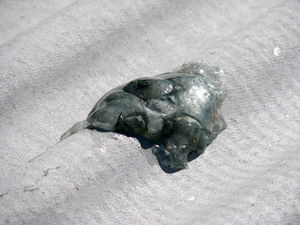
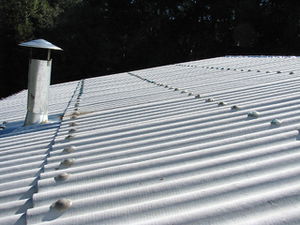
This week the first thing we did is put "petropoly" onto all the roofing nails as we've been having quite a bit of leaking going on when it rains heavily. Petropoly is what we call the mixture of petrol and polystyrene which makes a very tough resin like substance after it dries and is perfect for patching up leaks outside on the cheap. We did some initial testing a few weeks ago which had very good results.
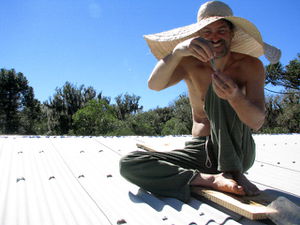
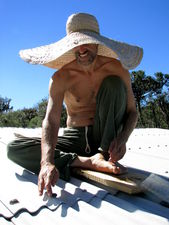
We bought a nice long three and a half metre ladder in the last supply run (which can unfold to seven metres height!) so I could get up on the roof. I then used two flat pieces of floor board to stand on so as to distribute the pressure across four roofing nails at a time to avoid any damage. Beth was on petropoly mixing detail below and threw up batches of it as I ran out - she's a very good shot and was able to aim some right into my face just from the sound of my voice!
|
|
After fifteen minutes of sun it starts bubbling up a fair bit, but in our tests that happened and it eventually settled down again and didn't affect the overall coverage or strength of the stuff.
|
|
|
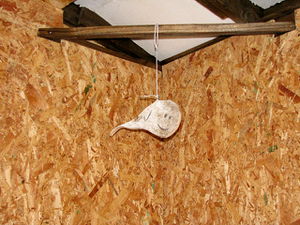
It's important for every household to have a fine art collection to be properly civilised and cultured, so this evening we installed our first piece; an impressive whale sculpture named Balotinho (pronounced "Balocheenyo") :-)
|
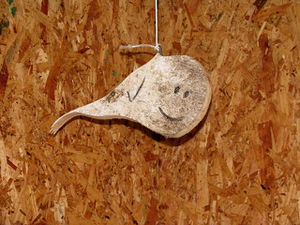
|
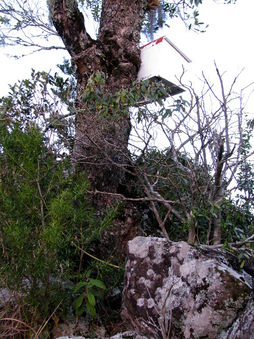
A couple of months ago we started getting the cable for our net connection out into PVC pipe to protect it. We'd only got the first segment done though which was the most urgent since the cable going through the swamp had become severely damaged. But today I finally decided it was time to bite the bullet and get on with the second segment! it was a lot easier this time as we knew what we were doing, we had the strong fishing line prepared and the cables of the second segment were very straight since they'd been hanging over head for some months. But even with all these positive things on our side and absolutely nothing going wrong at all, it was still a long difficult job taking a full day to complete! We got the cables through the PVC pipe in the morning which took a couple of hours, and then I chopped the pole and put the box on top with the pipes going cleanly in the bottom. Everything's much more solid now, all the cable connections are soldered and all the pipes go right into the boxes so that there no cable at all exposed to the outside world :-)
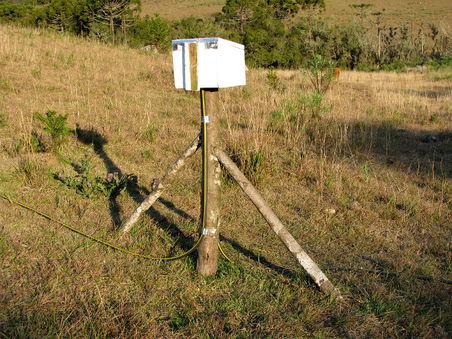
|
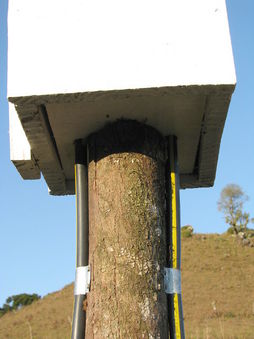
|
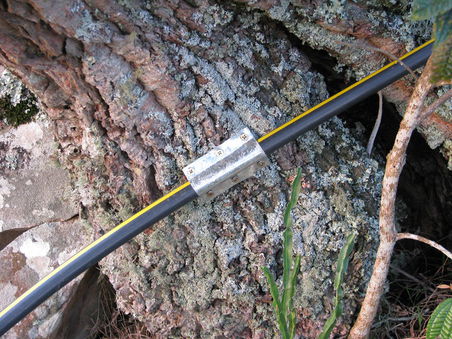
|
|
When we first got our house to a complete enough state to move in to, we put in some temporary windows and doors. But many of these temporary things have a nasty habit of becoming permanent! In our last supply run we picked up a door handle which this week got mounted it into the "temporary" door :-)
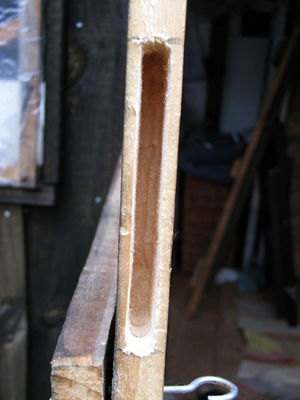
|
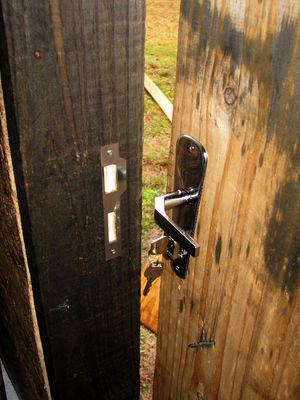
|
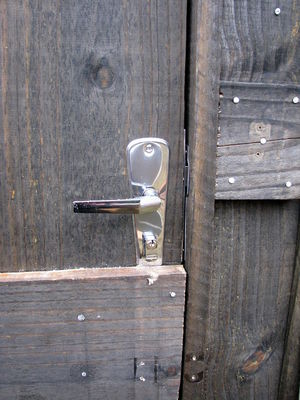
|
And some good news to end the week on: our petropoly gambiarra on the roof has worked very well! we had many leaks from water coming in through the roofing nails last time it rained, but after sealing them all with petropoly we don't have any leaks, and it's been a good test too as we've had three solid days of rain! well actually there are still a couple of minor leaks, but we've isolated those to issues with the joins between the roofing sheets not the nails, so a bit more petropoly is sure to solve those too :-)
Week forty one
At last the sun's back! it's been a week of overcast and rainy weather which really started to get us down - and it also meant we were having to ration power severely and were stuck on a 280kbps 2G net connection because the 3G doesn't work in rainy conditions. But today was clear sky with the 3G running well again at a megabit or so (even though it's always a very weak "zero bar" connection) and the panels charging at maximum all day :-) whew!
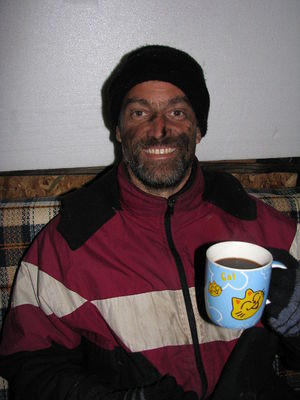
It was so cold and wet that I was not very keen to have a wash, so it's very lucky that we've finally got some sun, because you get very dirty out here in the wilderness! This is what I looked like by the end of the week :-/
It was a very strange day today, first we couldn't get any sleep because a mouse kept coming into the house. We had some mouse problems a while back and managed to stop them coming in by blocking up all the holes in the floor with plastic until we got the wall panels in place, but then we noticed that they've been chewing lots of stuff including the brake cables on our bikes! we're really against killing animals and we don't even kill scorpians or snakes, but chewing brake cables is going too far! so on our last supply run we got a mouse trap :-(
The trap killed two mice over the period of a few days, but there's still another one and it's much smarter than the others, it knows how to carefully extract food from the trap without setting it off, and also how to set it off without getting caught and then take the food! worse still it figured out a way in to our house and started chewing at various containers and things. We couldn't sleep with the damn thing scratching and chewing at all our stuff! In the end I was so angry with it that when I heard it I'd rush down and try and get it with the machete! I almost got it a few times, but it'd get away so I'd go back to bed, and then not 5 minutes later it would be back scratching and chewing!!!
So in the end we gave up trying to sleep and stated the fire at 4am to warm the place up. Beth spent the next couple of hours putting proper latches and knobs onto the storage box/cupboards and I made some cookies and coffee :-)
We spent the rest of the day making the place much more organised and getting more of the panels in place to prevent the mouse from coming in, and last night we finally got a full night's sleep. We heard it trying to come in a few times, but it couldn't get in - whew! Beth read some of her permaculture book and found some very useful information too which was that mice a repelled by lavender and mint plants, so we're going to grow those all around the bottom of our house, because even though we may have to kill some of them it's not the right way for us and we need to work out a different solution. But in the end its worked out for the best because the place is really organised and tidy now and its really starting to feel like a proper home!
|
|
|
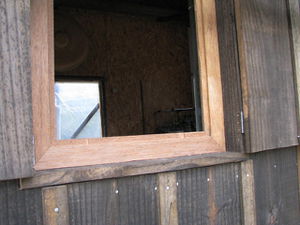
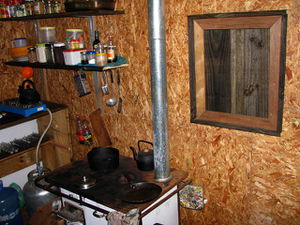
We've nearly got all the wall panels done now with only a couple of bits left to do behind the kitchen bench. But we've now put that on hold because we really need to get these window frames done before we go back to Canela next so we can order the glass and we don't know exactly what size the glass needs to be until we have the window frames all made up. We're running low on food supplies now so we'll have to go back soon.
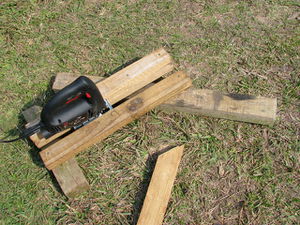
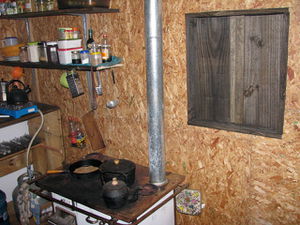
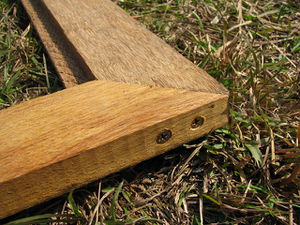
The first thing to do to begin on the window frames was to make a guide for cutting straight perfect 45° angles with the jigsaw because if they're not lose to perfect then the corners of the frames won't fit tightly together. We started with the south window because that's the simplest one which is just a single frame instead of double with one sliding open like the other three. Beth made some temporary shutters (that will probably end up being permanent) since we had to take out the temporary window to make the new frame.
|
|
|
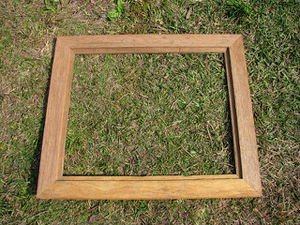
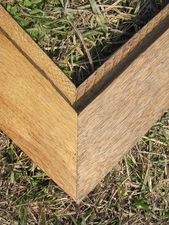
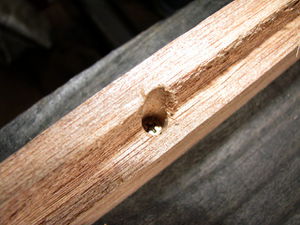
I made the "45 machine" adjustable so that I could get the angle exactly right, but even after I got it to sub-millimetre accuracy the fourth join had about a centimetre gap which required some filing and a bit of force to get it joined up. After thinking about the issue for a bit I realised that it would be impossible to get the angle accurate enough because not only is there the normal error multiplying by the distance problem, but there's also a doubling of the error on every join and the error as a whole multiplying at every join, so we end up with something in the order of twenty times the error at the final join! So I think the best solution is to adjust the process slightly such that the errors at each join are cancelling each other out instead. On the next frame I'll try cutting the vertical pieces from outside to inside and the horizontals from inside to outside which will hopefully have the effect of making the error in the angle the opposite way each of the pieces at each join.
|
|
|
|
|
|
Trapped again! now we know why they call our area we we have our house "the island" - it actually is an island right now. We've have three days of heavy rain and the river has risen up higher than ever before. There's no way out of our island unless we're willing to wade through metre high water. The river has come up so high that it's right at the edge of our garden! luckily the house is built on the highest part which I don't think it will reach, but we're seriously thinking that in summer we may be best raising the house up on concrete foundations a couple of metres high :-/
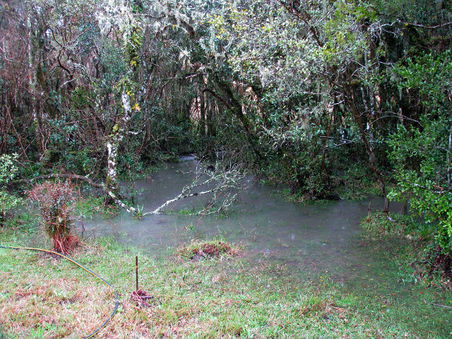
|
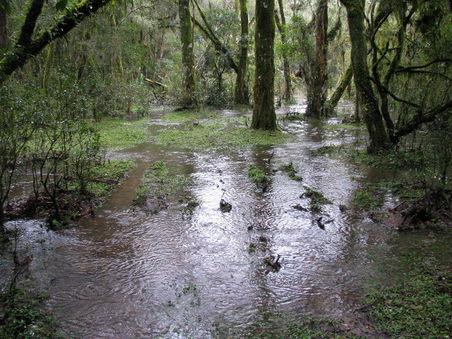
|
Week forty two
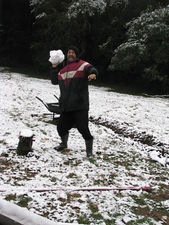
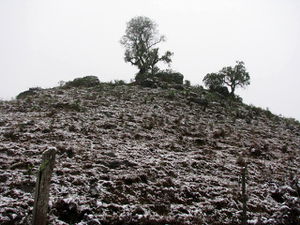
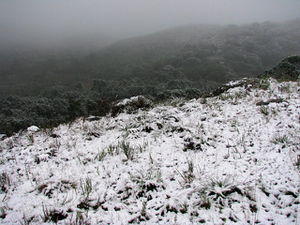
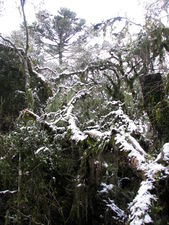
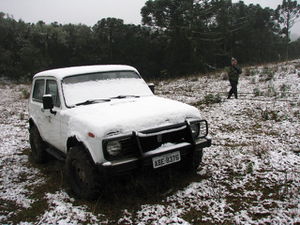
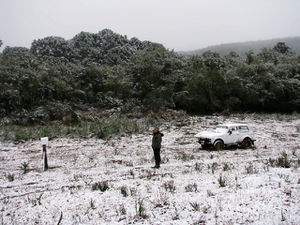
It's Tuesday now and the rain has finally stopped - we even had a half hour of sun! we've heard these rumours of snow ever since we first arrived in Canela a year or so back, and we see "could be snow" a lot in the weather forecast, but we'd kind of thought that perhaps there was a few millimetres every decade or two and that it was really a tourist attractor more than anything else...... well, until this morning that is!
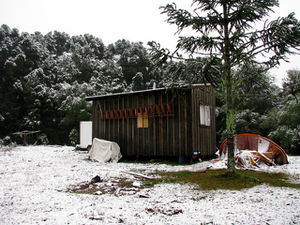
|
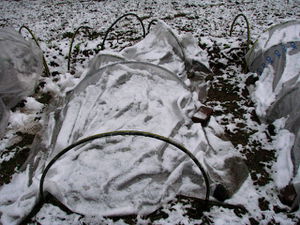
|
|
|
|
|
|
|
We heard today after talking to the neighbours that this amount of rain is quite extreme and they haven't seen the water rise this much for almost twenty years. It's been so severe that in Porto Alegre many people have died and hundreds been left homeless from the flooding, see this BBC news item for more detail. On the bright side, this means that we can be pretty confident that we'll have no problems with flooding as the river or swamp would have had to have risen a lot more to cause us any serious problems. The neighbour said that there was snow all they way to Canela and Gramado which is great for them as their whole culture revolves around a permanent year-round Christmas spirit, so snow is very good for their tourism image!
Week forty three
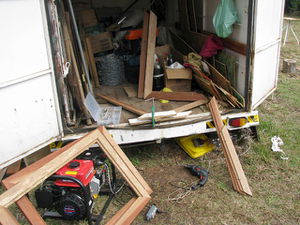
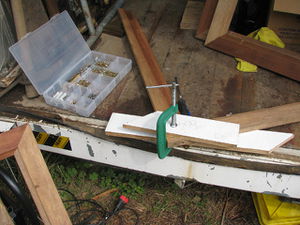
It's been a very busy week as we needed to get all the window frames finished to measure them so we can order the glass. We've been at the land for over five weeks now and need to go back to the city this weekend to get more supplies. We're going to go to Porto Alegre as well and get more solar cells, a spare charge controller and inverter and various other supplies as well.
|
|
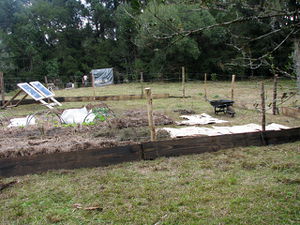
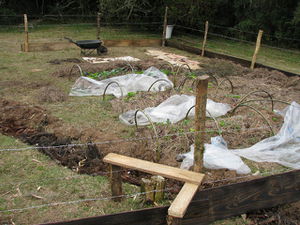
Unfortunately it's getting close to the end of the week and Candido still hasn't got the south fence made and we can't leave without having our vegetables protected from the cows, so I've had to whip up a small fence around them so we can leave in peace! I used the wire from Vege Patch 2.0 and about 60 or 70 metres of the barbed wire we got for the south fence. I also put the cable to the solar panels into some PVC pipe and positioned them inside the fence so we can leave them out while we're gone to try and get some decent charge into the battery.
|
|
It's Saturday now and we're in Porto Alegre staying at Beth's freind's place. We drove back to Canela in the Niva late Friday afternoon and stayed the night at the Canela flat (which we've given notice on and will only have until mid October) and caught the bus here this morning. I could have posted this on the bus because the Porto Alegre buses all have Wifi ;-) but I don't have a battery any more thanks to Dell's new built-in-obsolescence designs! I couldn't use my 3G USB modem either as it blew up, but I can still connect by tethering to my phone over Bluetooth. I'll pick up a new 3G USB modem while I'm here in the city this week.
Week forty six
We were in Porto Alegre for only a few days and then another three weeks in Canela! many of the things we wanted to buy in Porto Alegre we gave up on and decided to buy on-line and wait for them to be delivered. It's just so stressful shopping in a big busy city that we couldn't handle the jandal and gave up! We still bought a lot of things like nuts and sesame oil and other things that cost two or three times as much in Canela, or that just aren't available, and we got to catch up with Beth's friend Anjali which was cool.
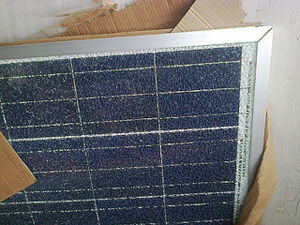
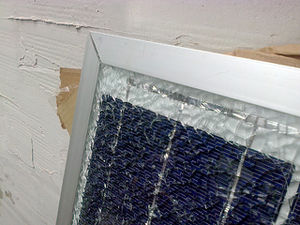
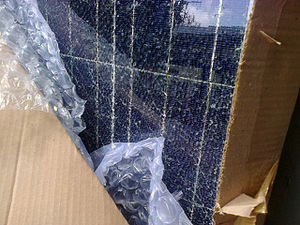
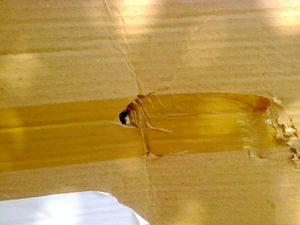
After about two weeks in Canela we had bought all the tools we'd wanted to get, got the glass for our windows, and received the things we'd ordered online; a new 800W inverter, a 500W charge controller, a new 3G USB modem (with external antenna connection) and a 150W solar panel. We decided that we're so busy that rather than spend R$300 on cells plus another R$100 or so on glass and wood and many hours of time, we'd just spend R$800 on a proper completed ready-to-use panel. Good plan, except that the guy just packed it in a cardboard wrapper - no polystyrene, bubble-wrap or anything!!! and so of course the thing arrives with all the glass smashed!
|
|
We contacted him to arrange getting it picked up so he could send a replacement, but it turns out it's too big and expensive to send anywhere! he can only get them sent from his place to clients because he sends so much stuff from there. He said he'd send another one and told us to just throw the broken one away!!! All the cells are perfectly good, only the glass is smashed, so we called our glass guys and they came round to assess the situation and said they could replace the glass for for R$150! so all in all it's turned out quite well.
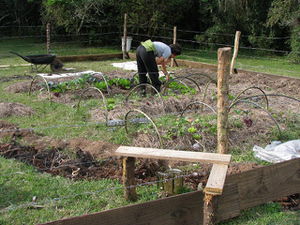
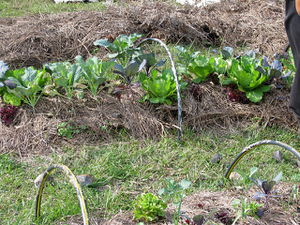
We decided that we've spent too long away from the land, so we came back even though we'll need to go back to Canela in a couple of weeks to get everything moved out of the flat there and transport it all back here in a truck with the (two) solar panels. When we arrived it all looked like a proper home - I think our new fence around the vege patch gives the place a very domestic atmosphere :-) and the veges look very healthy and much bigger!
|
|
Week forty seven
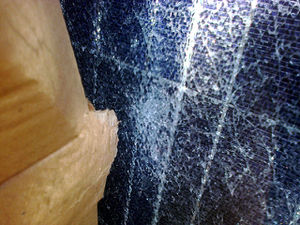
It's Tuesday now and we're back in Canela to collect the replacement solar panel, and take everything back to the land. But unbelievably the replacement panel is also broken!!! again he's packed it very badly and the couriers were again very rough. There's evidence that the corners of other heavy boxes have been slammed into the panel even though it has a large clear message saying that it's fragile glass. If he had packed it well this wouldn't have been a problem, but he's just slapped a few token gestures of bubble-wrap in there with no polystyrene around it. So this one's off to the glass guys too! unfortunately the glass is glued down onto the cells so it can't be removed, so instead of replacing the glass, we've asked them to just add a new piece over the top. It'll look pretty gambiarra and will reduce the efficiency, but it should still work pretty well I think.
|
|
|
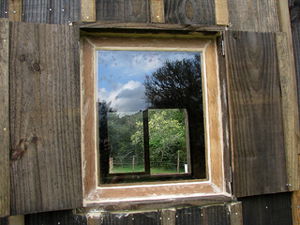
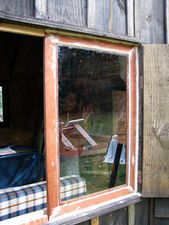
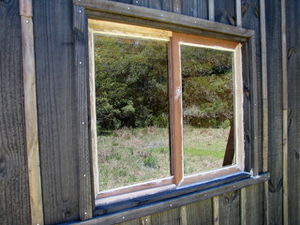
During the rest of the week we got the glass into the windows and put the frames in with a simple sliding functionality. Unfortunately I ran out of silicone so couldn't complete the east window. We'll be going back to Canela for a day or two to bring the panels back and get everything out of the flat (which we still haven't done!), so I can get some more silicone then.
|
|
|
Week forty eight
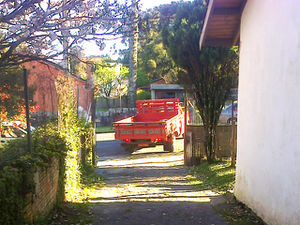
On Tuesday we went back yet again to Canela and this time had to get everything out of the flat no matter what because it's the last day of our tenancy there. We got everything packed up on Tuesday evening and then got up early to out it all in the garden ready for Tonho, our truck guy, who was arriving at 7am. We got it all back safely and over the next day or two got it all packed away nicely. This is the first time in a year that we've got all our stuff together in one place!
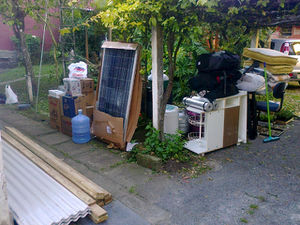
|
|
Unfortunately there's no such thing as a free lunch though - I thought I was going to end up with 600W of solar panels for the price of one by getting the two broken ones working as well as two extra sets of cells being delivered. But sadly the two broken ones really are just rubbish because the cells are all glued to the smashed glass and hundreds of tiny hairline fractures have formed in the cells along the cracks in the glass reducing the output down to around 6-10 watts :-( so now we'll end up with two kits which we'll have to build into panels ourselves and paid R$800 for them when they should only have cost R$600! so much for spending a bit extra to avoid having to build them!!
We were feeling pretty tired by Saturday and quite overwhelmed with everything that still needs to be done, so we decided to go for a walk and do some exploring since we've been here almost a year now and have barely seen anything of the local area.
We decided to walk to the river that we cross when we set off for the bus stop. It's about 15 minutes walk from our house and is just at the start of the crystal road. We then turned left and started following the river, but it was only about a minute or two before we had found a really nice spot which we decided to stop at for a while to relax, listen to the water and take a few photos. It's a perfect place for swimming and even has a small waterfall to jump off! we didn't have a towel and the day was quite overcast so we didn't jump in this time, but we definitely will be on the next sunny day :-)
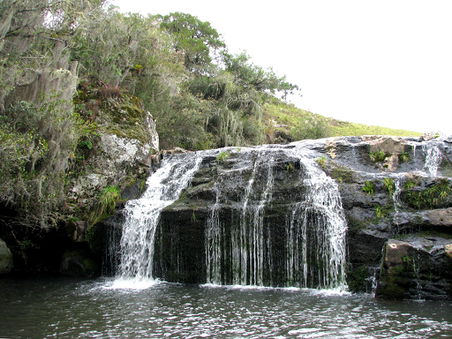
|
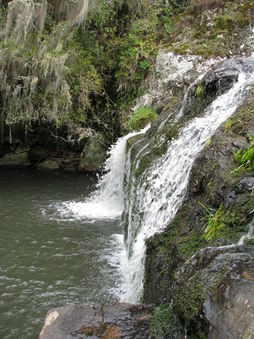
|
|
|
Week forty nine
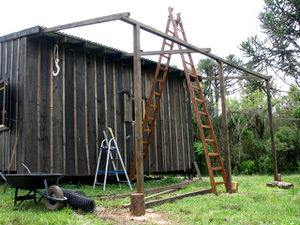
This week we've been chipping away at various jobs around the house and garden and slowly getting back into the relaxed rhythm of life here again. We always come back from the town very agitated and hyperactive and it takes quite a while to get it out of our systems. Beth's mainly been working in the vege patch and I've been chopping wood and have made a start on the south house extension which will cover the trailer and be a good place to store dry firewood.
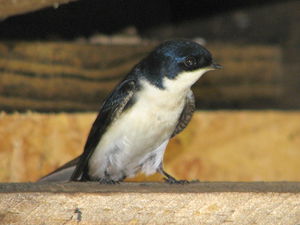
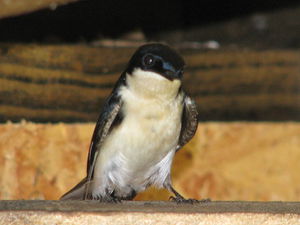
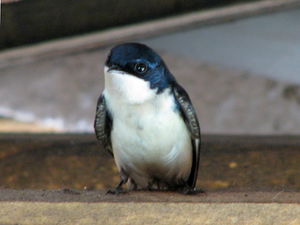
One problem with our new windows is that birds fly through the house now and often hit a window and then panic and hide in the top shelves. We then have to just leave everything open and wait for it to calm down and find its way out. Here's some photos of one sitting on our central ceiling beam. It looks a bit like a tinny penguin so we named it "Pingüinho".
|
|
|
Week fifty
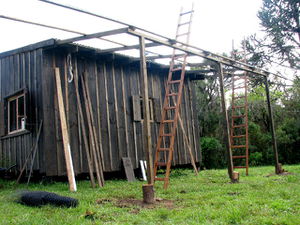
This week Beth went to Porto Alegre and I stayed at the land by myself. She went to do a course at the Buddhist centre there and I would have had to stay in the guests dormitory while she was doing the course which didn't sound all the appealing to me so I stayed here instead. I spent most of the time working on my new Bitgroup project, and on the house extension which is slowly progressing.
|
|
|
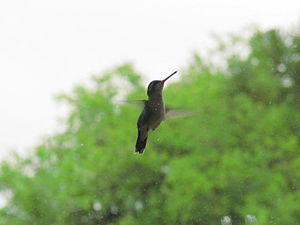
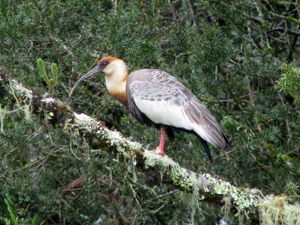
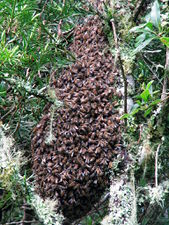
I had a few guests to keep me company while Beth was away including some humming birds that like to look in through our windows, a couple of big swamp birds that sit in one of our trees in the morning (they're kind of halfway between a goose and an oyster catcher). And there's also a confused hive of bees which keeps settling down and then a day later it moves somewhere else.
|
|
|
Week fifty one
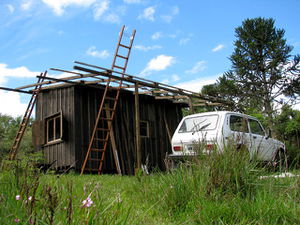
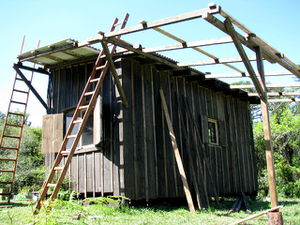
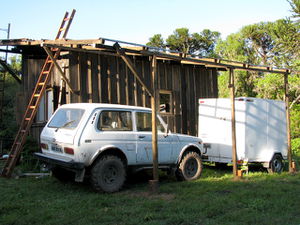
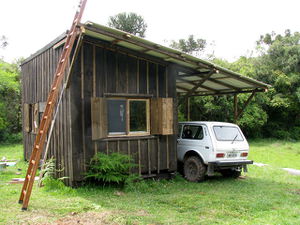
Tomorrow is 11/11/2013, our two year anniversary here in Brazil! we're going in to Canela the next day to celebrate (there's no buses on Monday so we have to wait until Tuesday). This week I did more work on the extensions and got the south and west sides finished :-) we parked the car and trailer in their new homes under the south extension where they're protected from the rain.
|
|
|
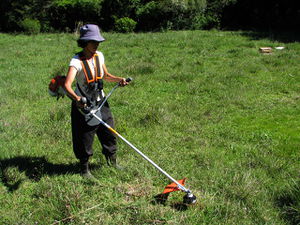
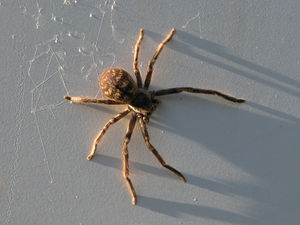
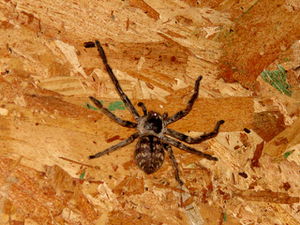
Beth tested out our new weed-eater which is working very well - we got a Husqvarna to match the chainsaw. We have the normal chord attachment for trimming the grass, and a blade attachment for cutting the thicker taller plants at the edge of the swamp. Unfortunately when we moved the trailer we damaged the home of a large spider (a wolf spider I think) which we saw sitting on the side of the trailer - later she decided that since we'd wrecked her house, it should be fair enough that she move in to ours!
|
|
|
Week fifty two
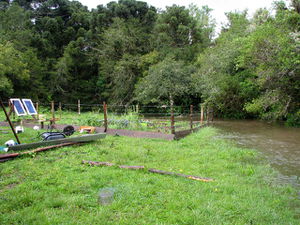
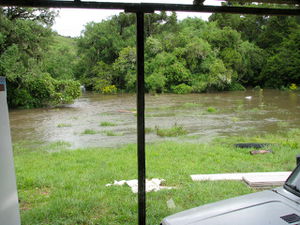
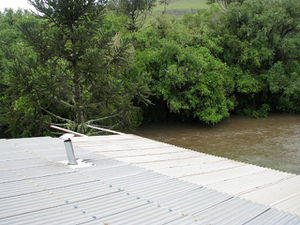
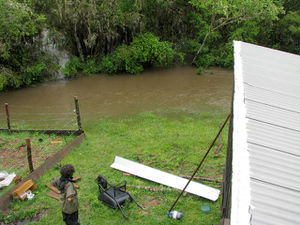
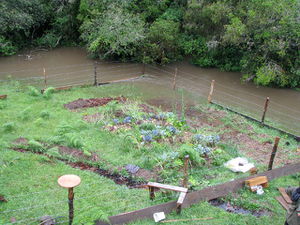
This is the last week of our first year living on the land, and our two-year anniversary of living in Brazil! and what an intense day it's been - it's been thunder and lightening all last night and most of today, and then about 2pm a flash flood swept in and completely swamped the garden leaving only a tiny area where the house is. It was quite scary because the water had a very strong current, but we reasonably sure that even if it covered the whole garden the house would stay firm. The PVC pipe containing the net cable was being pulled violently by the current and I had to bend it round some nails in the tree next to our house, so when the weather clears up, I'll need to make the pipe more firm and perhaps raise it up a bit.
|
|
|
|
|
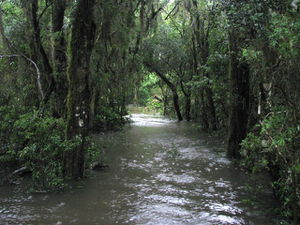
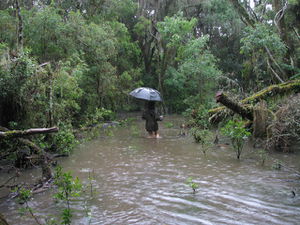
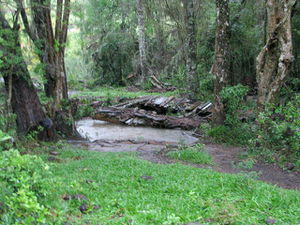
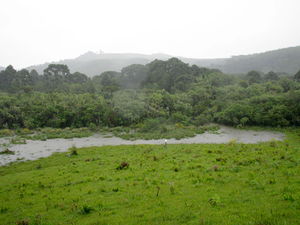
The water started finally dropping down yesterday evening and we were able to get through to the field to see what it looked like over there. All our wood had been picked up and scattered throughout the field - wood that we'd already moved higher up the hill after it was scattered about by the last flood! This time it looks like the water probably would have got to the level of the internet pole - you can see from the photo below that it's quite close to it, and that's taken after the level had dropped enough that we could get through the forest. We went to look at the other river too which must have been a lot higher as it had picked up our bridge and tossed it to the side!
|
|
|
|
The rest of the week was a bit more productive, the main thing I did was to finally get the north extension completed! The north one was the most difficult because I had to use the existing foundation poles that had been originally put in to make a larger house than we ended up making, but they weren't in quite the right place for the extension, meaning it's a bit of a strange angle and longer on one side than the other - and meant there were some difficult yoga moves required and some frustrating difficulties along the way - it looks a bit more artistic though :-)
|
|
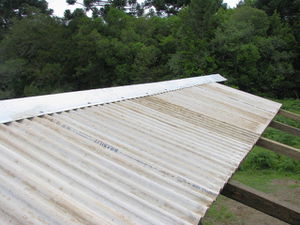
|
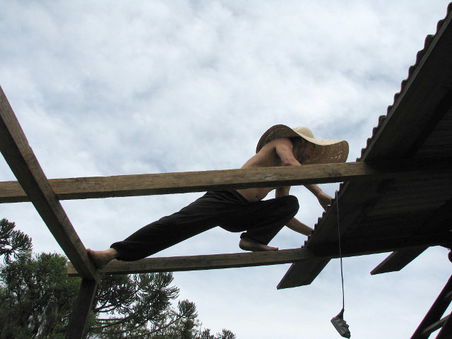
|
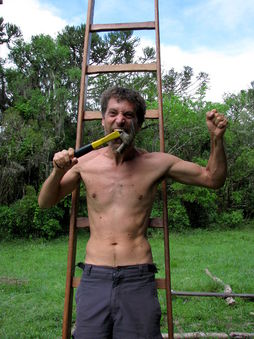
|
Meanwhile Beth set to work on the mosquito nets for the windows and the door, which are extremely important because summer is almost here and the mosquito population will explode any time now, and also the horse flies are just starting to show themselves. Horse flies are huge yellow flies that all latch on to you as soon as they see you and stick their long syringe painfully into you often drawing blood even through thick clothing! The door screen was the most difficult so she was really pleased when she'd finally completed it and it was working successfully :-)
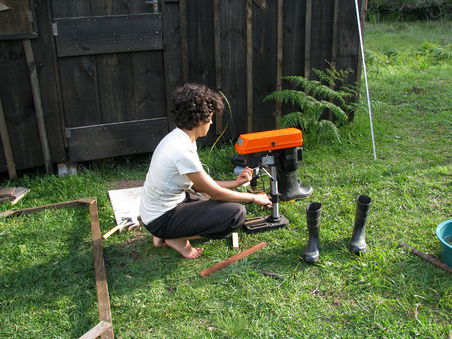
|
|
|
We ended the last week in our first year on the land by going to Canela to celebrate! it was also a celebration of our two year anniversary in Brazil which we were supposed to do last week but couldn't get out due to the flooding! I didn't take the camera to Canela so there's no photos of our beer, pizza and coffee, but it was a very nice end to our first year on the land :-)
