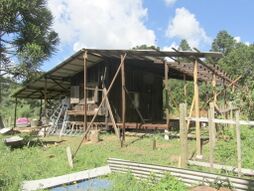
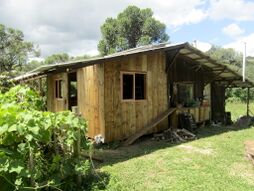
Our first house
| 1. Moving from Curitiba to Canela | Our power project | |
| 2. Moving on to our land | Our rural net connection | |
| Year on the land: 1 | 2 | 3 | 4 | 5 | 6 | Our first house | |
| Our second house | ||
| Lada Niva |
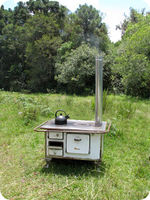
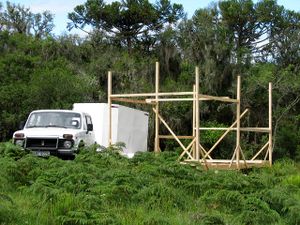
The first step in moving on to our land was to get a big trailer and take a whole lot of stuff from our flat in Curitiba to the land such as desks, oven, bikes etc and then just keep them all in the trailer using it like a shed until we have a simple house built. Until then we're sleeping in a tent while we're on the land. We have a 3KW petrol generator so that we can use power tools while building the house.
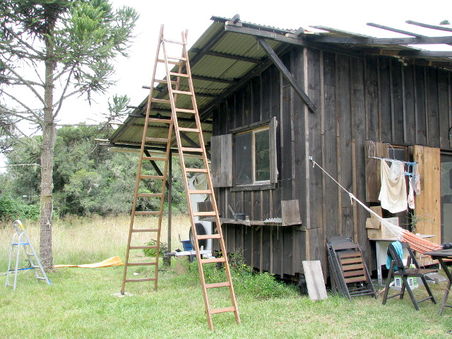
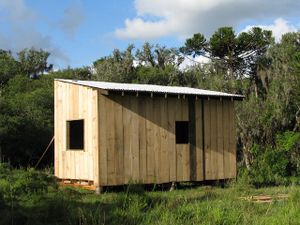
Our first house is a temporary one that we can hopefully get complete enough to sleep in within a couple of weeks. It's made with the cheapest pine wood and is only 5.4 by 2.7 meters in size. We've heard varying stories about how long this cheap wood will last - some have said that it bends and cracks within a year, while others say they're living in houses made of this wood that have been standing for fifty years! either way, we're not too worried, because we plan on building a more permanent house from something more natural like adobe, straw-bale or mud-brick and then using this first small house as a storage shed and workshop.
Contents
- 1 Getting started
- 2 The foundations
- 3 The frame
- 4 The roof structure
- 5 The walls
- 6 The roof
- 7 Insulation & floor
- 8 Temporary doors and windows for an early move
- 9 The chimney
- 10 Ceiling
- 11 Inside walls, shelves, wiring & lights
- 12 The bedroom
- 13 Painting the inside walls
- 14 Artwork
- 15 Windows
- 16 Extensions
- 17 Bathroom
- 18 The inside layout as of late 2016
- 19 New north extension
- 20 Lessons learned
- 21 Dealing with mice
- 22 See also
Getting started
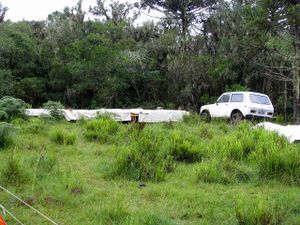
Just getting to the point where we could even start was a lot of work - we needed to build a temporary bridge so that we could transport wood across the river, and clear the bush so that we could get it from the river to the house location. And even ordering the wood was quite a mission in itself! It's lucky that we did decide to build a smaller version first, because even the wood required for this small version was a little too much for the truck, and also we really need to practice on something smaller first. We decided to stay on the land for some solid time over Christmas and new years when nobody needed any work done so we could put some good time into the house and hopefully get it to a stage where we could sleep in it instead of the tent.
The foundations
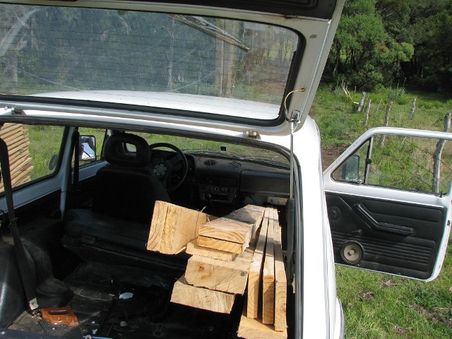
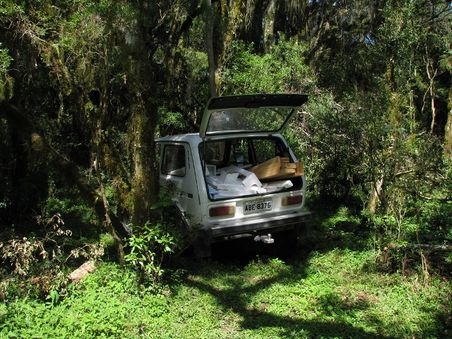
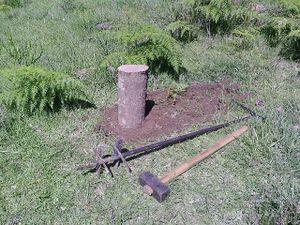
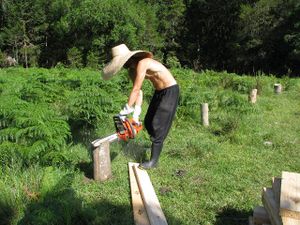
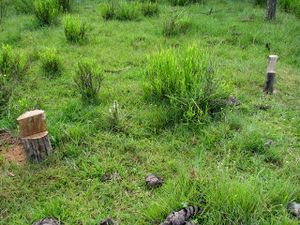
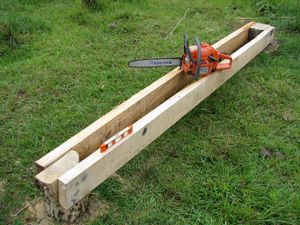
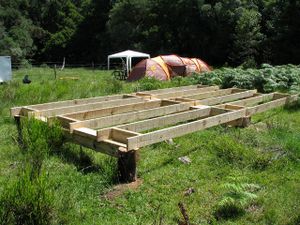
The first thing we needed to do was get the wood required for the foundations and frame across to the house location from the other side of the river. Using the trailer was too difficult because we'd need to store all the contents somewhere safe and dry and also we'd need to clear more of the bush to get the trailer through more easily. So instead we decided to use only the car by removing the front seat :-) After that I was finally able to get started! the first thing I did was to use the chainsaw to cut the foundation posts that we'd put in the ground a month or so back. Next I put three large pieces of eucalyptus across the pairs of posts. I was hoping that they'd fit more tightly, but it was too difficult to get the cuts accurate with the chainsaw, so next trip back to Canela I'll pick up some bolts which should compensate for the weakness from some of them not resting firmly on their posts. To finish off the foundations, twelve pieces of 2.5cm by 12.5cm were put across the eucalyptus pieces. We had to figure out a good way to attach all this for ourselves as we had no plans to work from and had to make do with the wood the guy had recommended, so it probably is already starting to look very non-standard ;-) Luckily we got the foundations done just in time as a storm came in, so we covered them over with some vinyl curtains we'd found in Curitiba and had a break for a day while it rained heavily (luckily the tent was still managing to hold up and we didn't have any leaks!)
|
|
|
|
|
|
|
|
The frame
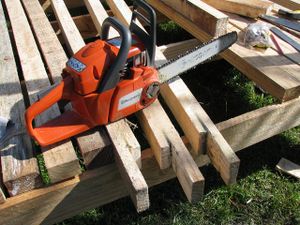
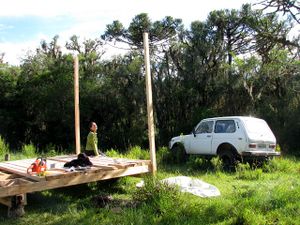
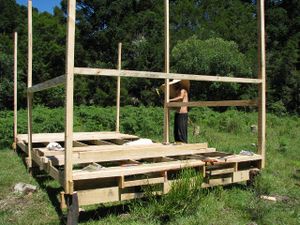
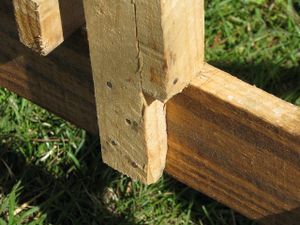
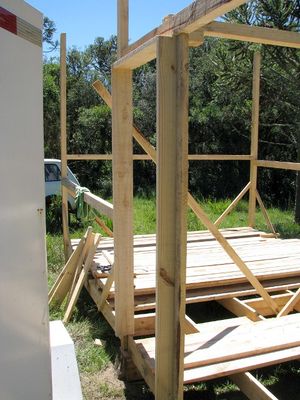
Next it was time to move on to the frame construction. So far all the cutting of the timber had been done with a hand saw, but we needed to chop a rectangle in the bottom of each of the six vertical frame pieces so they fit nicely onto the foundations. I soon found that 12.5 cm cuts length-ways into the wood was too difficult to do by hand and we had no circular-saw available, so I did the best I could with the chainsaw!
|
|
|
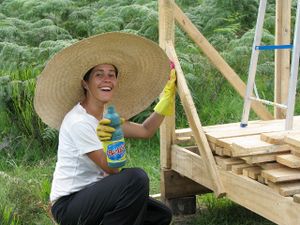
When we started working out how to strengthen the frame with the wood we had, we soon found out that the wood-guy's idea for our cheap place was extremely weak! I didn't want to make it in such a weak way, especially considering the strong winds that often crop up around our area, so I decided to work out a better way by doubling up the weak 5cm by 2.5cm frame-support wood we had a lot of. I nailed them together so that one part attached to the side of the foundation wood and the other to the top so that it worked similar to a fatter piece that was chiselled to shape. I also used single pieces to start adding 45° braces to all the main frame pieces. The picture also shows Beth bleaching the wood to get rid of any mould, and then after that she adds two coats of used engine oil to help prevent termites and rot.
|
|
|
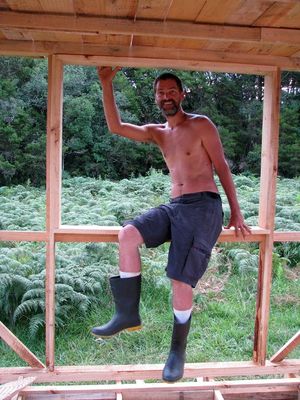
I did some more braces, the door frame and one window frame, but decided that we really need to get the generator going and use a circular saw to get these done at a reasonable speed, so I then decided to move back on to the main structure starting with the mezzanine area.
|
|
|
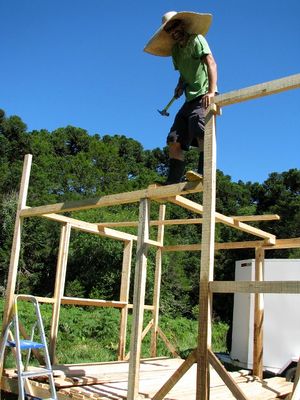
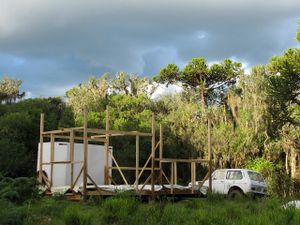
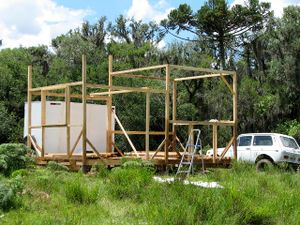
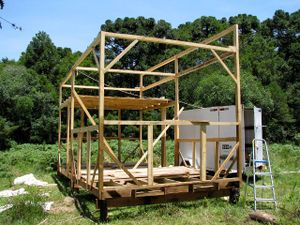
After covering everything up for another short storm, I got the main structure of the frame done with only the small vertical and 45° braces left to go. But before doing that we need to go to Canela to get a circular saw, some bolts and a few other bits and bobs.
|
|
|
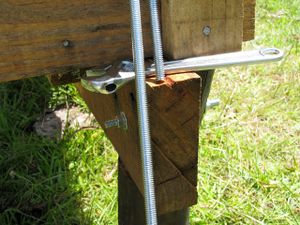
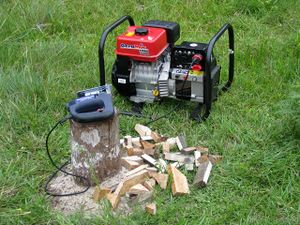
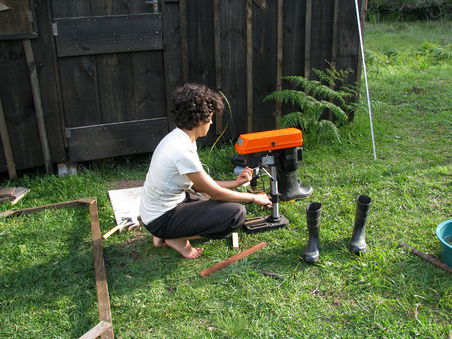
I decided it would be best to bolt some the foundations to their poles because the chainsaw wasn't very accurate and some of the horizontals weren't sitting on the indent cut in their pole, so they were relying entirely on their nails to hold them up. Rather than trying to find all the right sized bolts (since all the foundation poles are different), I bought a couple of long pieces of round threaded metal and cut them to length. I used the generator to power the drill with a 30cm drill bit to make the holes to put the threaded metal through. The generator is working really reliably and we're using it to also power the jigsaw for cutting the wood which is a great relief from the handsaw! we couldn't use the generator before because we needed to get an adapter from Canela to fit the plugs of the power tools.
|
|
The roof structure
This week we left for the land on Sunday and spent a whole week there until the following Sunday since there was no work needing to be done with New Years day being on the Tuesday.
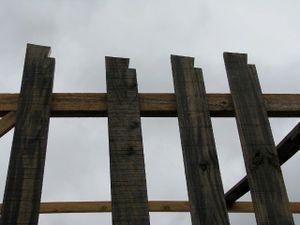
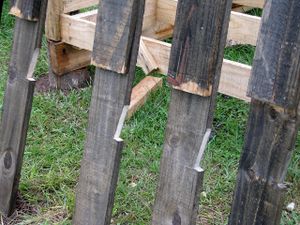
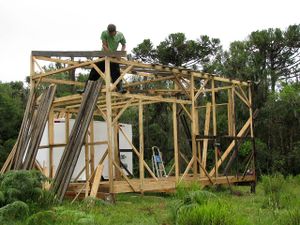
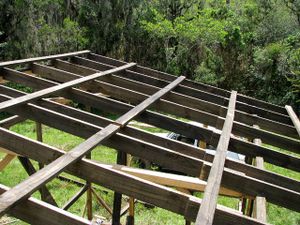
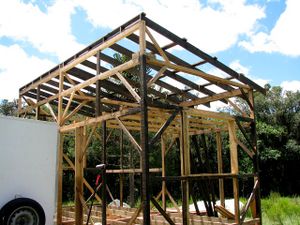
After bolting the foundations and adding some final strengthening braces to the frame it was time to move on to the roof structure. This involved twelve 2.5x12.5cm north-to-south pieces and ten 2.5x8 pieces on top of those perpendicular to them. Since the root is at an angle with the north side of the house being about 50cm higher than the south side, the twelve pieces needed to have notches cut in them so they could sit properly on the top of the frame. Also the slope and the overhang on the south side meant that each of the twelve pieces needed to have an extension added. Here's some pictures showing the notches and extended bits and the first piece being put on.
|
|
|
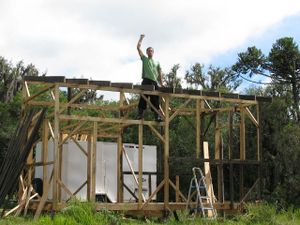
It took half the day to make all these extended and notched bits and put them up, and unfortunately I was very tired by this time and made a mistake in my measurements resulting in the middle gap being much smaller than all the rest. I had made the calculations correctly in my notebook but had cut all the pieces and started nailing them up using the wrong number (the number prior to subtracting 2.5 to account for the width of each of the twelve pieces). I figured that the mistake was really just aesthetic though and doesn't really affect the strength in anyway, so proceeded to use the bits I'd cut anyway putting the shorter gap in the middle where the extra strength serves best.
|
|
|
Another mistake that was made is that we wanted to have an overhang of about 50cm on the east and west sides, not just the south side, but we realised that this can't just be added on afterwards without introducing weakness to the roof, it needed to be designed into the frame so that the overhanging ends are resting on thick frame pieces.
The walls
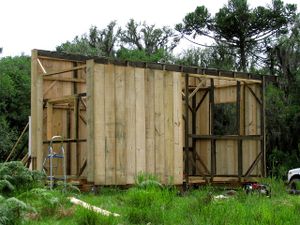
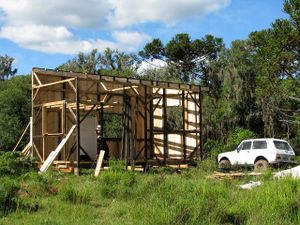
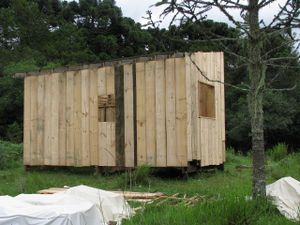
The walls were very difficult - mainly because I was so tired by this time and my hands were really starting to hurt from so much hammering all day every day! but we still managed to maintain good progress and by the end of the week (the Sunday after new years day) we nailed in the final planks for the wall.
|
|
|
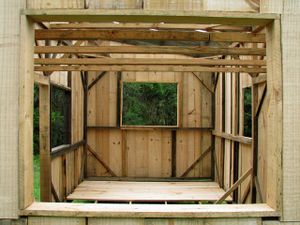
There's still a whole lot of small 2.5x5cm pieces to nail over the gaps between the wall planks, but that will be done after the roof is up as we haven't bought that wood yet - we still need to get some more wood for these and the inside walls. Here's a picture showing it from the inside taken through the west window.
Overall we're pretty happy with it, it's very sturdy and stands up very well to all manner of pushing and wobbling it from the top in the middle where its most vulnerable. We're quite confident that it'll handle the strong storm winds that crop up in our area which was the main concern we had about building such a budget house.
Now that work will be starting again we'll be back to visiting the land for the weekends only, but the most difficult and time-consuming parts of the construction are now complete, so we're pretty pleased with the progress. When we come back next weekend, we'll be putting the roofing material on.
The roof
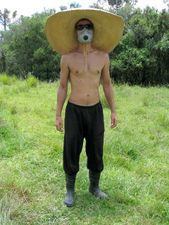
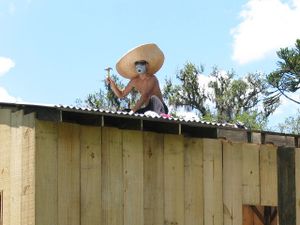
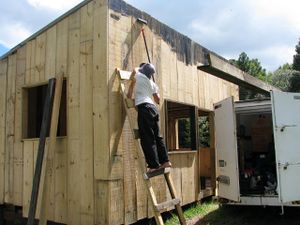
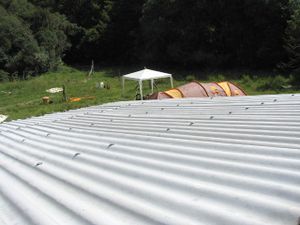
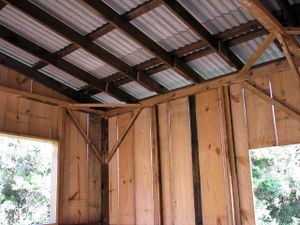
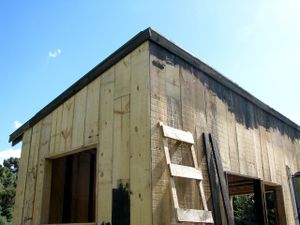
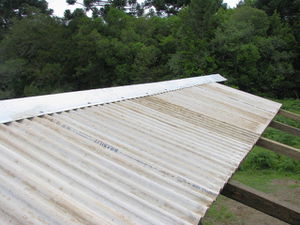
The roof went on fairly easily overall, but was quite hot work as the roofing material contains asbestos and so we thought it best to ware a mask to avoid breathing in any of the dust produced from drilling it. I had to add a couple of extra rows of perlins because the ones I'd initially put down were simply divided evenly across, but needed to be placed correctly for the lengths of roofing material involved - in our case a 2.4 metre and a 1.6 metre. The two end pieces needed to be placed such that a piece of wood can be nailed to the wall and fit snugly into an overhanging corrugation so that water can't get in from the sides.
|
|
|
|
|
|
|
We've had to do some horrible temporary gambiarra on the back of the roof because we couldn't find anywhere that sold the angular metal pieces to put over the back. So for now we've used this horrible looking weather-proof tape until we track some of the angular metal down :-(
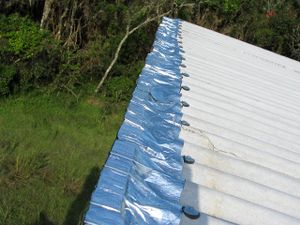
|
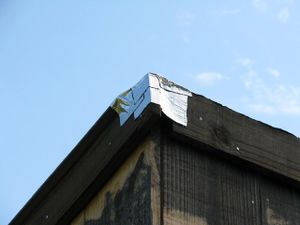
|
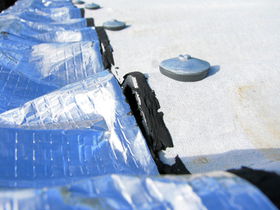 Nek minuit... |
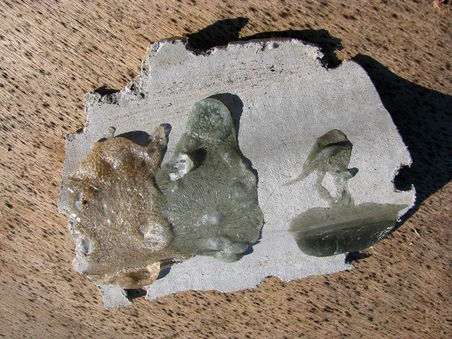
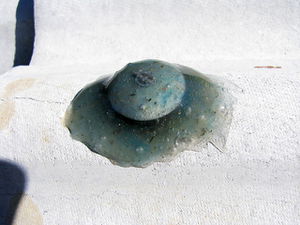
After a few months we've started having some minor leaks that seem to be due to some of the roofing nails that have come a bit loose. We learned an excellent gambiarra tip from the builder who's doing some work at our Canela flat who showed us that mixing petrol with polystyrene makes a really good water proof glue which is perfect for putting over dodgy roofing nails (and check this out for even more far out ideas you can use it for!). It just so happens we have a fair bit of spare polystyrene lying round (like about enough to make 500 barrels of glue!) and quite a few different types of petrol, so we did some tests and it definitely is really good stuff, it's very water proof and went really hard and tough after a day in the sun :-)
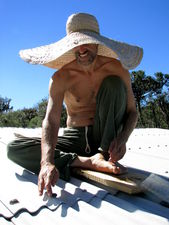
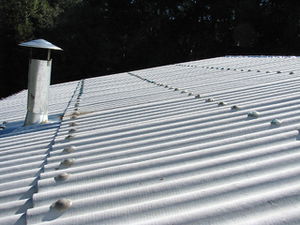
I went up today (August 5th) and applied the petropoly gambiarra to all the roofing nails. We bought a nice long three and a half metre ladder in the last supply run (which can unfold to seven metres height!) so I could get up on the roof. I then used two flat pieces of floor board to stand on so as to distribute the pressure across four roofing nails at a time to avoid any damage. Beth was on petropoly mixing detail below and threw up batches of it as I ran out :-)
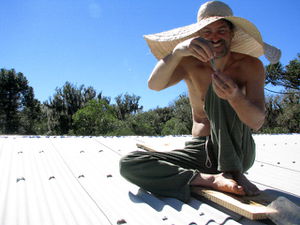
|
|
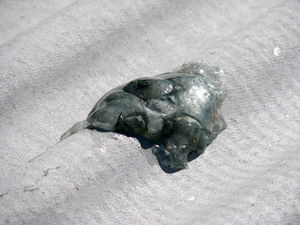
After fifteen minutes of sun it starts bubbling up a fair bit, but in our tests that happened and it eventually settled down again and didn't affect the overall coverage or strength of the stuff.
|
|
|
Insulation & floor
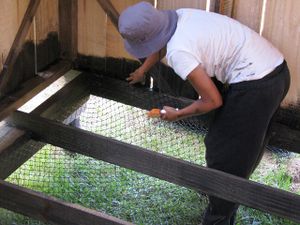
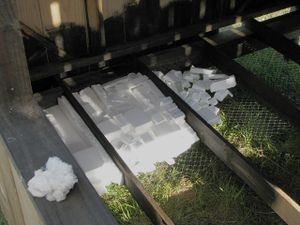
We've been collecting polystyrene rubbish for a month or so now as it makes excellent insulation - it's not very environmentally friendly stuff, but when it's collected from thrown out rubbish it helps the environment because it puts it to good use instead of going to a land-fill somewhere.

|
|
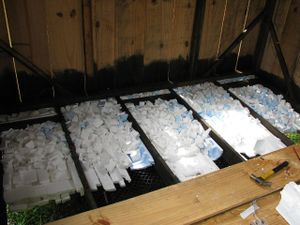
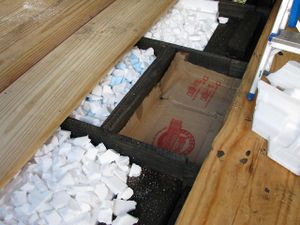
We started by trying to fit nice large pieces of poly in, but soon found that this was far too time-consuming and left quite a few gaps so we changed to just putting a bottom layer of larger pieces filled up on top with small broken bits. About a third of the floor was done like this and then we found that it was actually simpler and more effective to just staple cardboard into the compartments and fill with only small pieces - no need for any large pieces or even for netting.
|
|
|
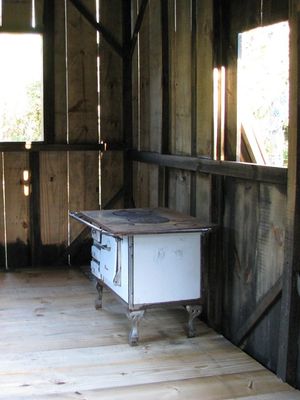
After the poly was all in place we hammered down the floor boards and shifted the 'coski inside ready for our first cooked meal in the house!
Temporary doors and windows for an early move
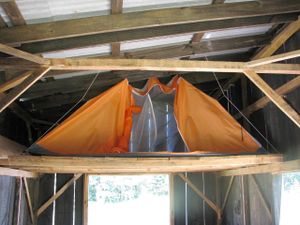
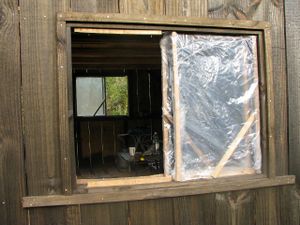
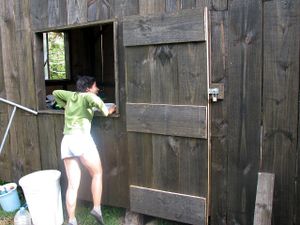
We need to wait before we can order wood for the batons to make the outside wall waterproof because we need to plan some more so we can order a whole truck load of materials at once. But since we really wanted to get out of the tent as soon as possible, we decided to get the floor to the loft hammered down and put the inner part of the tent in there. I then made a temporary door out of three left over floor boards and Beth made some basic sliding windows from small stakes and clear plastic.
|
|
|
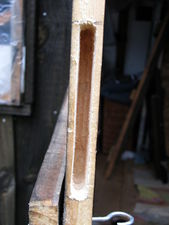
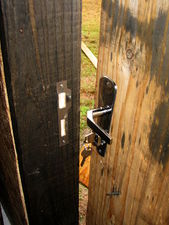
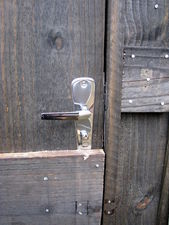
These temporary things have a nasty habit of becoming permanent! we got a door handle and mounted it into the "temporary" door in August :-)
|
|
|
The chimney
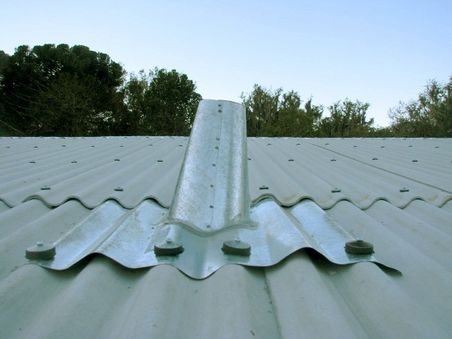
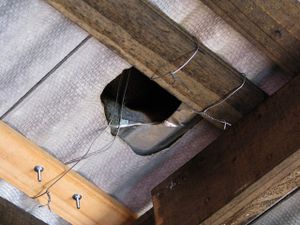
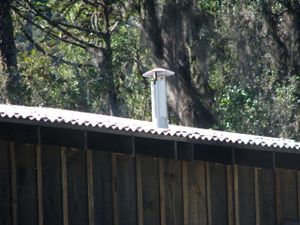
I thought this would be quite simple, but it turned out to be a bit more complex than I thought - the main problem was that I didn't know what the proper method was of attaching the top tube to the covering piece and also it was extremely difficult to reach and work on as the ladder is too short to rest on the edge of the roof overhang. I worked out a gambiarra method of attaching the top with some fencing wire which should be good enough to withstand strong winds pulling at the chimney top.
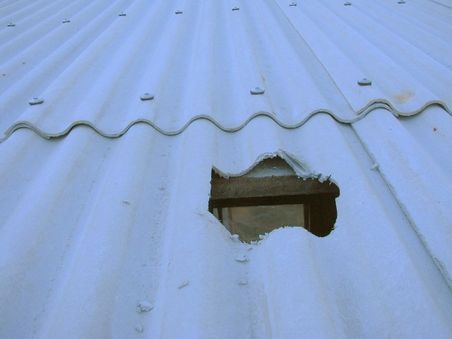
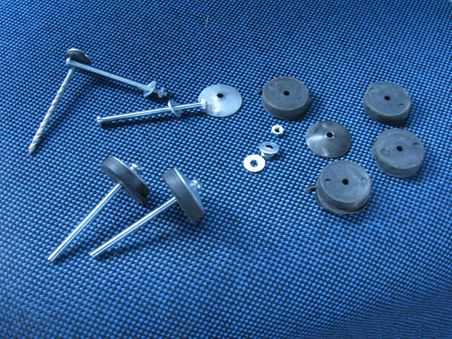
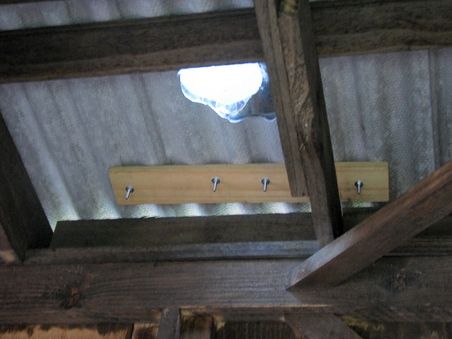
First was the easy bit - cut the hole through the corrugated roofing panels, loosen some of the nails, slide the top side chimney cover peace under them, hammer them back down and bolt the bottom side of the cover piece. I couldn't get any roofing bolts, so I bought some normal bolts and converted some roofing nails - bolts were necessary for this because there's no perlin on the inside to nail into.
|
|
|
|
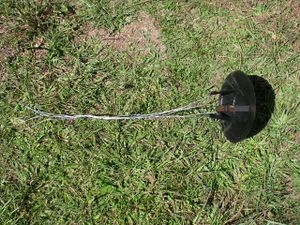
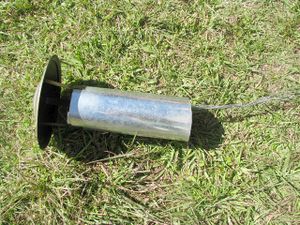
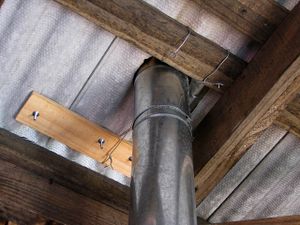
Unfortunately the cover piece wasn't made very well and its corrugations didn't match those of the roof so we'll need to put some of the silver weather-proof tape over this as well! Next was the difficult gambiarra bit, I attached a loop of fencing wire around each of the three attachments of the top dome piece and fed them down the cover piece to the inside where I could attach them to the roof perlins and twist them tight with pliers. This was any force exerted on the chimney top by strong wind won't be able to lift any part of it away from the roof.
|
|
|
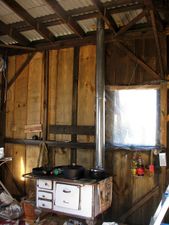
And finally, I could then cut a small section of the pipe to extend the main pipe to the right length to connect the 'coski to the new hole and cover piece!
|
|
|
Ceiling
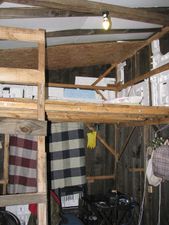
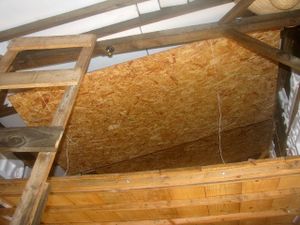
We bought 23 boards of 1.2m x 2.4m x 8mm plywood for the inside walls, ceiling and some cupboards which cost R$23 each and were delivered at the start of June 2013. The truck was able to get right up to the other side of the swamp around about where the net pole is since the road has been improved a lot recently. We did our first session getting the ceiling boards up on June 12th.
They're a bit too heavy to hold in place and hammer even with both of us so we worked out a method of hammering some nails into the sides of the structural roofing beams and using them to support the main weight of the board via a couple of lengths of string tied around them which you can faintly see in the second picture below.
|
|
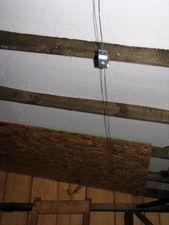
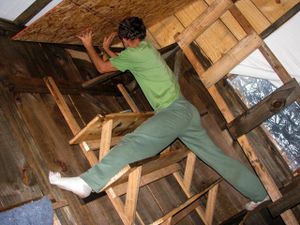
Installing the boards on the other side of the house was a little more difficult as there's no loft to help us get it into position, so instead of string, we created two strong supports from fencing wire and a wire tightener, but it still took some intense yoga exercises to get the corner one into place!
|
|
Inside walls, shelves, wiring & lights
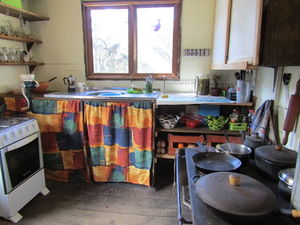
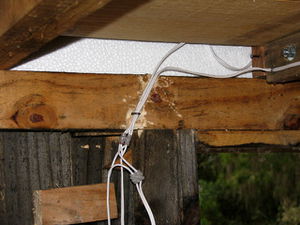
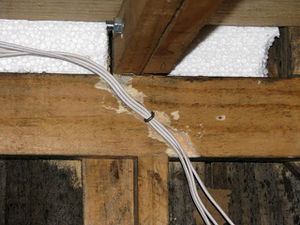
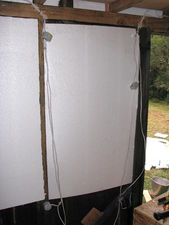
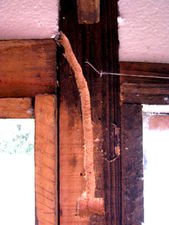
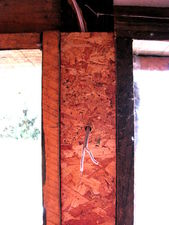
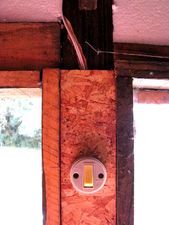
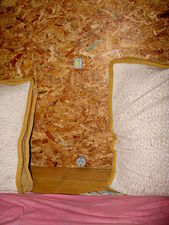
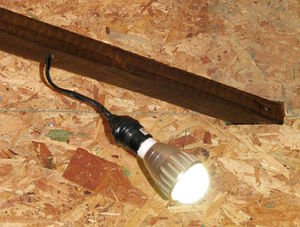
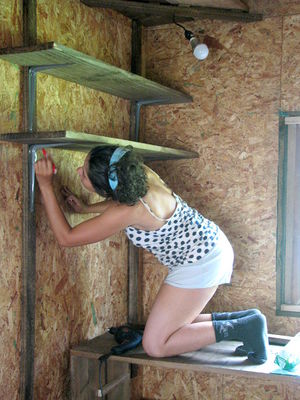
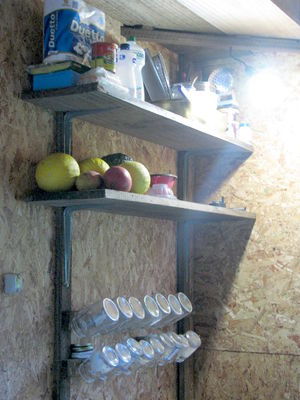
In places where wiring is behind the wall panels, tracks had to be into the wood so that the wires don't prevent the panels from sitting flat against the frame. I've also made a second inverter switch in the loft so that we can power everything down at night without having to climb down the ladder. I've tried to hide the wiring as much as possible - my favourite is the kitchen light which is shown in the last photo below :-)
|
|
|
|
|
|
|
|
|
|
|
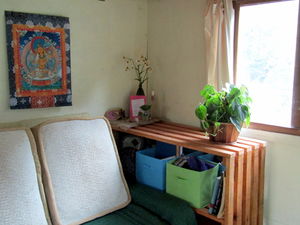
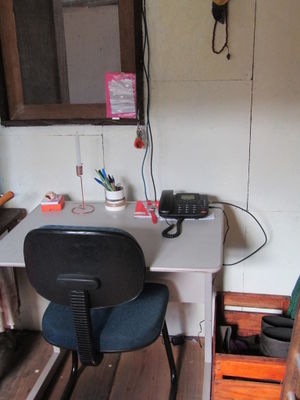
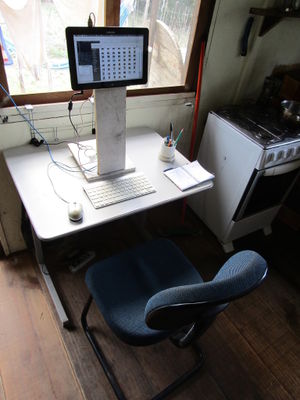
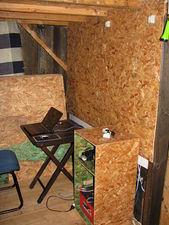
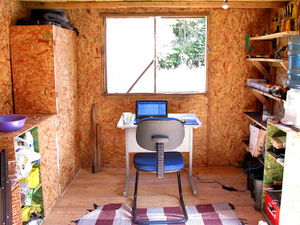
The office / work area is much more organised now with some shelves to keep tools and shoes organised, and boxes with small shelves inside that Beth made (which we call BB's - Beth-Boxes) to keep our hundreds of bits and bobs organised and out of sight!
|
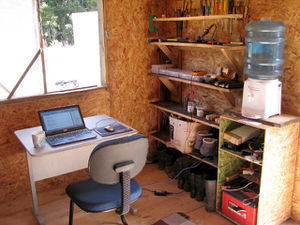
|
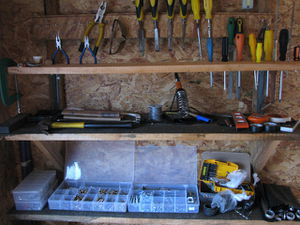
|
The bedroom
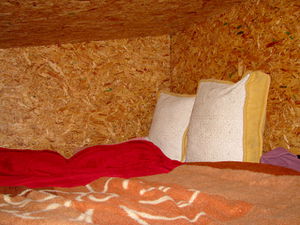
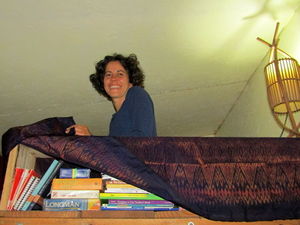
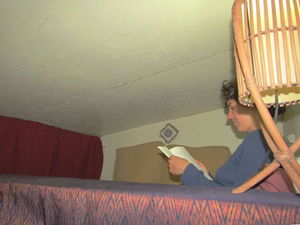
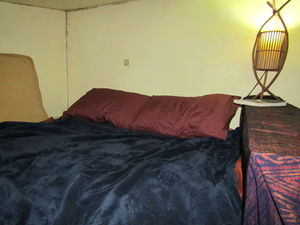
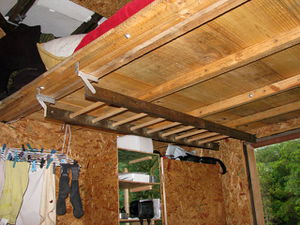
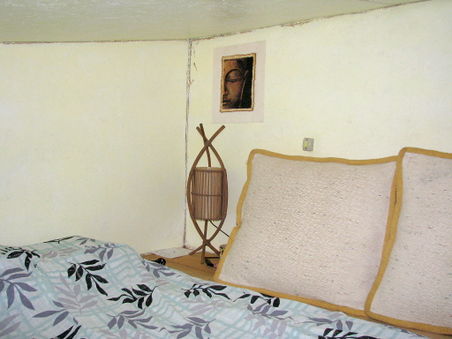
Since the house is so small, we need to be very efficient with space, so a loft is essential (we also have a fold-out couch so guests can stay).
Another important inside item is the loft ladder, we had been using a temporary one for over a year which was really getting in the way, so I finally made a smaller nicer looking one that can fold up when not in use to help save space :-)
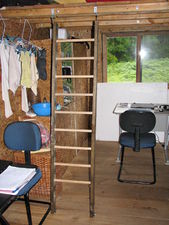
|
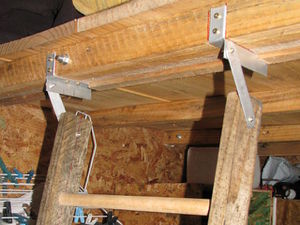
|
|
Painting the inside walls
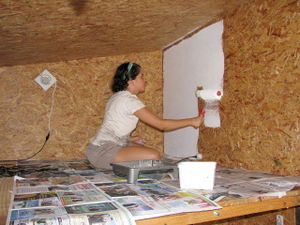
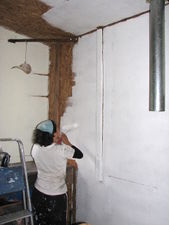
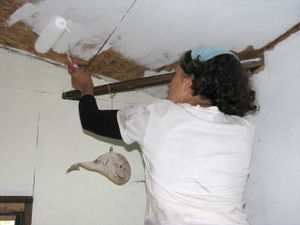
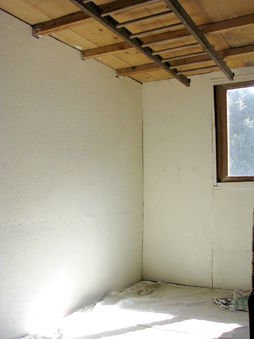
Unfortunately we were getting a lot of respiratory trouble sleeping in the loft, and after a bit of research we came to the conclusion that the problem was the OSB (oriented strand board) wood we were using which suffers from toxic off-gassing, and also a lack of window in the loft. So now we've made a small window up their with a low power extractor fan on it so we can change the air over frequently, and Beth's painted the OSB to reduce the off-gassing.
|
|
|
|
|
Artwork
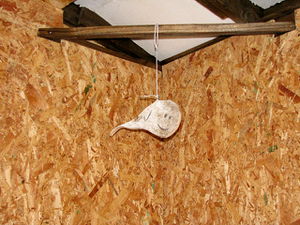
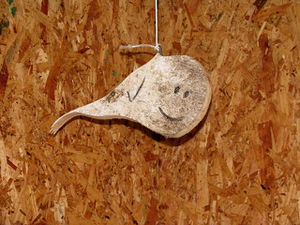
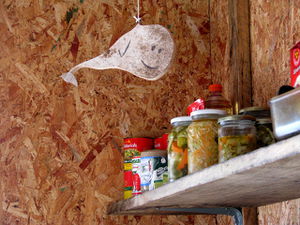
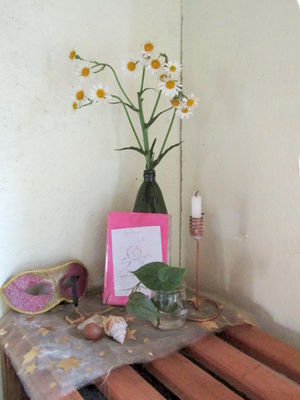
It's important for every household to have a fine art collection to be properly civilised and cultured, so here's our first piece of artwork; an impressive whale sculpture named Balotinho (pronounced "Balocheenyo"). The last photo below shows Balotinho with his new tail which was added after he was accused of looking "a bit spermy"!
When Mum & Dad came to visit for their holiday they brought us a nice piece of kiwiana for the house too which is hanging in the east window - and we've now started accumulating a few other bits and bobs of our own too :-)
Windows
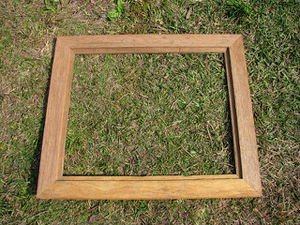
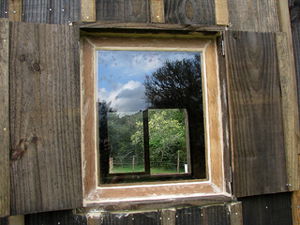
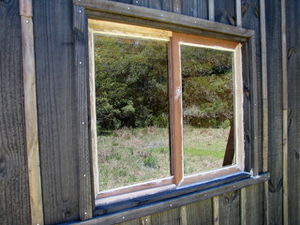
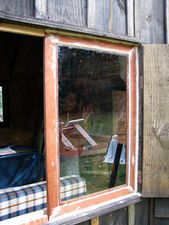
We decided to make our own windows to get a feel for how practical it was, but I think we'd just buy them on the next house though as it's not worth the effort considering that they're only a couple of hundred each.
|
|
|
|
|
|
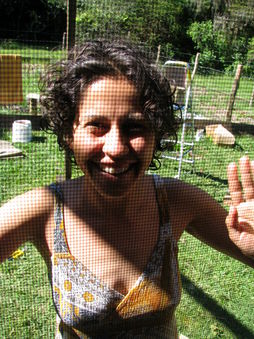
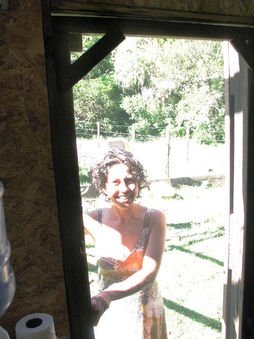
Meanwhile Beth set to work on the mosquito nets for the windows and the door, which are extremely important because summer is almost here and the mosquito population will explode any time now, and also the horse flies are just starting to show themselves. Horse flies are huge yellow flies that all latch on to you as soon as they see you and stick their long syringe painfully into you often drawing blood even through thick clothing! The door screen was the most difficult so she was really pleased when she'd finally completed it and it was working successfully :-)
|
|
|
Extensions
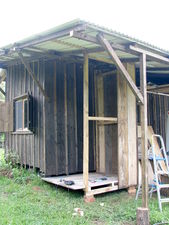
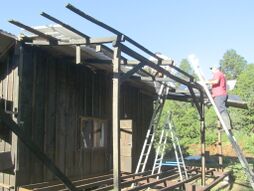
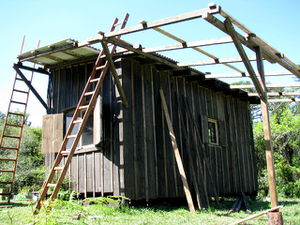
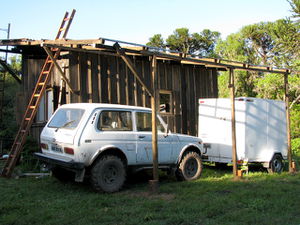
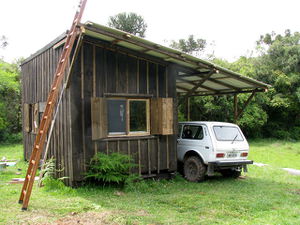
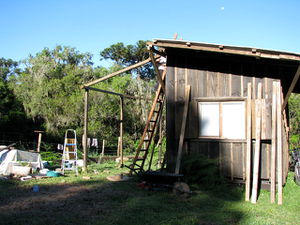
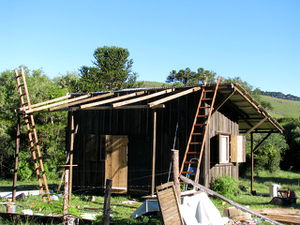
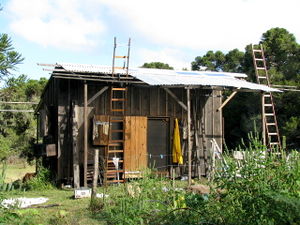
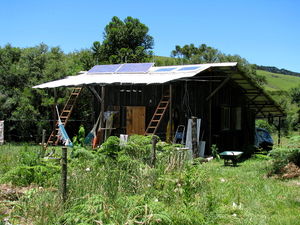
We decided to extend the roof on all sides to protect the walls and windows and to give some shade area. The south extension will be bigger so that the car and trailer can be parked there out of the rain and sun, and the north side will be bigger too and have some transparent telhas so that we can make a green house on that side.
|
|
|
|
|
|
In May I put on the transparent telhas onto the north extension.
|
|
And then almost a year later in March 2015, I finally got around to putting the east extension on! It still looks a little odd though because the east and west extensions really need to carry on down along the north extension, so I'm hoping to get on to that after we get some more materials in a few weeks.
Bathroom
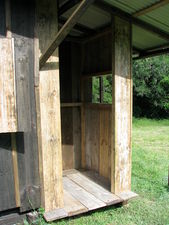
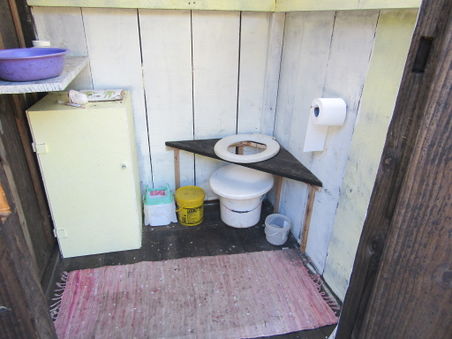
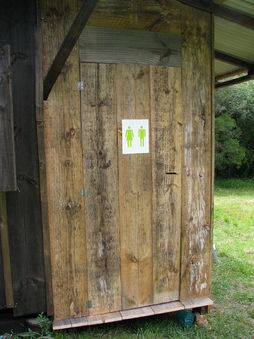
For some reason our awesome natural forest toilet isn't very popular with the guests! so we've decided it's time to make a small bathroom addon under the south extension.
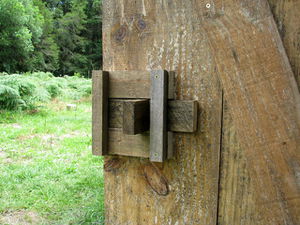
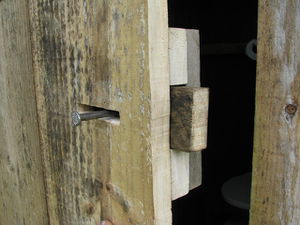
The bathroom needed to be able to be closed and latched from the both outside (to keep the door closed when nobody's in it) and inside while in use. We didn't have any spare latches so I made a cute natural looking one from some spare wood. The latch is on the inside, but has a slit in the door with a large nail attached to the latch so it can be slid open or closed from the outside too :-)
And of course no outside bathroom would be complete without the final finishing touches!
The inside layout as of late 2016
New north extension
In March 2019, Vladimir and his friend Bento built an extension for us:
Lessons learned
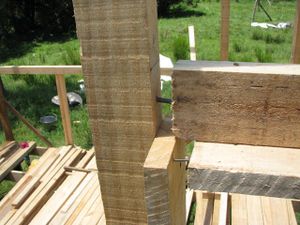
A few mistakes were made, a couple of them shown below, but luckily they were easy to fix. But for the next thing we build here's some points we'll take in to account.
- Cheap wood is very bent, so buy extra of the most important larger pieces so the most bent can be used in more trivial positions.
- Next time we'd use double the fat 8x5's in the frame - twice as many vertical and twice as many horizontally between them
- Use 22x54 nails for nailing fat ones to each other, 19x34 for anything thinner nailed into a fat one, 17x34 for tabuas (2.5 thick) together.
- Batons: use small 13x18 nails on the sides into the tabuas, rather than bigger nails in the centre into the frame.
- Oil & kerosene the wood before putting it all together
- Position the perlins to match the size of the roofing material rather than just equally spacing them
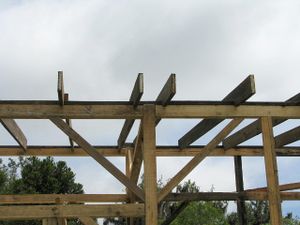
- Have no gaps in the perlins and position all the perlin ends over the larger pieces so the roofing is never nailed into a "bouncy" location
- Make sure the chimney can be positioned in the overlap area (just the top portion of the corrugated chimney panel in the bottom portion of the overlap is ok though)
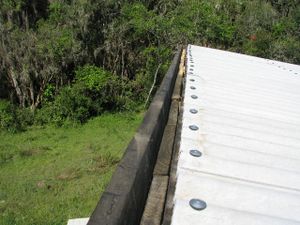
- The roofing material should go as far back as possible so there's minimal gap under the backing metal
- Use the bent parts in positions where supports and weight can reverse the direction of the bend.
- It's best to make the foundation poles at least a metre high even if you don't live in an area that can flood because if it's too low to easily get under and inspect, then rodents and other creatures will make their homes under there. Make foundation poles higher than they need to be, because even subtle slopes in the land make a huge difference.
- Use 5 foundation pairs instead of three (i.e. one between each 2.7m as well as the ends)
- We should have put perpendicular 2.5x12.5's in the foundation 2.5x12.5's - not only to keep them solid, but they make nice separated compartments for the insulation.
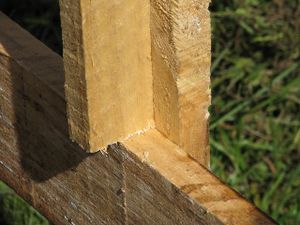
- If you're going to have an overhang on the sides of the roof, it needs to be designed into the frame.
- If the roof frame 12.5x2.5's need to be extended, add the shorter piece on the inside - probly easiest to mirror them at the centre pair.
- Collecting polystyrene rubbish isn't a good idea :-( getting flat panels of it is pretty cheap and saves ours of hassle and logistical problems.
- The bottom of the wall around the floor should all be solid fattie, positioned both where the bottom of the wall can nail into and under the floorwhere the edge of the floor boards can be nailed. This is also very important to ensure that there are no small holes that mice can get into from below to get into the house or to make nests inside the walls.
- The corrugated roof panels should overlap by two corrugations not just one, because in heavy rain water can get over the first hump of the bottom panel.
- The roofing panels are best to be at least 15 degrees steep so that heavy rain doesn't accumulate.
- The roofing nails should be sealed with silicone or petropoly because over time many of them get a little loose as the house expands and contracts, especially in areas that have wide temperature variations.
- OSB: It turns out that OSB (oriented strand board) is a health hazard and should be isolated from living areas! The main problem is that the glues in it release toxic gases, but also it's not able to release moisture easily so is prone to mould. These problems are made much worse in unventilated areas like our loft :-( We really need to change to normal wood at least in the loft, but in the mean time we could seal the joins with silicone and cover the boards in varnish which should help a lot. A ventilations solution would be a very good idea for the loft as well because lack of ventilation multiplies the severity of all the other problems such as fumes, mould and dust mites.
- If you use green wood for the floor it will likely have mould trouble for up to a year, and it will shrink so use screws instead of nails so it can be adjusted.
|
|
|
|
Dealing with mice
See Category:Mice
See also
- Our second house
- Moving on to our land
- Our greenhouse
- Building
- Corrugated roofing tips
- Tiny one-room house - good example of layout in a single-room house
- Deep woods tiny house - another good tiny house
- Tiny House Swoon - a site dedicated to tiny houses
- FamilyHandyman.com - good DIY site
