Difference between revisions of "Our first house"
m |
(foundations) |
||
| Line 1: | Line 1: | ||
| − | + | The first step in [[moving on to our land]] was to get a big trailer and take a whole lot of stuff from [[First flat in Brazil|our flat in Curitiba]] to [[land|the land]] such as desks, oven, bikes etc and then just keep them all in the trailer using it like a shed until we have a simple house built. Until then we're sleeping in a tent while we're on the land. We have a 3KW petrol generator so that we can use power tools while building the house. | |
| − | + | Our first house is a temporary one that we can hopefully get complete enough to sleep in within a couple of weeks. It's made with the cheapest pine wood and is only 5.4 by 2.7 meters in size. We've heard varying stories about how long this cheap wood will last - some have said that it bends and cracks within a year, while others say they're living in houses made of this wood that have been standing for fifty years! either way, we're not too worried, because we plan on building some more permanent from something more natural like adobe, straw-bale or mud-brick and then using this first small house as a storage shed and workshop. | |
| − | == | + | == Getting started == |
| − | [[ | + | Just getting to the point where we could even start was a lot of work - we needed to [[Our bridge|build a temporary bridge]] so that we could transport wood across the river, and [[Moving on to our land#Week six|clear the bush]] so that we could get it from the river to the house location. And even [[Moving on to our land#Week eight|ordering the wood]] was quite a mission in itself! We decided to stay on the land for some solid time over Christmas and new years when nobody needed any work done so we could put some good time into the house and hopefully get it to a stage where we could sleep in it instead of the tent. |
| − | + | The first thing we needed to do was get the wood required for the foundations and frame across to the house location from the other side of the river. Using the trailer was too difficult because we'd need to store all the contents somewhere safe and dry and also we'd need to clear more of the bush to get the trailer through more easily. So instead we decided to use only the car by removing the front seat :-) | |
| + | {| | ||
| + | |[[File:House - wood in car.jpg|450px]] | ||
| + | |[[File:House - carrying wood in car.jpg|450px]] | ||
| + | |} | ||
| − | + | After that I was finally able to get started! the first thing I did was to use the chainsaw to cut the foundation posts that we'd put in the ground [[Moving on to our land#Week three|a month or so back]]. | |
| + | |[[File:Foundation log.jpg|300px]] | ||
| + | |[[File:House - cutting foundation posts.jpg|300px]] | ||
| + | |[[File:House - cut foundation posts.jpg|300px]] | ||
| + | |} | ||
| + | |||
| + | Next I put three large pieces of eucalyptus across the pairs of posts. I was hoping that they'd fit more tightly, but it was too difficult to get the cuts accurate with the chainsaw, so next trip back to Canela I'll pick up some bolts which should compensate for the weakness from some of them not resting firmly on their posts. | ||
| + | {| | ||
| + | [[File:House - one foundation pair.jpg|450px]] | ||
| + | [[File:House - foundations complete.jpg|450px]] | ||
| + | |} | ||
| + | |||
| + | == The frame == | ||
| + | [[File:House - all verticals.jpg|300px]] | ||
| + | [[File:House - and tent.jpg|300px]] | ||
| + | [[File:House - belga.jpg|300px]] | ||
| + | [[File:House - chainsaw ends.jpg|300px]] | ||
| + | [[File:House - covered foundations.jpg|300px]] | ||
| + | [[File:House - covering for storm.jpg|300px]] | ||
| + | [[File:House - doorway.jpg|300px]] | ||
| + | [[File:House - first 45's.jpg|300px]] | ||
| + | [[File:House - first level.jpg|300px]] | ||
| + | [[File:House - first verticals.jpg|300px]] | ||
| + | [[File:House - frame almost done.jpg|300px]] | ||
| + | [[File:House - frame top complete.jpg|300px]] | ||
| + | [[File:House - mezanine.jpg|300px]] | ||
| + | [[File:House - mistake 1.jpg|300px]] | ||
| + | [[File:House - second level.jpg|300px]] | ||
| + | [[File:House - west window.jpg|300px]] | ||
| + | [[File:House mistake 2.jpg|300px]] | ||
| + | [[File:House vertical supports.jpg|300px]] | ||
| − | |||
| − | |||
== See also == | == See also == | ||
Revision as of 13:01, 26 December 2012
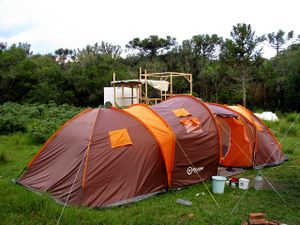
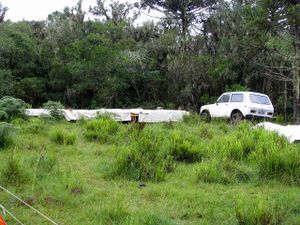
The first step in moving on to our land was to get a big trailer and take a whole lot of stuff from our flat in Curitiba to the land such as desks, oven, bikes etc and then just keep them all in the trailer using it like a shed until we have a simple house built. Until then we're sleeping in a tent while we're on the land. We have a 3KW petrol generator so that we can use power tools while building the house.
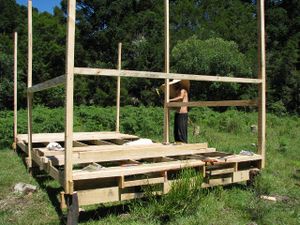
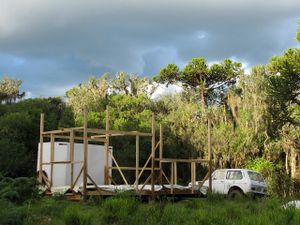
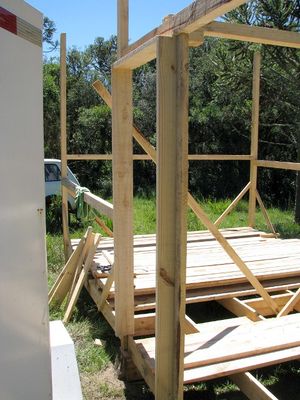
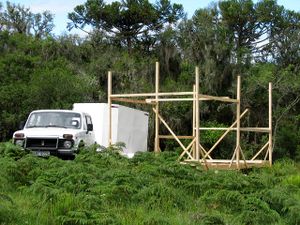
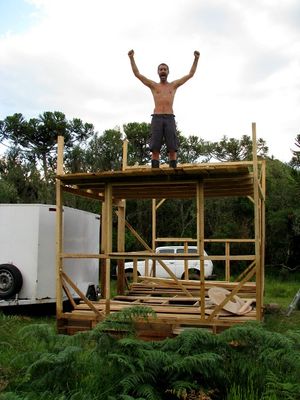
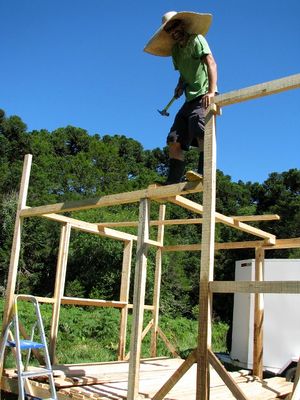
Our first house is a temporary one that we can hopefully get complete enough to sleep in within a couple of weeks. It's made with the cheapest pine wood and is only 5.4 by 2.7 meters in size. We've heard varying stories about how long this cheap wood will last - some have said that it bends and cracks within a year, while others say they're living in houses made of this wood that have been standing for fifty years! either way, we're not too worried, because we plan on building some more permanent from something more natural like adobe, straw-bale or mud-brick and then using this first small house as a storage shed and workshop.
Getting started
Just getting to the point where we could even start was a lot of work - we needed to build a temporary bridge so that we could transport wood across the river, and clear the bush so that we could get it from the river to the house location. And even ordering the wood was quite a mission in itself! We decided to stay on the land for some solid time over Christmas and new years when nobody needed any work done so we could put some good time into the house and hopefully get it to a stage where we could sleep in it instead of the tent.
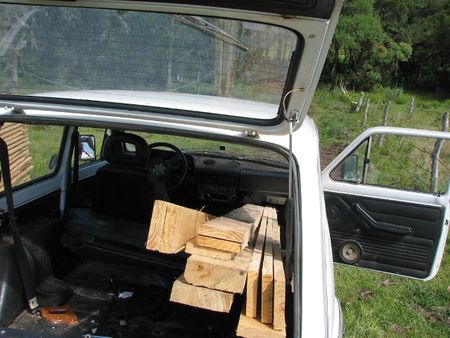
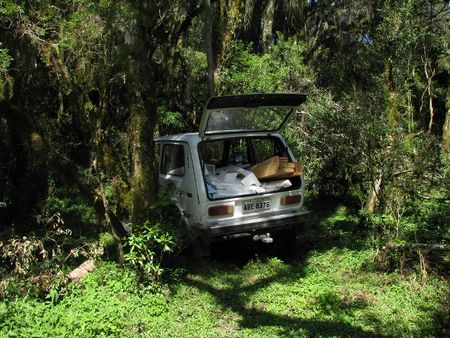
The first thing we needed to do was get the wood required for the foundations and frame across to the house location from the other side of the river. Using the trailer was too difficult because we'd need to store all the contents somewhere safe and dry and also we'd need to clear more of the bush to get the trailer through more easily. So instead we decided to use only the car by removing the front seat :-)
|
|
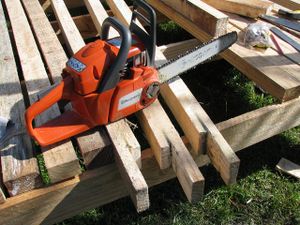
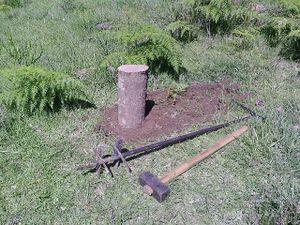
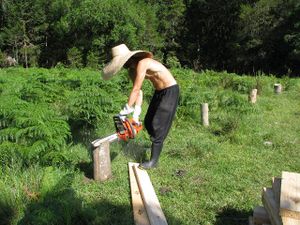
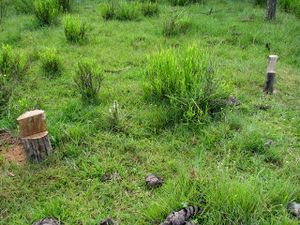
After that I was finally able to get started! the first thing I did was to use the chainsaw to cut the foundation posts that we'd put in the ground a month or so back.
| |
| |
| |}
|}
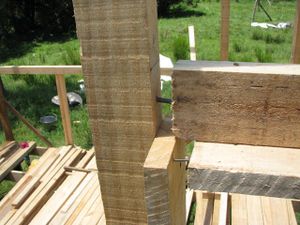
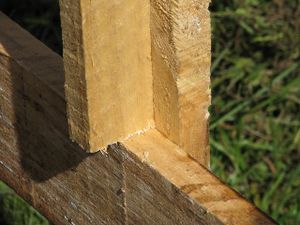
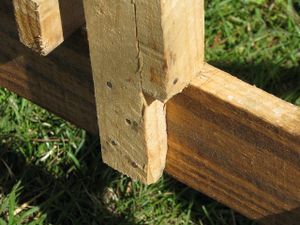
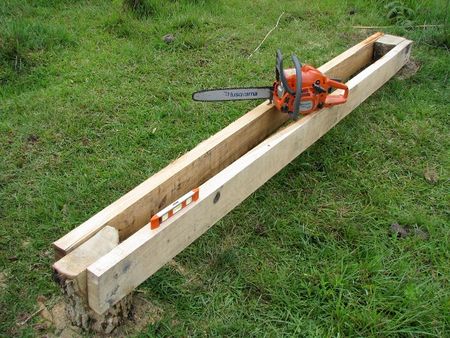
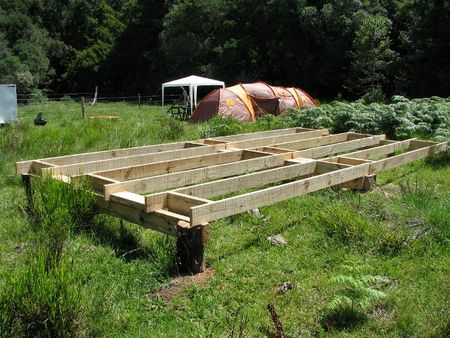
Next I put three large pieces of eucalyptus across the pairs of posts. I was hoping that they'd fit more tightly, but it was too difficult to get the cuts accurate with the chainsaw, so next trip back to Canela I'll pick up some bolts which should compensate for the weakness from some of them not resting firmly on their posts.
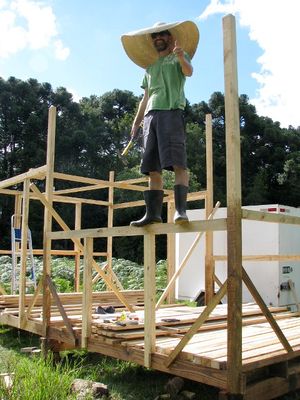
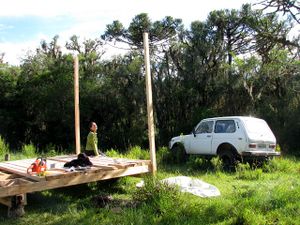
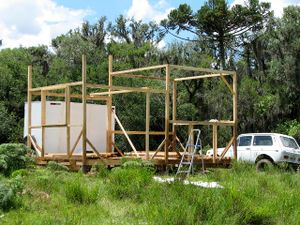
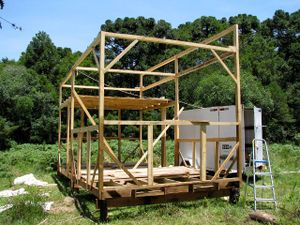
The frame
