Difference between revisions of "Image slider"
(css) |
m |
||
| Line 88: | Line 88: | ||
/** | /** | ||
| − | * Initialise all image-slider elements | + | * Initialise all image-slider elements in the page and start them sliding |
*/ | */ | ||
| − | $('div.image-slider').each(function() { | + | $('div.image-slider').each(function() { |
var div = $(this), w, h, src, thumb, img, prev, next; | var div = $(this), w, h, src, thumb, img, prev, next; | ||
| Line 103: | Line 103: | ||
}); | }); | ||
| − | // | + | // Only continue initualising this slider after the first image has loaded so we can get the dimensions |
| − | + | $('img:first',div).load(function() { | |
| − | + | // Store the image dimentions in our slider div element's data | |
| − | |||
| − | |||
| − | |||
| − | |||
div.data('width', w = $(this).width()); | div.data('width', w = $(this).width()); | ||
div.data('height', h = $(this).height()); | div.data('height', h = $(this).height()); | ||
| − | |||
| − | |||
| − | |||
| − | |||
| − | |||
| − | |||
| − | |||
| − | |||
| − | |||
| − | |||
| − | |||
| − | + | // If the slider has class "thumbs" then add another div that will have the thumbs in it | |
| − | + | if(div.hasClass('thumbs')) thumb = $('<div />').addClass('thumbs'); | |
| − | + | ||
| − | + | // Store the image urls found in this slider div in its data and preload them, and add thumbs if set | |
| − | + | $('img', div).css('display','none').each(function() { | |
| − | + | src = $(this).attr('src'); | |
| − | + | img = $('<img />').attr('src', src); | |
| + | div.data('images').push(src); | ||
| + | if(thumb) { | ||
| + | img.width(thumbWidth); | ||
| + | img.height(h*thumbWidth/w); | ||
| + | img.css({float: 'left', cursor: 'pointer'}); | ||
| + | img.data('index',div.data('images').length - 1); | ||
| + | img.click(function() { | ||
| + | slide($('div.image-slider').has(this), 1, $(this).data('index')); | ||
| + | }); | ||
| + | thumb.append(img); | ||
| + | } | ||
| + | }); | ||
| + | |||
| + | // Restructure the content of this sliders div into layered divs with prev/next buttons | ||
| + | prev = '<a class="is-prev" href="javascript:">< prev</a>'; | ||
| + | next = '<a class="is-next" href="javascript:">next ></a>'; | ||
| + | div.html( '<div class="is-img1"><div class="is-img2">' + prev + next + '</div></div>' ); | ||
| + | if(thumb) div.append(thumb); | ||
| + | $('.is-prev', div).click(function() { slide($('div.image-slider').has(this), -1); }); | ||
| + | $('.is-next', div).click(function() { slide($('div.image-slider').has(this), 1); }); | ||
| − | + | // Set the container size to the image size and other css styles | |
| − | + | $('div',div).css({ padding: 0, width: w, height: h }); | |
| − | + | $('.is-prev',div).css({ float: 'left', 'margin-top': h/2 }); | |
| − | + | $('.is-next',div).css({ float: 'right', 'margin-top': h/2 }); | |
| − | + | // Start the sliding process | |
| − | + | slide(div, 1); | |
| + | }); | ||
}); | }); | ||
Revision as of 21:54, 31 March 2015
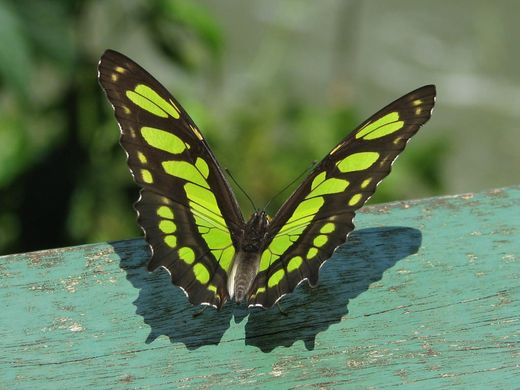
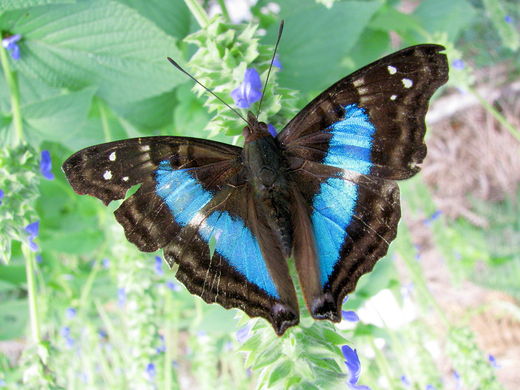
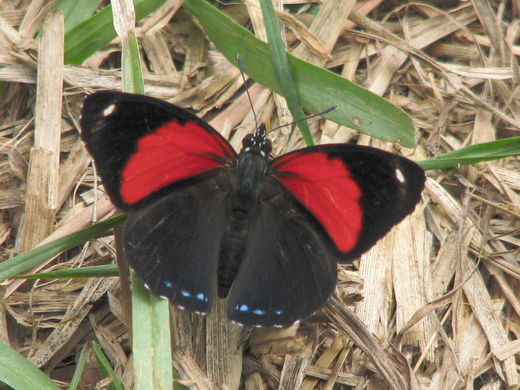
Here's a simple image slider written 100% in JavaScript and jQuery. In converts any div elements of class "image-slider" containing img elements into a slider like the one below. You can use your own CSS rules to give the next/prev links a nicer style and make a frame around the image. The images should all be the same size for it to work properly. The code is in our Subversion repository here.
There are two variables at the start of the code, delay and thumbWidth, these determine the time in seconds before the next image change, and the width in pixels of the thumbnail images below the sliding image. Each image slider div element can be configured to have a row of clickable thumbnail images below the sliding image by adding "thumbs" to the class attribute as in the example code following.
In the wiki you can use image links as follows:
Here's an example of a pure HTML page which has the links to the scripts and images included:
Here's a working example:
If you want to use the same CSS as this working example, the rules are as follows:
