Difference between revisions of "Image slider"
(git links) |
(use common.js) |
||
| Line 108: | Line 108: | ||
} | } | ||
</source> | </source> | ||
| − | |||
| − | |||
| − | |||
| − | |||
| − | |||
| − | |||
| − | |||
| − | |||
| − | |||
| − | |||
| − | |||
| − | |||
| − | |||
| − | |||
| − | |||
| − | |||
| − | |||
| − | |||
| − | |||
| − | |||
| − | |||
| − | |||
| − | |||
| − | |||
| − | |||
| − | |||
| − | |||
| − | |||
| − | |||
| − | |||
| − | |||
| − | |||
| − | |||
| − | |||
| − | |||
| − | |||
| − | |||
| − | |||
| − | |||
| − | |||
| − | |||
| − | |||
| − | |||
| − | |||
| − | |||
| − | |||
| − | |||
| − | |||
| − | |||
| − | |||
| − | |||
| − | |||
| − | |||
| − | |||
| − | |||
| − | |||
| − | |||
| − | |||
| − | |||
| − | |||
| − | |||
| − | |||
| − | |||
| − | |||
| − | |||
| − | |||
| − | |||
| − | |||
| − | |||
| − | |||
| − | |||
| − | |||
| − | |||
| − | |||
| − | |||
| − | |||
| − | |||
| − | |||
| − | |||
| − | |||
| − | |||
| − | |||
| − | |||
| − | |||
| − | |||
| − | |||
| − | |||
| − | |||
| − | |||
| − | |||
| − | |||
| − | |||
| − | |||
| − | |||
| − | |||
| − | |||
| − | |||
| − | |||
| − | |||
| − | |||
| − | |||
| − | |||
| − | |||
| − | |||
| − | |||
| − | |||
| − | |||
| − | |||
| − | |||
| − | |||
| − | |||
| − | |||
| − | |||
| − | |||
| − | |||
| − | |||
| − | |||
| − | |||
| − | |||
| − | |||
| − | |||
| − | |||
| − | |||
| − | |||
| − | |||
| − | |||
| − | |||
| − | |||
| − | |||
| − | |||
| − | |||
| − | |||
| − | |||
| − | |||
| − | |||
| − | |||
| − | |||
| − | |||
| − | |||
| − | |||
| − | |||
| − | |||
[[Category:JavaScript]] | [[Category:JavaScript]] | ||
Revision as of 23:38, 21 February 2016
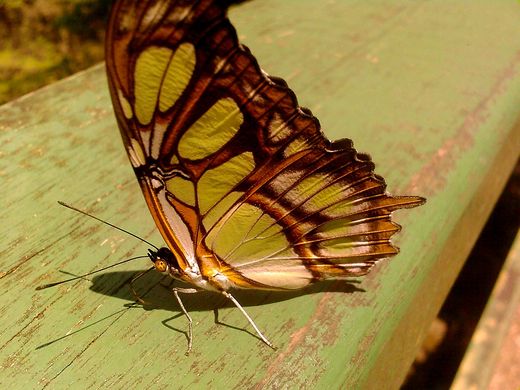
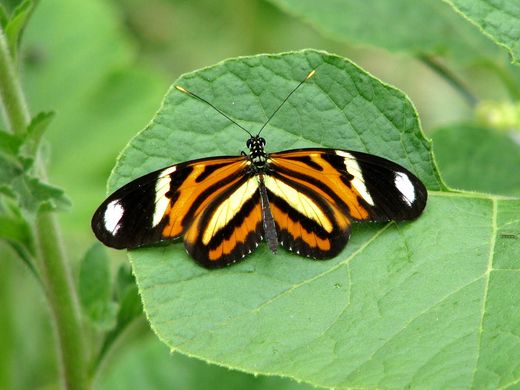
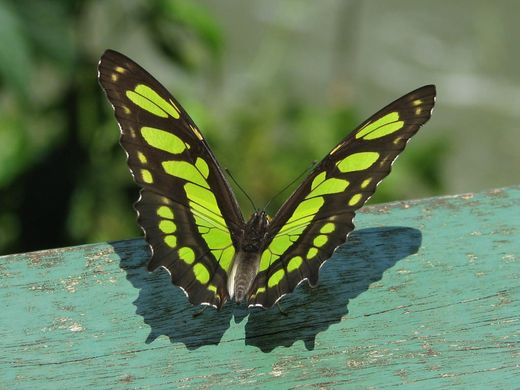
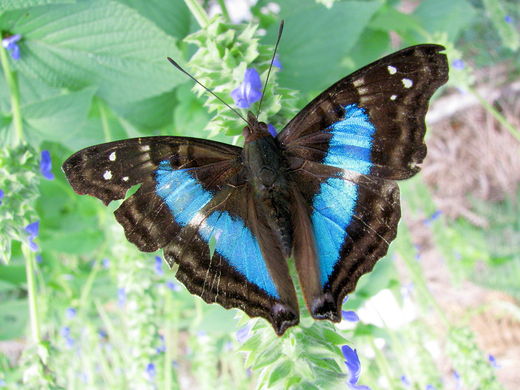
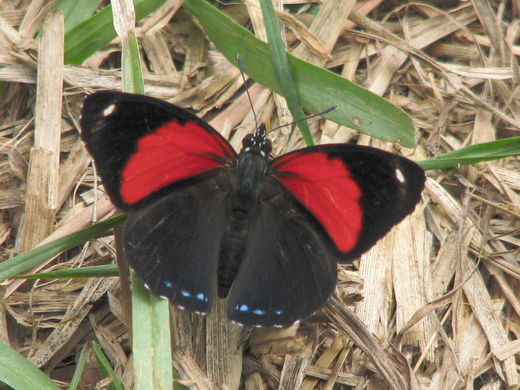
Here's a simple image slider written 100% in JavaScript and jQuery. It converts any div elements of class "image-slider" containing img elements into a slider like the one below. You can use your own CSS rules to give the next/prev links a nicer style and make a frame around the image. The images should all be the same size for it to work properly. The code is in our Git repository here (Github here). Just copy the JavaScript into your wiki's MediaWiki:Common.js article, and any CSS rules into your wiki's MediaWiki:Common.css article.
Configuration options
There are a few configuration options which you can include in the slider element's data attributes, using the syntax shown in the usage section below. The available configuration options are as follows:
| Name | Default | Description |
|---|---|---|
| thumbs | 0 | The pixel size of the thumbnails shown below the sliding image (0 means don't show thumbnails) |
| direction | 1 | Specifies whether the images' automatically slide to the left (-1) or right (1) |
| delay | 5 | The number of seconds delay until the image automatically slides to the next image |
| duration | 1000 | The number of milliseconds that the transition effect takes (note that this must be less than the delay) |
Usage
In the wiki you can use image links as follows:
<div class="image-slider" data-thumbs="100" data-direction="-1">
    [[File:Butterfly3.jpg|512px]]
    [[File:YellowButterfly.jpg|512px]]
    [[File:MonarchOnPinkTree3.jpg|512px]]
    [[File:Butterfly1.jpg|512px]]
</div>
Here's an example of a pure HTML page which has the links to the scripts and images included:
<!DOCTYPE html>
<html lang="en">
   <meta http-equiv="Content-Type" content="text/html; charset=utf-8" />
   <head>
      <title>Image Slider</title>
      <script src="http://code.jquery.com/jquery-1.11.1.min.js" type="text/javascript"></script>
      <script src="https://code.organicdesign.co.nz/extensions/raw/master/jQuery/ImageSlider.js" type="text/javascript"></script>
   </head>
   <body>
      <div class="image-slider" data-thumbs="100">
         <img src="http://www.organicdesign.co.nz/files/thumb/1/12/Yellow_caterpillar_with_red_face.jpg/500px-Yellow_caterpillar_with_red_face.jpg" />
         <img src="http://www.organicdesign.co.nz/files/thumb/f/f2/Red_hairy_caterpillar.jpg/500px-Red_hairy_caterpillar.jpg" />
         <img src="http://www.organicdesign.co.nz/files/thumb/1/17/Green_and_red_caterpillar_2.jpg/500px-Green_and_red_caterpillar_2.jpg" />
         <img src="http://www.organicdesign.co.nz/files/thumb/1/13/Black_caterpillar_with_yellow_stripes_1.jpg/500px-Black_caterpillar_with_yellow_stripes_1.jpg" />
         <img src="http://www.organicdesign.co.nz/files/thumb/3/39/Yellow_hairy_caterpillar_2.jpg/500px-Yellow_hairy_caterpillar_2.jpg" />
      </div>
   </body>
</html>
Example
Here's a working example which has the following syntax.
<div class="image-slider" data-thumbs="100">
  [[File:Butterfly3.jpg|520px]]
  [[File:Orange and yellow butterfly 1.jpg|520px]]
  [[File:Butterfly1.jpg|520px]]
  [[File:Blue butterfly on chia.jpg|520px]]
  [[File:2015 red butterfly 2.jpg|520px]]
</div>
CSS styles
If you want to use the same CSS as this working example, the rules are as follows. Or you can see the CSS class attributes used here to make your own rules.
/* style for next/prev links in "Image slider" page */
.image-slider .is-next, .image-slider .is-prev {
    background-color: black;
    color: white;
    text-decoration: none;
    outline: 0;
    font-size: 15px;
    font-weight: bold;
    -moz-border-radius: 11px;
    -webkit-border-radius: 11px;
    -khtml-border-radius: 11px;
    border-radius: 11px;
    padding: 5px 14px;
    margin: 5px;
    -ms-filter: "progid:DXImageTransform.Microsoft.Alpha(Opacity=50)"; /* IE 8 */
    filter: alpha(opacity=50);  /* IE 5-7 */
    -moz-opacity: 0.5;          /* Netscape */
    -khtml-opacity: 0.5;        /* Safari 1.x */
    opacity: 0.5;               /* Good browsers */
}
.image-slider .is-next:hover, .image-slider .is-prev:hover {
    text-decoration: none;
    outline: 0;
    -ms-filter: "progid:DXImageTransform.Microsoft.Alpha(Opacity=100)";
    filter: alpha(opacity=100);
    -moz-opacity: 1;
    -khtml-opacity: 1;
    opacity: 1;
}
.image-slider .thumbs {
    width: 525px !important;
}
.image-slider .thumbs img {
    margin: 5px 5px 0 0;
}