The new productivity desk
We needed some more benchspace in the new OrganicDesign office, but resources are very restricted at the moment. Luckily it happened to be the inorganic rubish collection the same week we were moving to the new place, and we were able to find some perfectly usable melteca panels which could be used to make a desk about three meters long! as usual I documented the construction procedure :-)
Contents
The planning phase
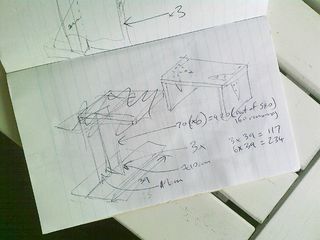
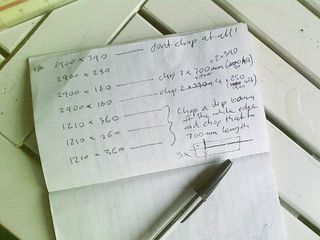
For any project to come to a successful conclusion, a proper process of planning must be carried out. Usually this involves drawings with numbers on them as in the following architectural drawings used to construct our new desk.
|
|
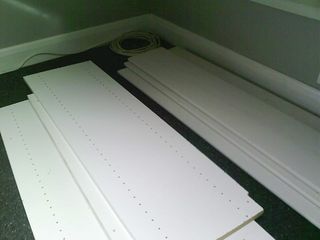
After the planning phase is complete, the materials should be assembled together and a good work surface should be prepared and an area with all the required tools within handy reach.
|

|
The work phase
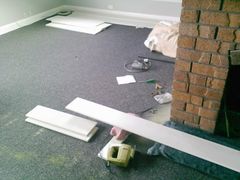
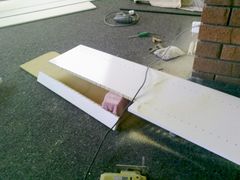
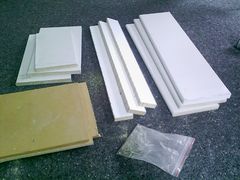
The first thing done was then to use a jig saw to cut all the pieces into the sizes defined in the plan.
|
|
|
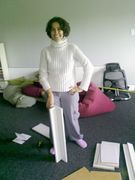
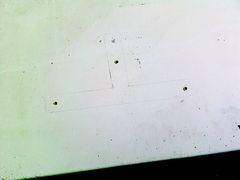
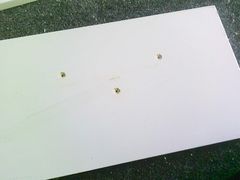
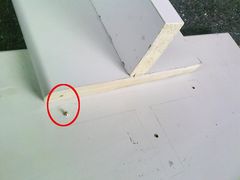
The plan was to create three sturdy legs which would hold up the main desk surface. Each leg is composed of to 70cm pieces of wood screwed together at perpendicular angles as shown here by my trusty assistant :-) Each of these 70cm parts then has a base and top panel screwed on to it. Rather than engaging in difficult measuring procedures, I simply placed the leg onto the panel, traced around it and drilled holes through it. To ensure that the holes line up nicely, one can be drilled into the end of the leg first and then the other leg holes drilled after the first screw is in place as shown below.
|
|
|
|
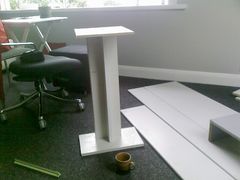
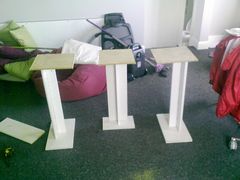
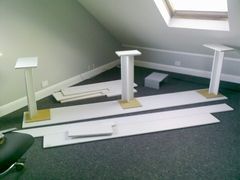
Here's a completed leg and then the others in position and ready to be screwed into the bottom of the desk surface.
|
|
|
Finished and in use!
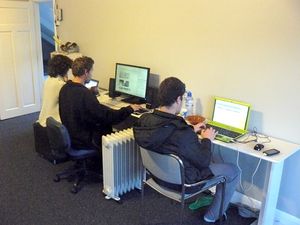
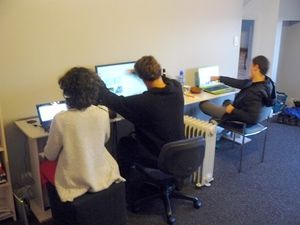
As can be seen from the images below, the desk is working very well and we're all operating at maximum productivity in parallel :-)
|

|
|
Feng shui shelf added
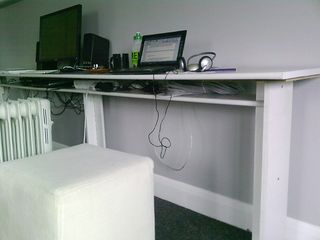
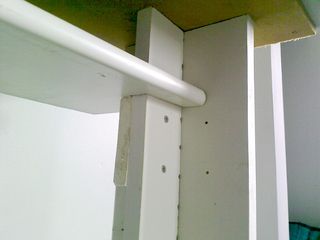
Soon after the desk gained regularly use we began to notice that some potential for productivity was being reduced by the bad feng shui of wires on the floor around our feet. The solution to this problem was to use one of the remaining pieces of wood to create a small shelf for the wires as shown below.
|
|
R.I.P productivity :-(
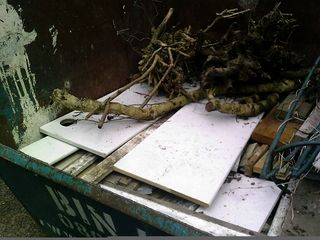
Now we've moved to Brazil, but the airline were most unsupportive of productivity and wouldn't allow us to take our new desk on the plane :-(

|
|


