Sandbox
Fixing Beth's microphone[edit] |
| Posted by Nad on 26 March 2019 at 21:41 |
|---|
This post has the following tags: Libre software
|
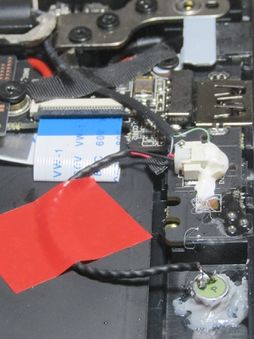
| After fixing my laptop microphone last month, I finally got around to fixing Beth's one today. We very coincidentally both had exactly the same issue with our microphones both failing shortly after we started using them. I thought of a few things I could do better or more easily after doing my one.
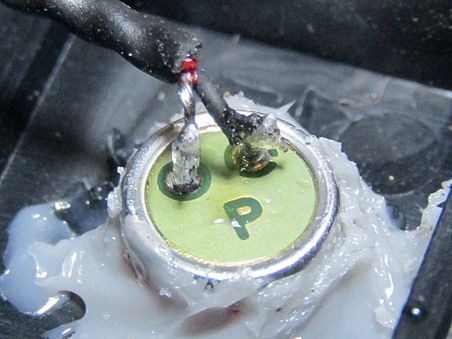
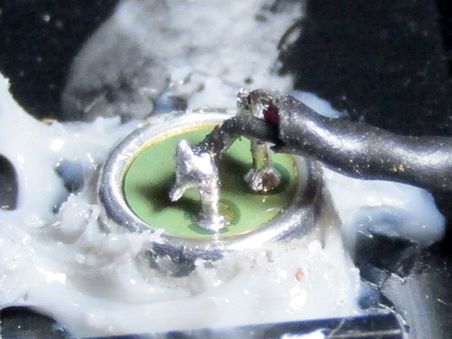
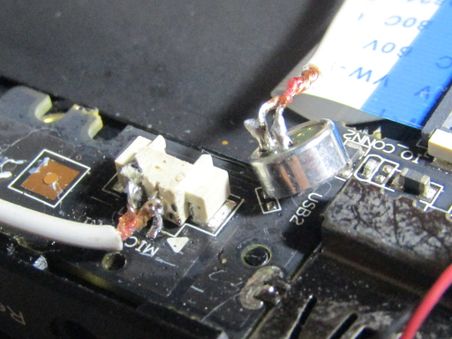
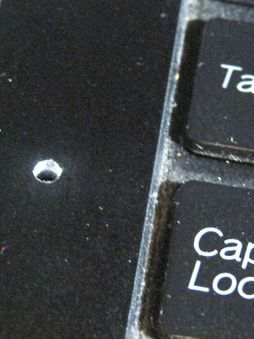
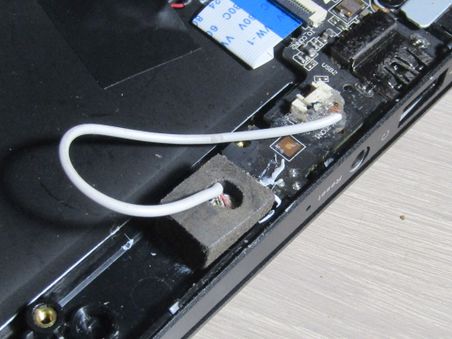
First, rather than solder the new microphone onto the circuit board connections, it's much easier to simply cut the wires that lead off to the existing failed microphone and connect those to the new one. That way the kill switch automatically works without any extra effort as well. Another thing I found after fixing mine was that drilling the hole in the case was unnecessary - when I was talking to my parents to test the new microphone, I demonstrated my new "mute" button by putting my finger over the hole, but they said they could still hear me perfectly! So I didn't both even drilling a hole for Beth's, and sure enough it's fine without - it is very slightly muffled compared to mine, but perfectly fine for every day use. Finally I remembered we had some bonding stuff that's similar to silicone, but much firmer, so I decided to dab bits of that around the microphone to bond it to the case, rather than making a complicated housing for it. I took some close up pictures of the wire connections to the microphone contacts too, because even with my glasses I couldn't see if the joints were good enough - the whole microphone is just 5mm in diameter so it's very difficult to solder such small wires with a fat soldering iron and no magnifying glass! |
Fixing my laptop microphone[edit] |
| Posted by Nad on 17 February 2019 at 00:02 |
|---|
This post has the following tags: Libre software
|
| Last year I got a Purism Librem 13 laptop which is made for Linux and is very privacy focused hardware. But about a month after I got it, the microphone stopped working. It wasn't a problem with the built in kill switch that allows you to completely disable the camera and microphone at hardware level, because it still activated and deactivated the camera properly. I took it in to some laptop specialists we know in Caxias who are very reliable, and they said that the problem was most likely that the wire had come off the microphone since all the connections on the main board were fine. This is a big problem because, the microphone is next to the camera above the screen and is very inaccessible, so I left it because I didn't want to send it all the way back to the US which would take months and probably also involve a huge tax when it returned into Brazil!
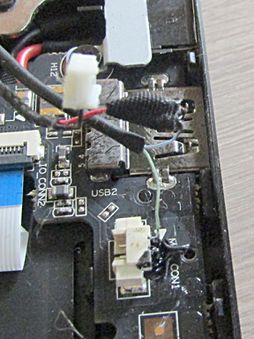
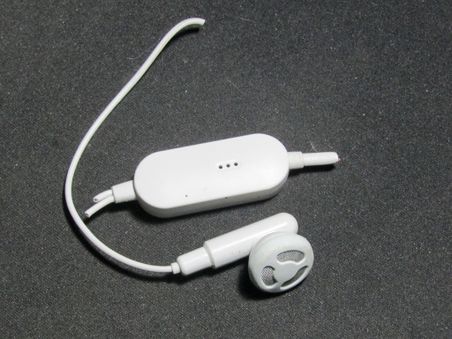
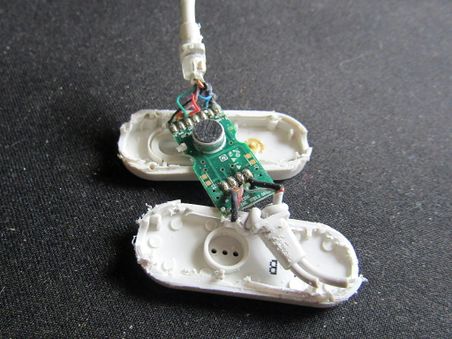
But then we got another Purism for Beth, and after about a month of use exactly the same thing happened!!! We asked the Purism engineers if they could explain better how to access the microphone so that maybe our laptop guys could have a go at fixing them. But then later an idea occurred to me - why not just replace the microphone with another one that's in a much more convenient location? So first I located the connectors which Purism show clearly on their site here. It looked a little different on my model as can be seen in the first photo below, but it seemed like it would be doable as there was a convenient space right next to the connector where I could fit a new microphone that would be to the left of the keyboard which would do just fine. Next I pulled apart some old unused earphones that had a microphone on them, and removed the microphone and some of the wire.
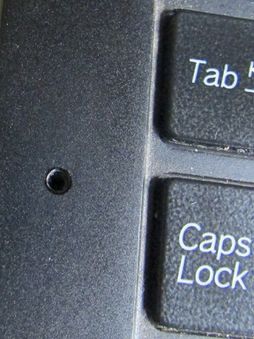
And that's all there was to it, it works really well! I should really have connected the kill switch up to the new microphone, but I decided to quit while I was ahead because my eye sight's too bad and my soldering iron's too big! Later I'll take both our laptops in to our guys in Caxias to fix Beth's and get both kill switches working. As a final finishing touch I countersunk the hole a little to tidy it up a bit and dabbed a black permanent marker on it to make it a bit more subtle :-) |
Happy Birthday Bitcoin!!![edit] |
| Posted by Nad on 3 January 2019 at 09:41 |
|---|
This post has the following tags: News
|
| The genesis block was created ten years ago today at 18:15, and the first bitcoin transaction ever, the genesis block reward, was sent!
This first transaction contains the famous message "The Times 03/Jan/2009 Chancellor on brink of second bailout for banks" which suggests that Satoshi created bitcoin as a means of resolving the enormous problems that the current financial system has.
|
More veges than you can shake a stick at![edit] |
| Posted by Nad on 24 December 2018 at 23:11 |
|---|
This post has the following tags: Our sixth year on the land
|
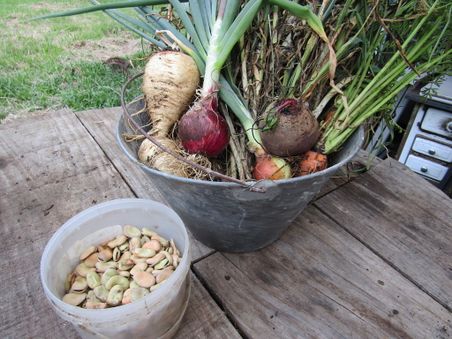
| Well we certainly can't complain about our Christmas yield! Things are really starting to take off now, which is a huge relief because we've really been struggling to get anywhere with planting for years now. This has been especially devastating for Beth as she's really put everything she had into the planting side of things, and has been on the verge of giving up many times. She's really happy with the results now and we're both super motivated to carry on :-)
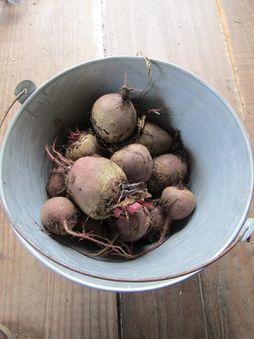
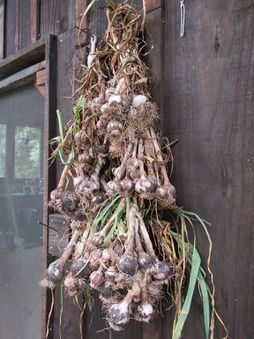
Here we have a lot of corgettes, potatos, beetroot, garlic, broccoli, parsnip and onions. Since I've been away for a whole month I've been able to notice how much bigger things have got too; the blueberry and feijoas are at least another half as big, and the Chuchu and pumpkins are probably ten times the size! All the fruit trees look a lot bigger too, and we have a whole lot of kiwifruit on the way for the first time! Merry Christmas everyone! The next post will probably be the first for our seventh year on the land :-) |
Beth's plumbing projects[edit] |
| Posted by Nad on 24 December 2018 at 20:51 |
|---|
This post has the following tags: Our sixth year on the land
|
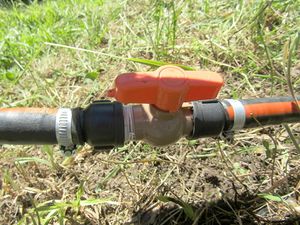
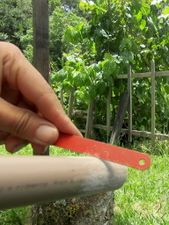
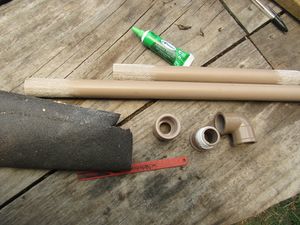
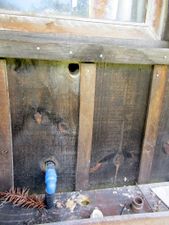
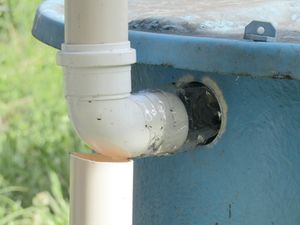
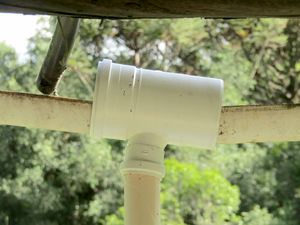
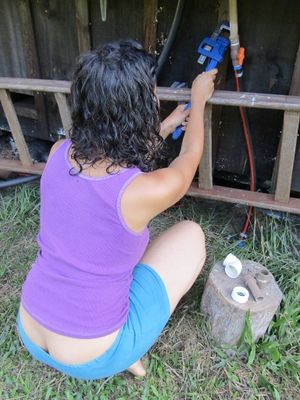
| While I spent the last month in New Zealand, Beth's had to get familiar with a lot of tools that she'd never normally use such as G-clamps and silicone. A few days after I left, one of the new water pipe joints that Antonio made burst and she had to learn to connect it back together more firmly using metal hose clamps. This involves heating up the pipe first using a cheap gas torch we bought for R$30 which can only be described as a flame thrower! Not only did she fix the broken join, she also added a tap so that we can now disconnect the water to the island without having to go all the way to the guest house where the water enters the property :-)
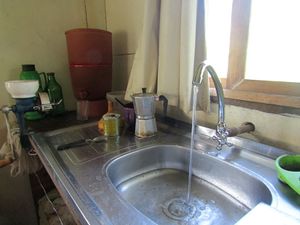
After having mastered the flame thrower she had gained a lot of confidence, and so then went on to make another connection to get water into the house and added a kitchen tap!
Note that whale tails are also generally accepted as indicating high quality workmanship in the case of female plumbers, but you should probably steer clear of male plumbers using this methodology. |
