Difference between revisions of "Blog"
(use parser-function) |
m |
||
| Line 1: | Line 1: | ||
| − | {{DISPLAYTITLE:{{REQUEST:q|Organic Design}} (blog) | + | {{DISPLAYTITLE:{{REQUEST:q|Organic Design}} (blog)}} |
{{#blogroll:limit=10}} | {{#blogroll:limit=10}} | ||
Latest revision as of 04:51, 30 March 2016
Fixing Beth's microphone[edit] |
| Posted by Nad on 26 March 2019 at 21:41 |
|---|
This post has the following tags: Libre software
|
| After fixing my laptop microphone last month, I finally got around to fixing Beth's one today. We very coincidentally both had exactly the same issue with our microphones both failing shortly after we started using them. I thought of a few things I could do better or more easily after doing my one.
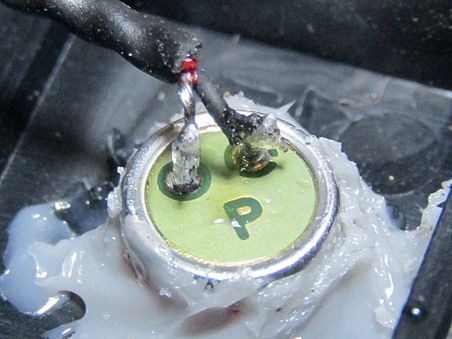
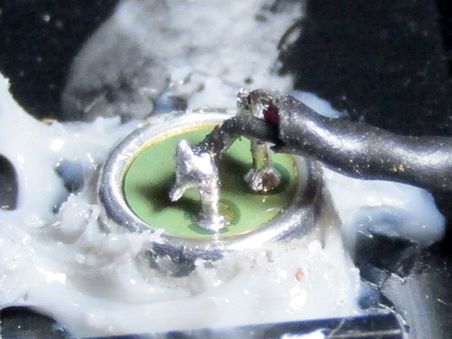
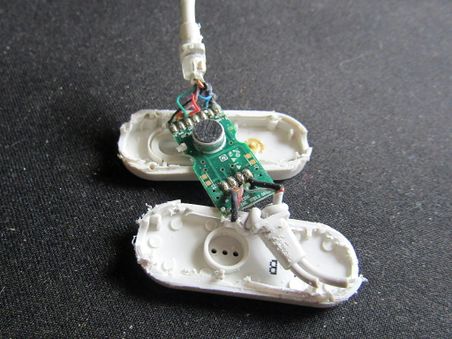
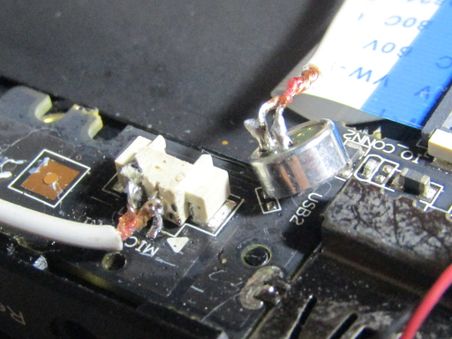
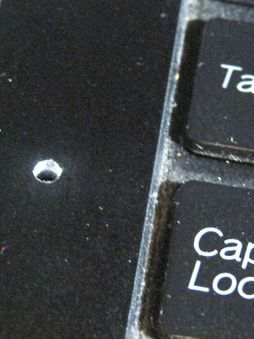
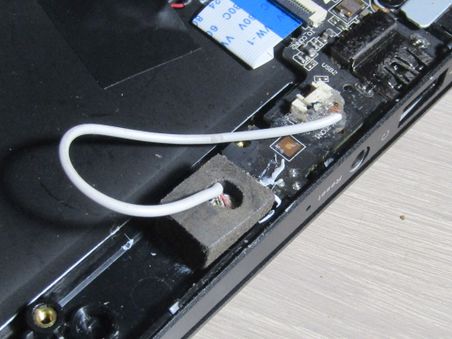
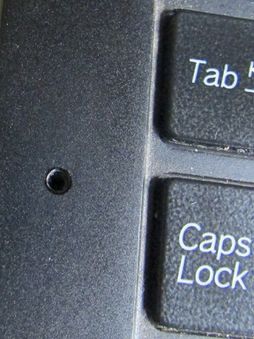
First, rather than solder the new microphone onto the circuit board connections, it's much easier to simply cut the wires that lead off to the existing failed microphone and connect those to the new one. That way the kill switch automatically works without any extra effort as well. Another thing I found after fixing mine was that drilling the hole in the case was unnecessary - when I was talking to my parents to test the new microphone, I demonstrated my new "mute" button by putting my finger over the hole, but they said they could still hear me perfectly! So I didn't both even drilling a hole for Beth's, and sure enough it's fine without - it is very slightly muffled compared to mine, but perfectly fine for every day use. Finally I remembered we had some bonding stuff that's similar to silicone, but much firmer, so I decided to dab bits of that around the microphone to bond it to the case, rather than making a complicated housing for it. I took some close up pictures of the wire connections to the microphone contacts too, because even with my glasses I couldn't see if the joints were good enough - the whole microphone is just 5mm in diameter so it's very difficult to solder such small wires with a fat soldering iron and no magnifying glass! |
Fixing my laptop microphone[edit] |
| Posted by Nad on 17 February 2019 at 00:02 |
|---|
This post has the following tags: Libre software
|
| Last year I got a Purism Librem 13 laptop which is made for Linux and is very privacy focused hardware. But about a month after I got it, the microphone stopped working. It wasn't a problem with the built in kill switch that allows you to completely disable the camera and microphone at hardware level, because it still activated and deactivated the camera properly. I took it in to some laptop specialists we know in Caxias who are very reliable, and they said that the problem was most likely that the wire had come off the microphone since all the connections on the main board were fine. This is a big problem because, the microphone is next to the camera above the screen and is very inaccessible, so I left it because I didn't want to send it all the way back to the US which would take months and probably also involve a huge tax when it returned into Brazil!
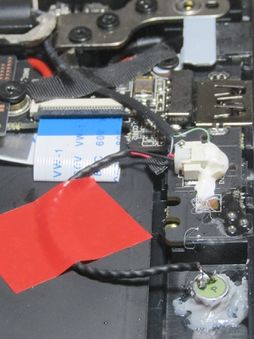
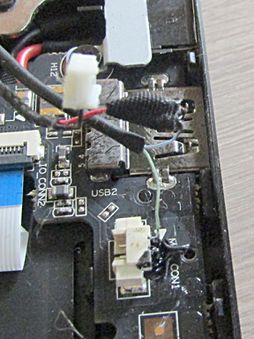
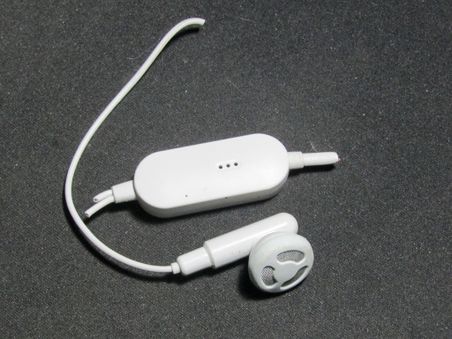
But then we got another Purism for Beth, and after about a month of use exactly the same thing happened!!! We asked the Purism engineers if they could explain better how to access the microphone so that maybe our laptop guys could have a go at fixing them. But then later an idea occurred to me - why not just replace the microphone with another one that's in a much more convenient location? So first I located the connectors which Purism show clearly on their site here. It looked a little different on my model as can be seen in the first photo below, but it seemed like it would be doable as there was a convenient space right next to the connector where I could fit a new microphone that would be to the left of the keyboard which would do just fine. Next I pulled apart some old unused earphones that had a microphone on them, and removed the microphone and some of the wire.
And that's all there was to it, it works really well! I should really have connected the kill switch up to the new microphone, but I decided to quit while I was ahead because my eye sight's too bad and my soldering iron's too big! Later I'll take both our laptops in to our guys in Caxias to fix Beth's and get both kill switches working. As a final finishing touch I countersunk the hole a little to tidy it up a bit and dabbed a black permanent marker on it to make it a bit more subtle :-) |
Happy Birthday Bitcoin!!![edit] |
| Posted by Nad on 3 January 2019 at 09:41 |
|---|
This post has the following tags: News
|
| The genesis block was created ten years ago today at 18:15, and the first bitcoin transaction ever, the genesis block reward, was sent!
This first transaction contains the famous message "The Times 03/Jan/2009 Chancellor on brink of second bailout for banks" which suggests that Satoshi created bitcoin as a means of resolving the enormous problems that the current financial system has.
|
More veges than you can shake a stick at![edit] |
| Posted by Nad on 24 December 2018 at 23:11 |
|---|
This post has the following tags: Our sixth year on the land
|
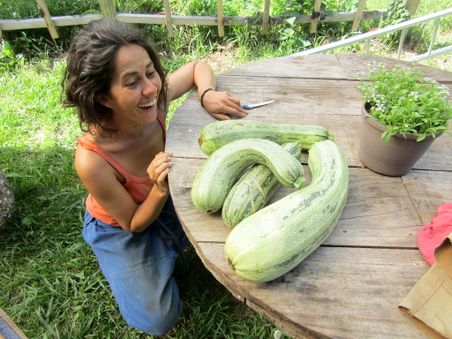
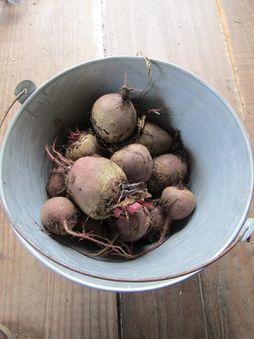
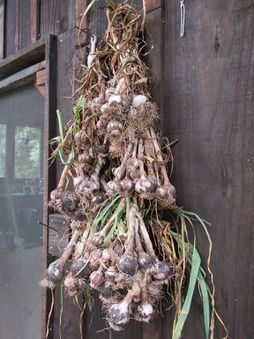
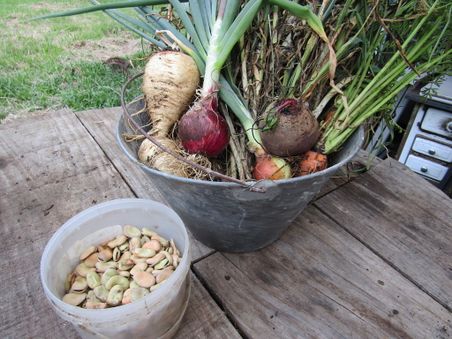
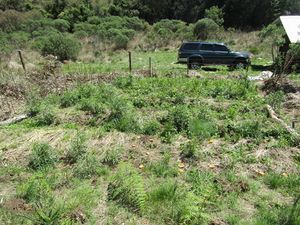
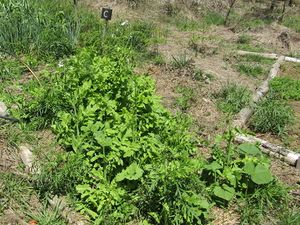
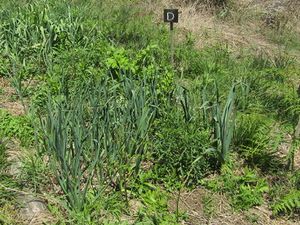
| Well we certainly can't complain about our Christmas yield! Things are really starting to take off now, which is a huge relief because we've really been struggling to get anywhere with planting for years now. This has been especially devastating for Beth as she's really put everything she had into the planting side of things, and has been on the verge of giving up many times. She's really happy with the results now and we're both super motivated to carry on :-)
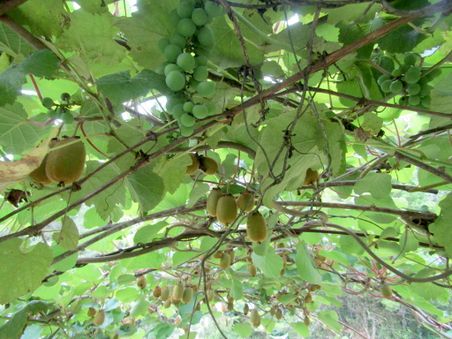
Here we have a lot of corgettes, potatos, beetroot, garlic, broccoli, parsnip and onions. Since I've been away for a whole month I've been able to notice how much bigger things have got too; the blueberry and feijoas are at least another half as big, and the Chuchu and pumpkins are probably ten times the size! All the fruit trees look a lot bigger too, and we have a whole lot of kiwifruit on the way for the first time! Merry Christmas everyone! The next post will probably be the first for our seventh year on the land :-) |
Beth's plumbing projects[edit] |
| Posted by Nad on 24 December 2018 at 20:51 |
|---|
This post has the following tags: Our sixth year on the land
|
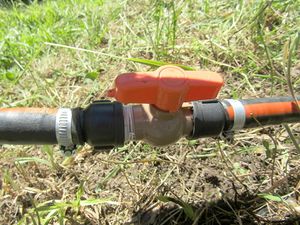
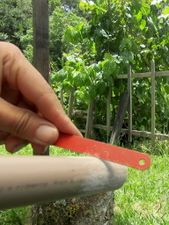
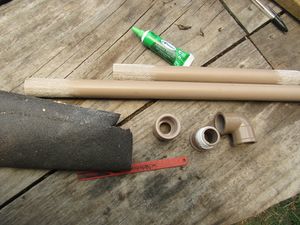
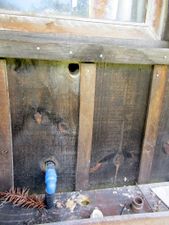
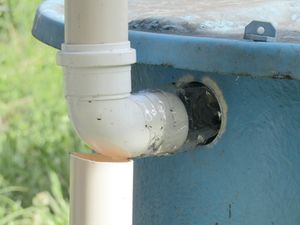
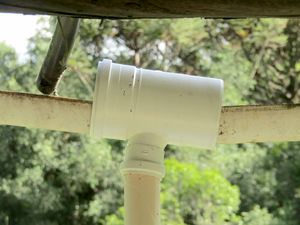
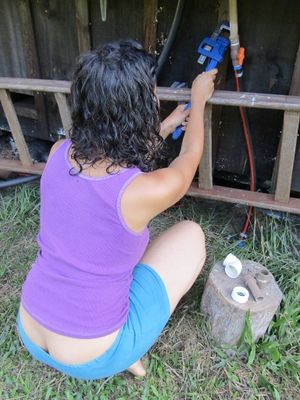
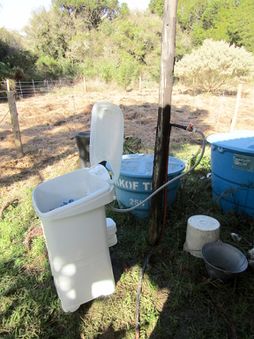
| While I spent the last month in New Zealand, Beth's had to get familiar with a lot of tools that she'd never normally use such as G-clamps and silicone. A few days after I left, one of the new water pipe joints that Antonio made burst and she had to learn to connect it back together more firmly using metal hose clamps. This involves heating up the pipe first using a cheap gas torch we bought for R$30 which can only be described as a flame thrower! Not only did she fix the broken join, she also added a tap so that we can now disconnect the water to the island without having to go all the way to the guest house where the water enters the property :-)
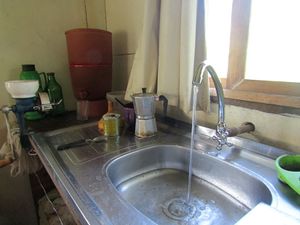
After having mastered the flame thrower she had gained a lot of confidence, and so then went on to make another connection to get water into the house and added a kitchen tap!
Note that whale tails are also generally accepted as indicating high quality workmanship in the case of female plumbers, but you should probably steer clear of male plumbers using this methodology. |
Dangerous wasp adventure[edit] |
| Posted by Nad on 12 October 2018 at 01:14 |
|---|
This post has the following tags: Our sixth year on the land
|
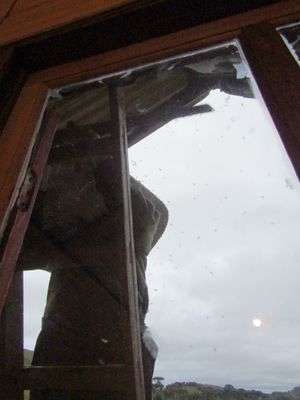
| I've finally started the job of closing off all the gaps around the roof of the guest house so that birds won't make their nests in there any more. I've got both sides closed off nicely, but when I tried to climb the ladder on the south end, the wasps suddenly swarmed out and attacked me, I fell off the ladder and they started stinging me! It was pretty scary, so I ran away, but they came after me and they're really fast, I could barely keep ahead of them! They finally stopped following me after I got across the river about a hundred metres from the house. Fortunately I'd only been stung three times on the back of my neck.
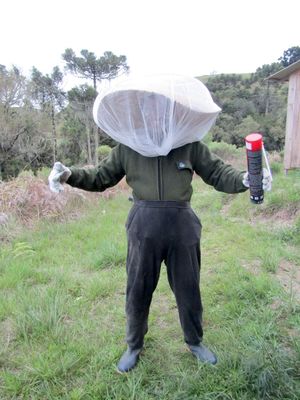
But that was a couple of weeks ago now, which is enough time for me to have forgotten how traumatising it was! So today I went back to try again - but this time I was prepared! I made a gambiarra bee-keeper's suit using a sombrero and a mosquito net :-) When I got up the ladder, hundreds of them swarmed out and attacked me, but I didn't get stung at all and was able to nail all the pieces into place successfully, unfortunately Beth wasn't able to get a good photo of them attacking me from inside the house. |
Things finally starting to grow![edit] |
| Posted by Nad on 12 October 2018 at 00:54 |
|---|
This post has the following tags: Our sixth year on the land
|
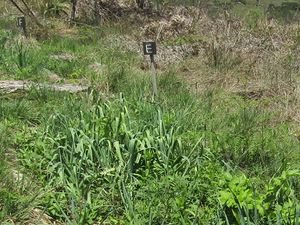
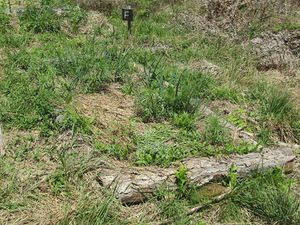
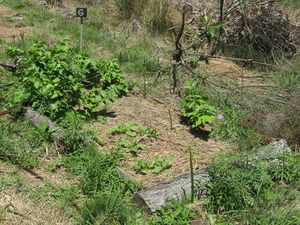
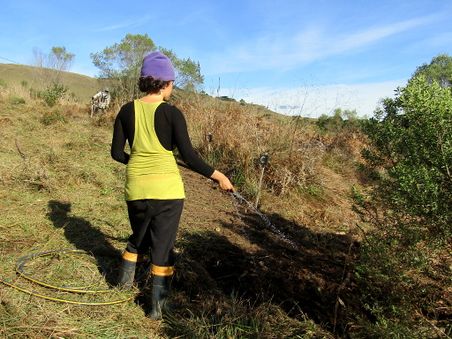
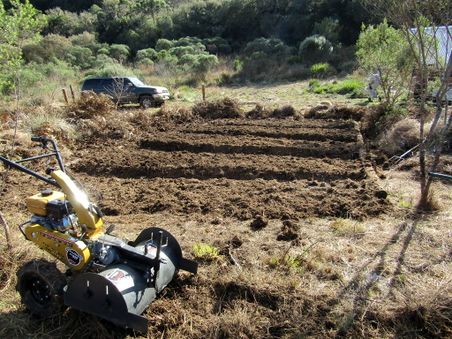
| Well it's been a few months since Antonio left - and since my last post! The huge amounts of manure and the regular supply of water have definitely made a big difference, we're really seeing some things starting to grow well now. Here's the beds shown in the last post, there's three generations of carrots, broccoli, beetroot, parsnip and strawberries. Everything's doing pretty well there except that Borroro came and ate all the broccoli, and the strawberries have been the target of leaf-cutter ant attacks. The carrots have good mass and taste good, but are very malformed even though the beds are raised and the soil soft, so we have to figure out what's wrong there. We've started putting orange peel down to attract the ants away from the strawberries which seems to be working so far, and we'll need to put more wires in the fence to prevent the dear and rabbits from getting in.
|
Going it alone again[edit] |
| Posted by Nad on 20 June 2018 at 02:23 |
|---|
This post has the following tags: Our sixth year on the land
|
| It was Antonio's last day on Friday which was exactly a month of work - he was originally going to stay for three months, but the cold was too much for him and he cut the time down promising to return again later in the year. We set off around midday on Saturday, but only got about 100m out of the gate and the engine suddenly died and wouldn't start again. The starter would rev fine, but the glowplugs dash-light wouldn't come on, so I checked the relay for them which worked fine, and then their 80A fuse which was also working but had no current going to it at which point I was out of ideas. Our neighbour Juca came to take a look at it on Sunday and tried to tow us to a flatter area further up where we could try starting it from being towed with a bit of speed, but it was too muddy for his truck which only had two-wheel dirve. The plan was to see if we could find a tow truck to come out, but a couple of hours later Juca rang and said that on the way back his truck had broken down as well! So his son was coming out on Monday with a mechanic friend and they'd take a look at both our cars.
Our other neighbour Remi was heading to Canela early Monday morning, so Antonio got a lift with him in case the mechanics failed to get our car working. He then got a bus from Canela to Porto Alegre, and he's now on the bus back to Brasília which is a 36 hour trip (he doesn't like flying)! He has done an unbelievable amount of work on the land in the short time he was here. All the fences around the whole land are replaced or upgraded and many new fences have been erected within the land as a secondary measure against cow-entry around the important growing areas we've planned. He's then made holes filled with manure and lime and garden beds through all these areas, as well as laying a huge network of probably a kilometre of pipes (many of them buried) all around the land so we can irrigate the new planting areas. One of the most important lessons we've learned is that we've been doing things on too much of a small scale, for example one of our typical mulch beds would use maybe three wheel barrows of manure and another three of mulch, but his ones use about 15 wheelbarrows of manure and 7 of mulch. We've been seriously under-watering everything too as we assumed the environment was wet enough that it didn't need much, hence all the irrigation pipes.
We took it to an auto-electrician since the mechanic said the problem was electrical and we showed them the part in question. The guy established that some wires had broken lose on the part which he also didn't know the purpose of, and figured out where they all connected and then everything worked fine again - including the glowplugs and their timer, dash-light and relay! We're at our favourite hotel in Caxias now, and will be staying for a few days for a bit of a rest :-) Update: I found on the Toyota wiki that our engine is the 1KZ-TE engine (a 3L SOHC diesel) and I was then able to download a workshop manual for the motor and discover that the part nobody knew the purpose of, that had the wires break off and needed the hose temporarily unplugged from to get us to the city, is the turbo pressure sensor which is connected to the intake manifold. The engine control unit (ECU) detects the intake manifold pressure as a voltage from the sensor, and uses this for correction of injection volume control and injection timing control. |
The EOS network launch is under way[edit] |
| Posted by Nad on 11 June 2018 at 16:26 |
|---|
This post has the following tags: News
|
| EOS is a new Ethereum-like crypto-currency designed by Dan Larimer who also built Steem and BitShares which are both very successful blockchain projects that both have proven scalability. Unlike Ethereum, EOS allows free transactions and is aimed at full-stack application development with familiar development languages and tools, rather than focusing on contracts using specialised languages and tools.
The network itself is not being launched by Larimer or his company Block.one, rather it has been left entirely up to the community to launch it and build applications on it. For the last year, there has been an ICO under way for EOS using the Ethereum network, then on June 1st snapshots were taken by a number of teams involved in EOS and validated together to arrive at a final single agreed upon snapshot which became the "genesis block" on the official EOS chain. There were a number of different contenders of EOS chains as well, but the one that the community at large has settled on is the one with the ID of Now that we have an official chain, the next step is to vote for 21 "block producers" who will play a role similar to that of mining in the Bitcoin network. There are around 200 block producer candidates, and it's up to the community to vote for who they want to be managing the network. The strength of a vote is proportional to the amount of EOS you "put at stake" - to make a vote you do a special kind of transaction that locks the EOS away for 3 days. Since voting involves your private key, it's very important to do it securely - many block producers have forms on their websites where voting can be done, but I strongly discourage the practice of entering your private key into the browser since there can easily be malware running. A single transaction can vote for up to 30 block producer candidates, and you can change your vote at any time effective immediately. This means that block producers have to stay committed to their goals and behave well all the time, or they can lose their position in the network instantly. The power of a vote slowly diminishes by half each year, so people are encouraged to keep an eye on what's going on and vote regularly. 15% of the tokens in the network (that's 150 million EOS) have to be used for voting before the network activates and becomes available for public use. The Crypto Lions block producer candidate from Ukraine have made a useful page here, where you can see how much EOS has been staked for voting so far and the current rankings of all the block producers. There are two methods of voting I recommend, the first is the EOS voter desktop app by block producer candidate Team Greymass. This is much safer to enter your private EOS key into than the browser, and it's very easy to use - you can also select an option specifying to not save your key to disk which is even safer. But for those with big balances to protect, the secure offline voting tool by block producer candidate Tokenika from Poland, allows you to sign the transaction completely offline on a computer that has never even been on the internet, this is a more time-consuming method, but it's extremely secure. But who to actually vote for? Well CryptoLions, Team Greymass and Tokenika mentioned just above are all good candidates ;-) You can look through the list of all candidates at random and find teams that share your values, or otherwise here is a good list of well thought out recommendations to get you started. Remember, if you find more good candidates, or any that you've already chosen turn out to be less than what you expected, you can update your vote at any time :-) Update!!! The network has just reached the minimum votes required for activation! It happened very suddenly with whales stepping up at the last minute to place their votes, mainly accounts gm3tombuguge with 32 million EOS and ge3dkmbwgyge with 25 million (the 7th and 8th largest accounts in the genesis block) who voted only for EOS Canada. The next biggest whale who voted around the same time was account ha2tsmzqhege ranked 16th with 11.7 million EOS who voted for two Chinese block producers folowed by geztomjzhage ranked 27th with 3.1 million EOS who voted for Bitfinex and EosDAC. |
Saying NO to Mircrosoft[edit] |
| Posted by Nad on 9 June 2018 at 20:28 |
|---|
This post has the following tags: Server
|
| As you've probably heard, Microsoft is acquiring GitHub for $7.5 billion. Github is a web-based system for managing source code using the Git version control system originally developed by Linus Torvalds for the devlopment of the Linux kernel. Github hosts almost sixty million code repositories, half of them public. Although Organic Design hosts its own repositories, it also maintained mirrors on Github. But as fierce advocates for libre software and opponents of the corporate agenda, we will no longer continue using Github now that it is owned by Microsoft.
We've now moved to GitLab which is very similar to GitHub and so was a simple migration process, but really this is not a long term solution because the same thing will happen to GitLab as well when they get very popular. We need to move our code management into one of the many new decentralised options, and so research into these is now under way :-) A lot of other people are moving to GitLab as well in response to the acquisition, they conveniently released this migration tutorial the day before, the comments clearly reveal the frustration of the community such as "Microsoft buys Github are the most evil words I've ever read" and "I hope that all my favourite OSS projects move away from M$ Github". One thing I learned about GitLab from the comments is that it's fully transparent and open source itself, you can install GitLab on your own server! |
